10 Digital Photography Processing Tips & Techniques
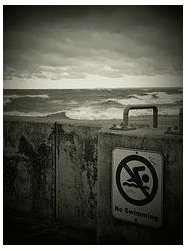
Being able to produce excellent photos does not end once you have taken the shot, processing is also an important aspect to getting great looking photos. Here are ten digital photography processing tips worth considering.
1. Image Sizing
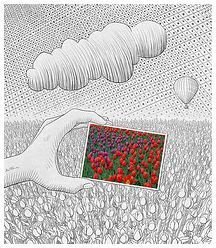
You should understand the basics of how to resize an image without reducing the quality to a great degree. Depending on what your photo is going to be used for - printing enlargements, sending in email, etc. - will determine what the optimal size of the photo should be. Read How to Resize Images for more digital photography processing tips on this subject.
Image Credit: https://www.flickr.com/photos/benheine/4681227574/
2. Uploading Pictures to the Internet
If you intend to upload your photos to the Internet you should reduce the size of your photo. A large resolution will take more time to upload than a smaller one and for people who have a slow internet connection, this can be frustrating.
3. Understanding Image Formats
There are several types of image formats that you can use when saving your images. You should understand each of these formats and what their benefits and disadvantages are so you know which format to save your photos as after post processing. Two articles that provide helpful information on this are: Image File Format Comparison and Understanding RAW Image Format.
4. Photo Editing Software
One of the greatest digital photography processing tips that can be given to you is to take advantage of the different free editing software programs available on the market today. There are photo editing software tutorials offered to help the novice or expert photographer use these programs to their fullest potential.
5. Which Editing Program to Use
Deciding on which photo editing software to use generally depends on what you need the photos for. There are some editing programs that only have very basic editing tools, while others are more advanced offering a lot more than basic cropping or color enhancements. To learn more about some of the more popular photo editors, read this top photo editor comparison.
6. Saving the Image
Saving a photo does not involve just clicking Save. In Photoshop, you can click Save As which allows you to change the image format of your photo. To understand more, you will need to follow tip 3. You will also need to understand which format you want to save the picture in. If you want to have various layers, then saving as .pds is a good idea. If you just want to upload your picture to internet, consider saving it as a jpeg or gif file.
7. Cropping
If you are new to photography, then cropping is one of the basic digital photography processing tips that you should learn. Cropping is simply the method of cutting off parts of an image. This tool is great if you want to eliminate some areas in the photo that you do not want. For more tips on cropping, read How to Crop a Photo to Improve Your Composition.
8. Changing to Black and White

Sometimes you may feel that your image will look better in black and white. It is easy to change a photo to black and white. To do this, create a hue and saturation layer of the photo. Select the color mode in the first layer and desaturate the image. Double click the first layer and then double click again. Adjust the hue slider to your liking.
It could also be possible that you have an old image, which you would like to restore. You can restore image by using Photoshop.
Image Credit: https://www.flickr.com/photos/jedimasterjeff/3973757634/
9. Batch Process Photos
Batch processing is the process of editing a group of photos. To do this in Photoshop, open the Process Multiple File and then select Source and Destination Folders. Choose the file resize, file rename and file type conversion tools. Select quick fix and add a watermark. Click ok when you are done.
10. Converting RAW to JPEG
If you plan to use Photoshop often, you will need to know how to convert RAW files to JPEG as you will need to trim down the size of the images. You need to select the image you want to convert and then select where you want to save the file. Select file type and select Save as JPEG.
