Here is an easy way to add a random color hue to your video image in Final Cut Pro.
Color Effects
When you are altering images in Final Cut Pro there are enough tools to create video effects that do not exist as standards, which means that as you are working with the images the changes that you are making are unique. One area of this video effect application that can be done in Final Cut Pro is around color, and the most well known incarnations of this are Black and White and Sepia. These are only two common options, but you can actually alter the color in any direction you want. There are preset options for both Black and White and Sepia, but there are actually a number of different options if you want to apply customizable color effects. Here is a tutorial on how to add a color tint to your video clip in Final Cut Pro.
Using the Video Effects
You are going to begin to add the color effects the same way that you would with any video effect. Select the clip you
want to alter in the Final Cut Pro Timeline and then go to your Browser. Select the Effects tab and then go to Video Effects. From here go down and start by selecting Image Control. Inside Final Cut Pro’s Image Control you can find several options to shift the color tint of the overall image. The first you may want to try is Color Balance. This will allow you to control the degree of each color by increasing or decreasing Red, Greens, or Blues. This will shift the overall hue of the image in the direction you want.
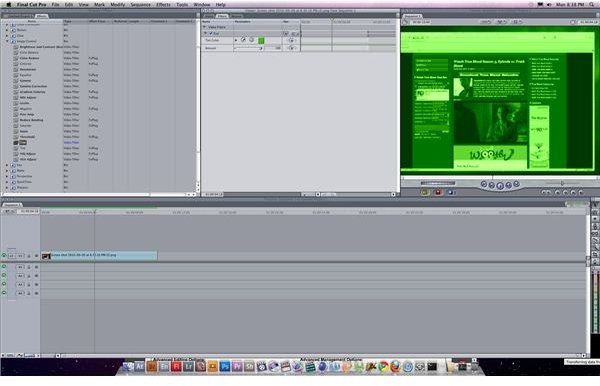
One of the more simple options for changing the overall color of your video image is to use the Colorize video effect. Once this is dragged and dropped onto an image you

will be able to Remap white and black in the direction of a selected color, which will dramatically change the color of the images in your project. You can also change the overall intensity of the color effect and this may want to be decreased unless you are trying to create a very dramatic effect. You will want to decrease the overall amount of the Colorize video effect for most situations.
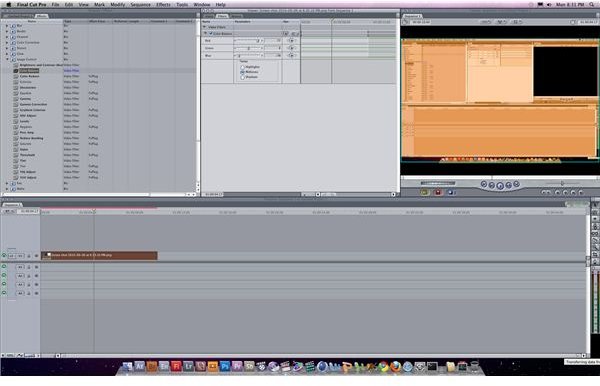
Tint may be your default color effect in Final Cut Pro. Once this is applied to a clip you will essentially have two
different options, one for the overall intensity of the Tint video effect and one for the color of the tint you are changing. Like with other color effects, you can also use the eye dropper to select a color to indicate.
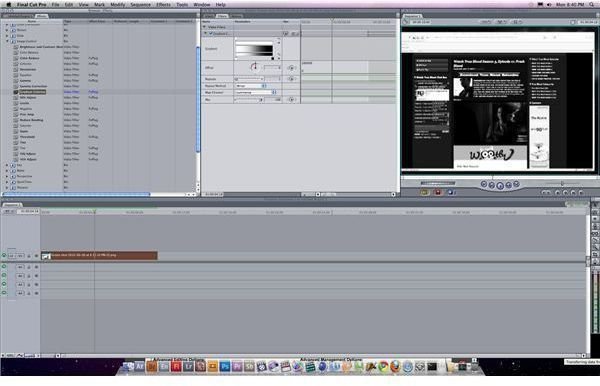
Gradient Colorize is also going to be an option, but this is much more specific and if you want just an overall tint this may not be the choice to make. You will also have to set the Repat Method, the level of repeats, and the Map Channel.
Using Color
If you are going to apply these color effects, you will want to try a few so that you can get exactly the color effect you are looking for. When you apply the color tint to your image you will want to do it in a small amount so that it is not too obvious, but this still may need a very detailed touch. You can try different combinations of Image Control video effects. but for a superior color effect you will want to send the video clips to Apple Color . If you do send it to Color then there will be no reason to apply any of those clips as you will probably not even allow the video effects to transfer between programs.
This post is part of the series: Final Cut Pro Video Effects
Here are articles dealing with Final Cut Pro and available video effects.


