Here are some tips for working with the complete Photo Booth slideshow feature.
On the Photo Slide
Photo Booth is often just used to capture a quick photo of friends crowded around a laptop. Though Photo Booth is not a complex photo program there is a slideshow function that aligns all of your previously taken pictures in a bar directly below that monitoring window. Here are a few tips when working with the slideshow in Photo Booth .
Taking a Picture
When you take a picture in Photo Booth it will automatically be dropped below the monitoring window to a line of other pictures you have taken. It is from this row of photos that you can select a picture and bring it up for viewing. When you have a large string of these photos in the lower tray you can hit the arrow buttons on the right and left side, respectively, to browse through the entire library of pictures you have created. You can easily select and delete any of these photos, which would alter its final appearance in the Photo Booth slideshow.
Photo Booth Slideshow
To begin the Photo Booth slideshow, go up to View in the upper task bar and select Start Slideshow, which is the bottom option below Reset Effect . Once you select Start Slideshow it will begin in a full screen view, even though the picture will likely not be in full screen view.
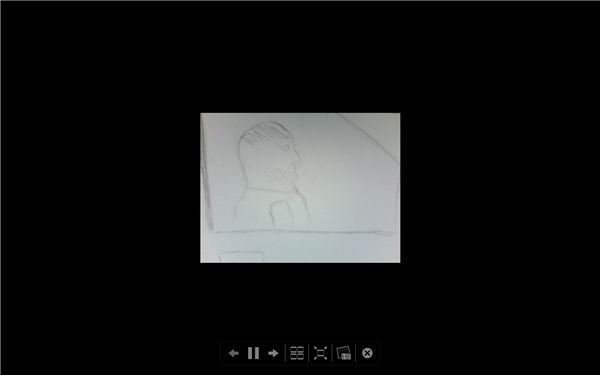
The controls to the Photo Booth slideshow will be under the photo, which occupies the middle of the frame. If you want it to take up the entire available screen then you can hit the Fit to Screen button in the controls, and to go back you can hit the same button.
The Photo Booth slideshow will play through like it is a film and will give each photo a few seconds before fading into the next one. You will need to start the slideshow process by selecting one of the pictures in the lower tray below the photo monitor in the regular Photo Booth display, and this photo will be the start of the slideshow when you begin it. The slideshow will then go to the end of the available pictures, but if you start at a photo somewhere in the middle you will not get back to the early ones.
You can also pause this Photo Booth slideshow like you would with a video, but this is not going to be a great idea if you are trying to show the slideshow for an audience. If you have to skip forward or backward through photos you can also do this during the Photo Booth slideshow by hitting the right or left buttons on each side of the play/pause button. There is an option to Add to iPhoto in the slideshow, but it may just be better to manually add photos.
This post is part of the series: Photo Booth Tutorials
Here are tutorial on using Photo Booth.


