In this article I will explain how you can develop your own Android application by examining every one of the basic files in a new Android project.
Now we know how to create a new project and what is the basic structure of a new Android project. Here we continue to learn how to develop an Android application by analyzing the files we find in the newly-created project. Most of these files are XML format, they hold the content of the application and form the bulk of the resources we have to create our program.
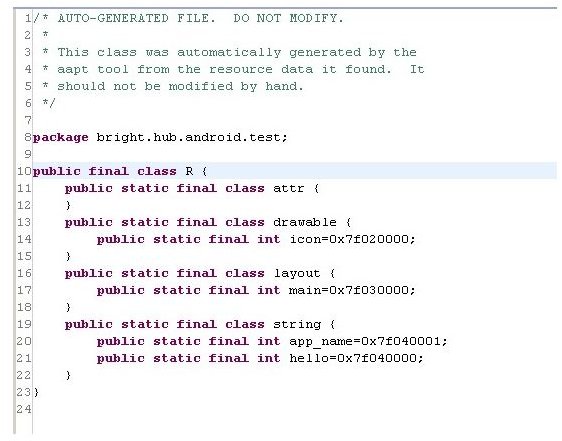
R.java
We can find this file in the source code folder. This is the resources file, in it, we have listed all resources available in our application identified with a unique number. We can say that the R.java file is the nexus between the application code and the resources.
Hint: This file is not editable, is auto generated by the system. Every time we add a resource to our application the R.java file is modified automatically.
Example of use: If we have a picture in “res->drawable” called “icon.png”, we can use this resource in the code using: R.drawable.icon. If we have a string with the text “Hello everybody” called “hello” in “res->values->string.xml” dile, we can access to this string form code with R.string.hello.
In the image we can see how this is codified.
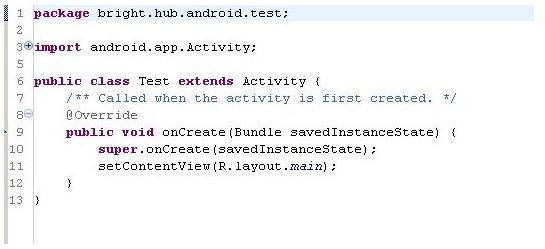
Main Activity
This is the file which contains the main Activity (the window that is going to appear first when we execute the application). Here we can start coding and writing our program. As you can see, There is some code written as an example. This example code gets the resource “main” from “res->layouts” and draws it on the screen. Here the Main Activity is called “Test.java”.
Resources
In the folder “res” we can find different sub-folders. When we create a new Android app, we have only 3 resources folders:
Drawable: In this folder, all images are stored. We can use them in code with the R.drawable.imagen_name sentence.
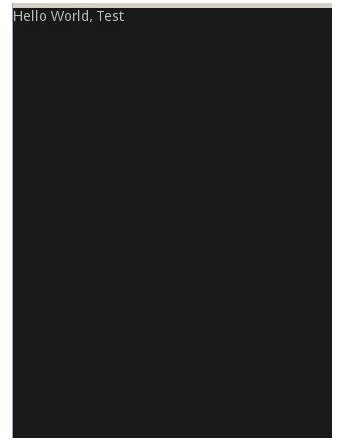
Layout: Here, different .xml are stored. These XML files define one or more elements that can be placed on the screen. As we can see in the image, the main.xml contains a black screen with the text “Hello, Test”. In the .xml we see how this is codified. In following tutorials, we will see what all these tags mean. For now, see that we have a “LinearLayout” and inside it a “TextView”. LinearLayouts are containers of others elements like, in this case “TextView”. As you can imagine a “TextView” holds text. There are many other elements like “ImageView”,”Button” or “CheckBox”. We can use all these elements and much more to create our application.
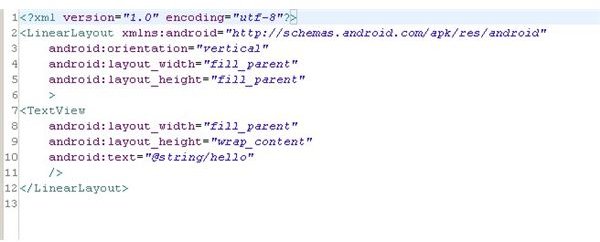
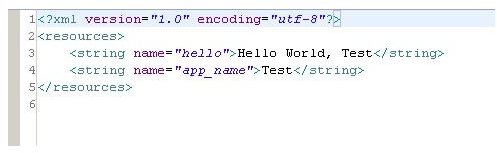
Values: In this folder we can hold, in an .xml file, all the strings we are going to use in our application, for example, or create an .xml to add our own styles to the elements we are using in the screen. In the image we can see how to define the strings. These strings will be accessible in the code using the resources file (R.java).
AndroidManifest.xml
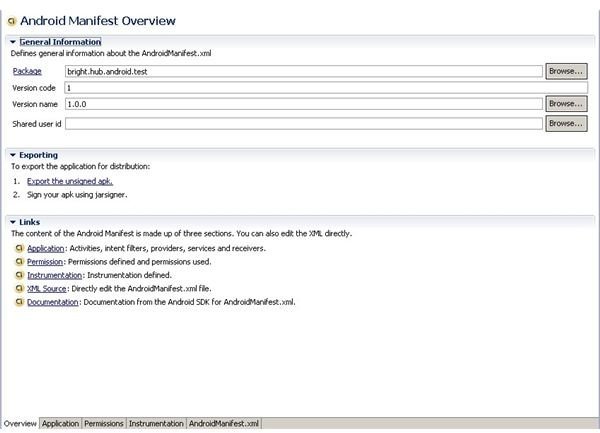
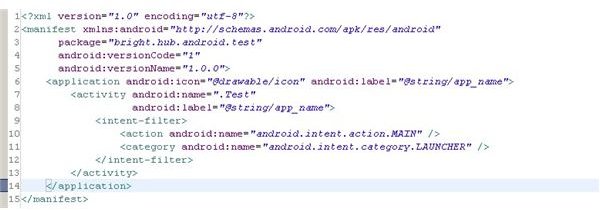
In this file, we can set the configuration of our application, we can add privileges to it (privilege to read from the address book, privileges to send SMS or to connect the Internet, are some examples), we can set the kind of application we are working on. Do we want that this application to replace the Home Screen? Do you want to change the Main Activity? This is the place. In other tutorials we will see this file in more detail.
Want to know more?
This article brings you one step closer to learning how to develop an Android application. In further articles we will start creating a simple application, and we will see more about the Android structure, stopping in the most relevant elements.
We will introduce more applications that will be useful to create applications.
Follow up
If you want to know when new articles are released, subscribe yourself to the Google Android RSS
Otherwise, you can follow my research, articles and work in my profesional twitter: jbeerdev
This post is part of the series: How to- Develop Applications on Android
In this series of articles, I will explain how to develop your own application for Android, from the beginning.
- Setting the Environment: Using Eclipse and Netbeans for Developing Google Android Apps
- How to Create an Android Application: Structure I
- How Do I Develop an Android Application? Structure II
- How to Create User Interfaces (UI) Using XML : Layouts
- How to Create a User Interface (UI) Using XML : Widgets


