Virtual Private Networks use protocols to tunnel data from a client computer to a host computer by encrypting it. Read on to discover how to configure a VPN connection in Windows Vista.
VPNs and Vista
Below is a step by step guide on how to setup a Windows Vista Workstation on a Virtual Private Network.
How to Setup a VPN on Microsoft Windows Vista
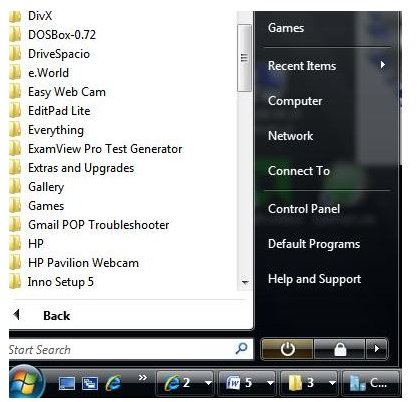
1. Go to Start - Click on Connect To
Windows Vista VPN - Connect To
Windows Vista VPN - New Connection
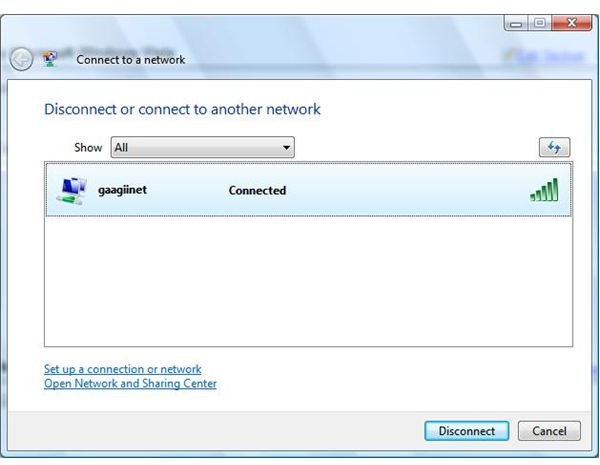
2. Click the Set Up a New Connection or Network Option.
New Connection
Windows Vista - WorkPlace Connection
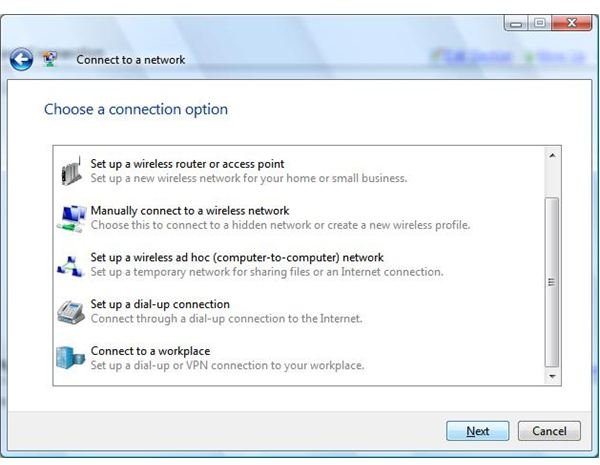
3. Scroll down to the bottom of the connection list and select Connect to a Workplace, then click Next.
WorkPlace Connection
Windows Vista - Internet Connection
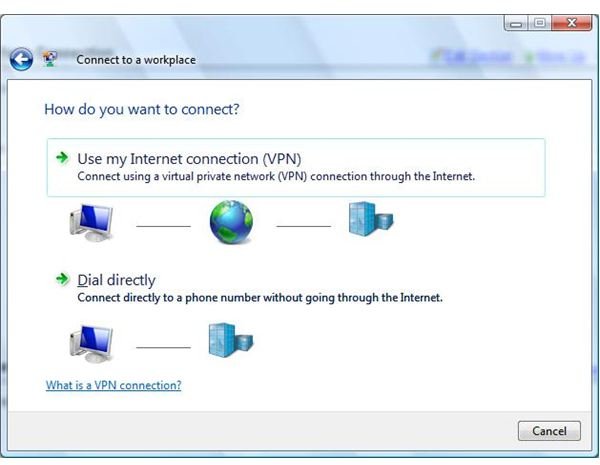
4. Select the Use my Internet Connection option to ensure your connection will be routed.
Internet Connection
Enter the IP Address and Description
5. For Internet Address, use the following information in order to make a connection:
Enter the IP address of the server you are connecting to
6. Enter “The name of your VPN” as the Destination Name, and click Next.
IP Address and Description

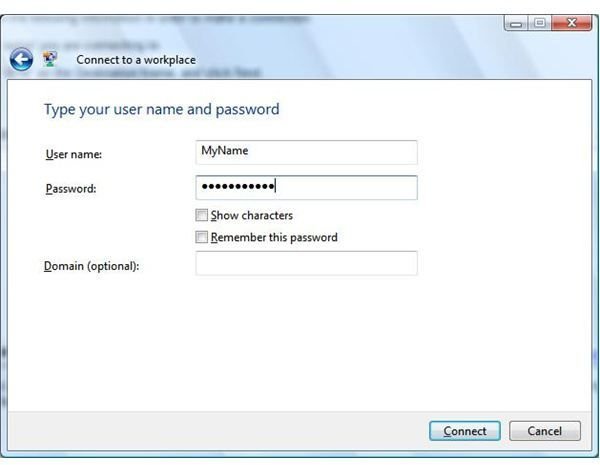
Enter your Username and Password
- Enter your username and password in the username and password boxes. You can select the Remember this Password option only if your policies allow you to do this. Fill in the Domain Name field if necessary.
Username and Password Fields
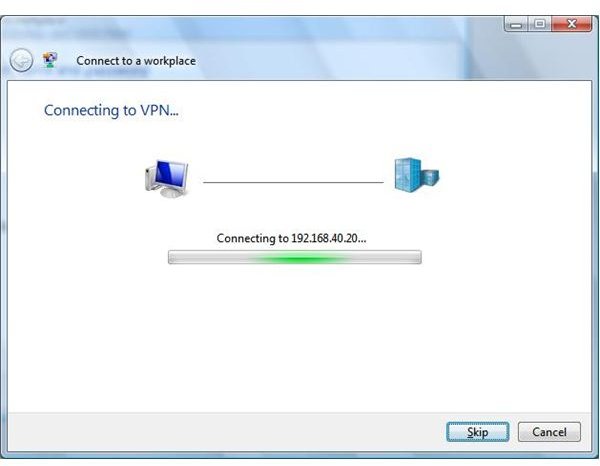
Connecting
8. Clicking connect connects your computer to the remote computer. If you’d like to connect to the connection later, you can use the Connect To option in the Start menu. Your saved VPN will appear as a shortcut.
VPN Connecting
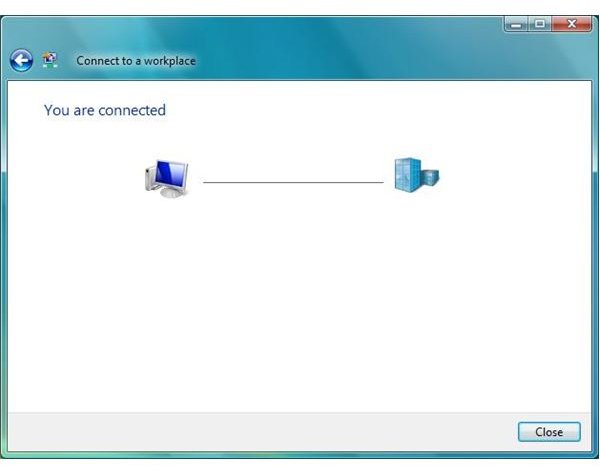
VPN Connected
Conclusion
Windows Vista’s setup is only eight steps. You should check your firewall settings if a connection fails. Security Suites can block outbound traffic. The administrator should check any rules to ensure data is allowed out on specific ports. The most common port for a Virtual Private Network is TCP port1723. Other ports such as ports 50 and 47 may be used if GRE and ESP are used. If ISAKMP is used, it may be necessary to open UDP port 500.
After a connection is made to the server, your workstation will obtain another internal private ip address from the server.
It is important to train users on how to use the VPN. Scripts can be added to map network drives to the server when using your VPN. This allows the user to have or share a folder on the server and ensures that whatever data is passed between the two is secure.
In the next part of this series, we will give a step by step tutorial on connecting Windows XP Professional to a VPN server.
This post is part of the series: Virtual Private Networks in Business Environments
Virtual Private Networks provide encryption for your critical data while it is in transit to a server. This series gives a step by step tutorial on how to setup a VPN on Microsoft Windows Vista, Windows XP, Macintosh and Linux.
- Virtual Private Networks in Business Environments
- Virtual Private Networks in Buiness Environments: Windows Vista
- Virtual Private Networks in Business Environments: Windows XP
- Virtual Private Networks in Business Environments: Apple Mac
- Remote Access Service on Windows 2003 Setup Guy
- A Guide to VPN Setup in Ubuntu
- Virtual Private Networks in Business Environments - Wireless VPN Solution


