Here is a tutorial outlining how to compress and convert video for the iPhone using Apple Compressor.
iPhone Video Format
The iPhone is finally bringing the concept of portable video into a realistic framework that people will actually use. The iPhone video format is very specific as it is streamlined for purchase from iTunes, so if you want to put videos onto the iPhone you will have to use an iPhone video converter. There are a lot of iPhone video converters populating the internet, but more standard video compression and video codec software is going to accommodate this in many situations. Apple Compressor will act perfectly as an iPhone video converter and will allow you to take your Final Cut Pro project directly over to the iPhone. Here is a step by step tutorial on how to use Apple Compressor’s internal settings to use it as an iPhone video converter.
iPhone Video Conversion Process
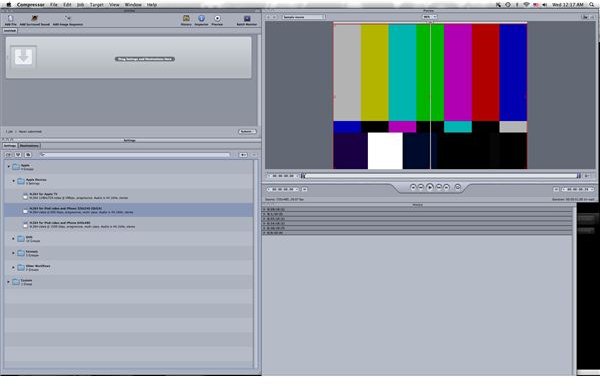
You will have to start the iPhone video conversion process by opening your video into Apple Compressor or send it to Apple Compressor
from a video editing program like Final Cut Pro, and this is a common feature to most Apple Compressor tutorial. Make sure to set the Destination in the Target heading from the upper task bar, which will dictate where the final converted file in the iPhone video format will go.
From here you will then go down to the Settings tab in Apple Compressor, and select the Apple folder. From here you are going to choose the top folder option right above DVD, which is Apple Devices. Inside the Apple Devices folder you are going to have three distinct options: H.264 for Apple TV , H.264 for iPod Video and iPhone 320 x 240 (QVCA), and H.265 for iPod Video and iPhone 640 x 480. These last two options are the correct iPhone video format, but the second option is of a higher quality and larger file size during the iPhone video conversion phase. The first option for iPhone video conversion is at 600 Kbps and the second at 1500 Kbps, so you really have two options to choose from. Either one is going to give you a comparable adequacy for the small iPhone format, so it is really up to you
which choice you would like to make.
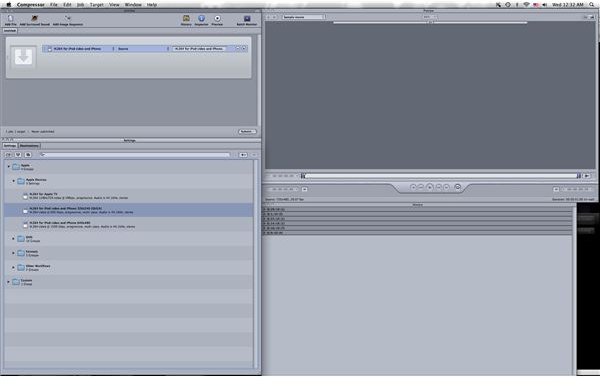
Once you have made your codec choice between the two you will drag and drop the specific codec setting up into the project window where you set the destination for the final converted video. Make sure that there is a single track for the iPhone video conversion. From here you can hit the Submit button in the lower right hand corner of this window and you can watch the conversion process through the Batch Monitor . Once it is finished you will add the converted video to your iTunes in the appropriate video section depending on video type. As long as your iPhone and iTunes settings are appropriate, then you will add this converted video to your iPhone on the next sync.
This post is part of the series: Apple Compressor Tutorials
Here are some of the best Apple Compressor tutorials to outline different aspects of the software.


