Here is a tutorial on how to use the different setting options in Apple Compressor for podcasting.
Now for the Podcasting
Podcasting is still a relatively new format for most people, and that means that it often seems as though it exists outside of the framework they have for more conventional media. The reality is that podcasting is really just radio that you record and distribute as isolated audio files, but since it often is produced consistently then it will follow a subscription format of forms. Podcasting today can take the form of both strictly audio podcasting or even podcasting with a video element, though this almost feels at odds with the most basic principles of the podcasting format. If you are utilizing digital video post-production software to produce your podcast, such as Final Cut Pro for video editing or Soundtrack Pro for audio mixing, then you are likely going to have to deal with podcast video compression or audio compression. Here is a tutorial outlining how you can compress for podcasting using Apple Compressor , which is part of the Final Cut Studio.
The Podcasting Compression Process
You will begin the process for podcasting video compression or audio compression and conversion in Apple Compressor similar to how you would start any other Compressor project. First, open up the base file in Apple Compressor or send it over from its starting program like Final Cut Pro . From here you will have the file up in the project window and you will then go to Target in the upper task bar, select Destination, and then choose a location for the final file to end up going after the podcasting video compression process has completed.
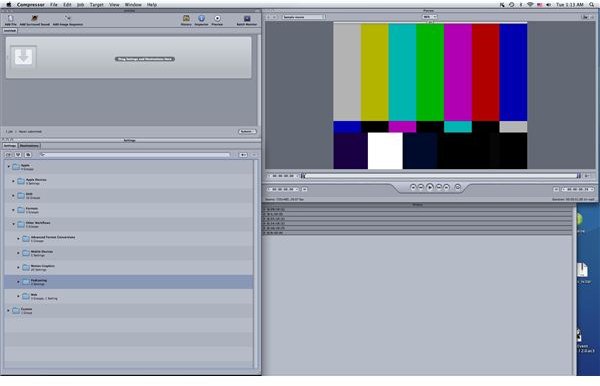
Go down to the Settings tab in the general Settings window and select the Apple folder. From here you are going to choose Other Workflows, and then you will find the Podcasts folder right above Web and below Motion Graphics.
You are going to have three primary codec options, with two of them for podcasting audio compression and only one of them for podcasting video compression. The option for podcasting video compression is the H.264 for Video Podcasting, and it stems from the standard H.264 video codec option. More specifically it is this video codec set at 11kpbs, progressive, multi-pass, with audio at 44.1Khz stereo.
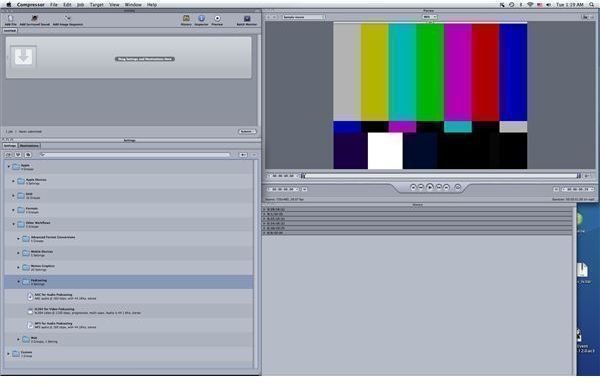

For podcasting audio compression you have AAC for Audio Podcasting and MP3 for Audio Podcasting, and they are both at 160kpbs with 44.1Khz stereo. Which podcasting audio compression option you choose in Apple Compressor really depends on how you are going to use and transmit them later on, but it is a good bet that MP3 will be easier to handle and AAC may be better quality.
From here you will drag and drop the specific video codec or audio setting that you want up into the project window, where it will be listing you to drag your settings to. From here you will hit the Submit button and the compression and conversion process will begin and you can watch it in the Batch Monitor .
This post is part of the series: Apple Compressor Tutorials
Here are some of the best Apple Compressor tutorials to outline different aspects of the software.


