Here is a Final Cut Pro tutorial on how to modify the appearance of items in the Timeline, such as text and size.
Look at the Timeline
The main “canvas” where you really do the creative cutting work in Final Cut Pro is the Timeline. It is here that you arrange the clips, add video effects and video transitions, and generally put together the film. It is important that you not only have the ability to see everything in the Timeline, but also that all the elements are displayed in a way that is easy for your to be creative with. There are actually a whole number of ways you can customize the displays of the Timeline elements in Final Cut Pro so that it can fit your expectations a little better.
View
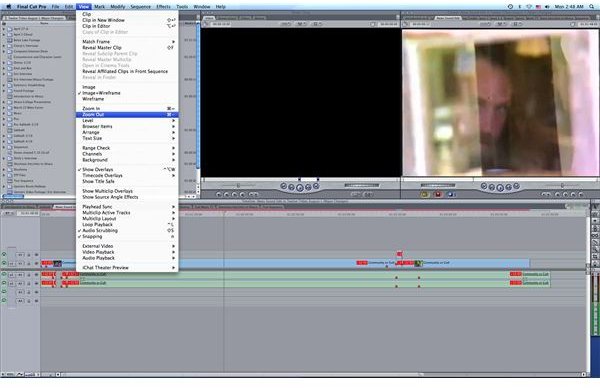
There are a whole series of different things that you can do to alter the appearance of items in your Timeline, and some of them are in the View menu. Many of these commands will actually affect each element of your Final Cut Pro project, not just the Timeline. To make sure that they will work exclusively on your Timeline you must make sure that the Timeline is actually selected.
The first, and most obvious ones, are zoom in and zoom out. These commands, which have keyboard shortcuts of Command and - and Command and + respectively, will allow you to zoom into the Timeline. This will make the objects on the track larger or smaller, allowing you to make finer cuts or look at the whole Timeline. This will also be affected if you go to Level, directly under the zoom options in the View menu, and choose the percentage you want.
Timecode Viewer
If you are having a tough time seeing the timecode from its reading in the Final Cut Pro Timeline and need it easily available you may want to use the Timecode Viewer. The Final Cut Pro Timecode Viewer will give a large black bar with the timecode displayed over the entire of the Final Cut Pro workspace. You can still navigate through Final Cut Pro with the Timecode Viewer up, but it will be very apparent. You can activate the Timecode Viewer by simply using the keyboard shortcut Control and T.
Measure Ready Timeline
If you want to have a clearer display of the objects in the Final Cut Pro Timeline, how much space they are taking up, and the increments that
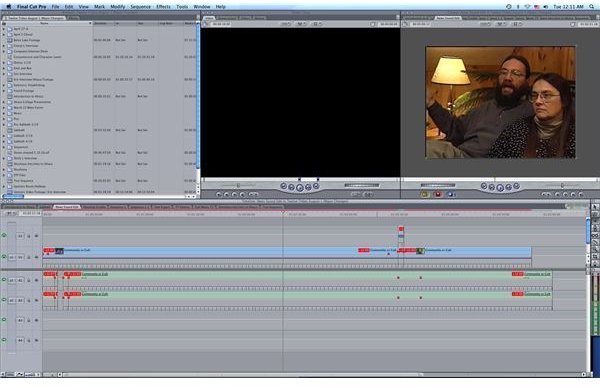
are in play then press the Final Cut Pro keyboard shortcut Option and T. This will create a more accessible image where each track will widen out and you will have blocks in there so that you can measure the space that each object is taking up. This feature can be hard to use when you are working on a whole project or large sequence, but it is really nice for small snippets that will be transferred to larger sets of sequences. This is great when preparing a sequence for nesting .
Display Waveform
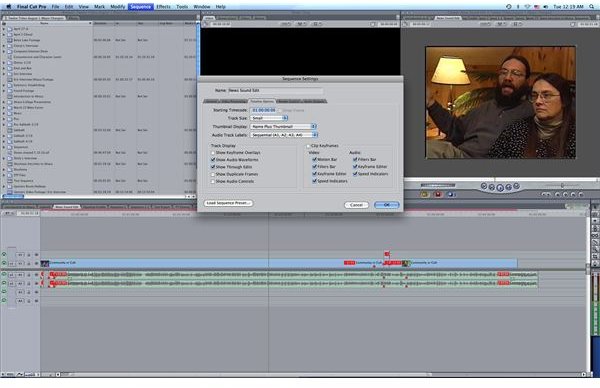
One of the most common requests is to see the audio waveform in the Final Cut Pro Timeline. It is easy to set the audio waveform to display over the green audio blocks in your sequence. Start by going to Sequence, then choose Settings. Go to the Timeline Options tab and then choose Show Audio Waveforms. You can also use the Final Cut Pro keyboard shortcut of Command, Option, and W. It is also in the Timeline Options tab that you can choose to display other things in the Timeline like keyframes and duplicate frames.
This post is part of the series: Final Cut Pro Software
Here are some tutorials on how to use the Final Cut Pro software as a whole.


