Here is a Final Cut Pro tutorial on how to create a split screen mirror image in your video editing project.
DIY Video Effects
There are a variety of different visual effects that you can try and put into your video project that are not just a standard Final Cut Pro video effect or video filter, but instead a combination of them. One video effect that has been in place since the earliest days of video is to create a mirror effect where one half of the image is reflected on the other half, as if it was put against a mirror. This video effect was often placed right into several camcorders of the early nineties, but now it is something that you can easily do in your Final Cut Pro non-linear video editing program. There are essentially two different ways to apply the mirror effect in Final Cut Pro: one that is easy and one that is difficult. Here is an easy to follow tutorial on how to manipulate your video to create this effect in both of the possible ways.
The Basic Method
Select the clip that you want to apply the mirror effect for in your Final Cut Pro Timeline. Go to the Browser and hit the Effects tab, and then select Video Filters. Go down to Perspective and then select Mirror, dragging and dropping it onto the video clip. This will create a direct mirror effect down the middle of the video image. It will also allow you to set the reflection center and reflection angle, but not as much as when you use the manual method.
The Manual Method
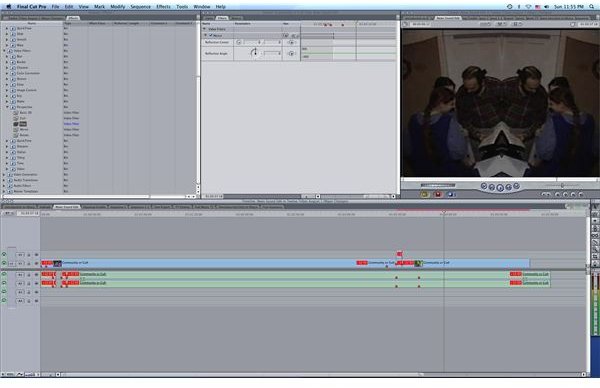
Start out by selecting the video clip that you want to alter in the Final Cut Pro Timeline. From there you are going to go to Motion in the Viewer
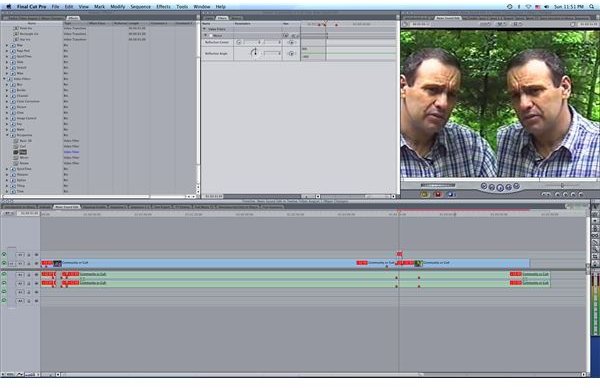
and go to Crop . You are going to crop the image from left to right so that it ends up only taking up half the mass of the frame, but so that the important parts of the image are in place. You will then want to move the remaining video clip off to one side. Copy that clip and then put the copy directly on top of the original clip. You will then go to the Browser and hit the Effects tab before hitting Video Filters. You will then go down to the Perspective folder and select Flop. Apply this filter to the copy clip and then drag that clip to the opposite side of the frame as the original clip. This will allow for the mirror effect for the clip.
This is more complicated than just applying the Final Cut Pro mirror effect, but it also allows for more control over the final image. You can decide exactly how much of the image you want mirrored, and overall you can end up only creating a mirror for the part of the image you want as opposed to the exact mirror of the base image.
This post is part of the series: Final Cut Pro Video Effects
Here are different articles that deal with Final Cut Pro video effects.


