Here is an easy tutorial on how to use the Final Cut Pro Iris effect, which was a common video effect from the silent film era.
Iris
For those that have a sense of film history, the silent film era has an aesthetic that is wonderful and all of its own. Because of the specifics of the film technology and the limitations that were there, not to mention the period of time in terms of performance art, the acting style and artistic choices are often much more dramatic and expository. The use of video effects and video transitions were much more limited, and were so up until the non-linear video editing revolution.
One item that was unique to this period of film, and possibly one of its most well-known representatives, was the iris out. An iris out, or iris in as it can be used, is a video transition that allowed blackness to sneak into the friend, creating a small circle of visible space around a character. The flip side of this is also where the transition can happen where the iris opens from the middle of the frame to start out a new scene with the circle around a character. This is often done to highlight a specific character, for humor or romantic interest, and is very familiar in the work of Buster Keaton and Charlie Chaplin. This iris out video transition can be replicated in Final Cut Pro easily, so here is a step by step tutorial on how to apply this classic film and video effect.
How to Use This Effect
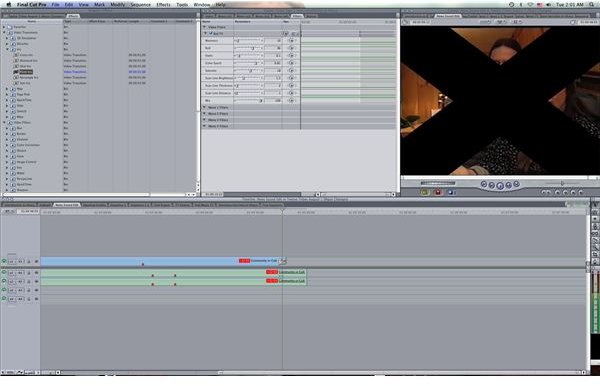
When you are working on your sequence in Final Cut Pro, identify the end point so that you will be ready to apply the iris out. Make sure that the first video clip in the following sequence is going to be able to accommodate this video transition as it will actually take a while and you will need a character or object to remain stationary in the frame for quite a while. You should probably shoot with the intention of using the iris out when you are actually in production.
Go to the Final Cut Pro Browser and select the Effects tab. Choose Video Transitions and then go to Iris. It is here that you are actually going to find a variety of different Iris transitions, each with their own visual take on the original iris out video transition.
Instead of using the iris out in the way that it did traditionally it actually puts the next scene in the middle of the iris so that it will be the focus of the frame. This is why the iris video transitions in
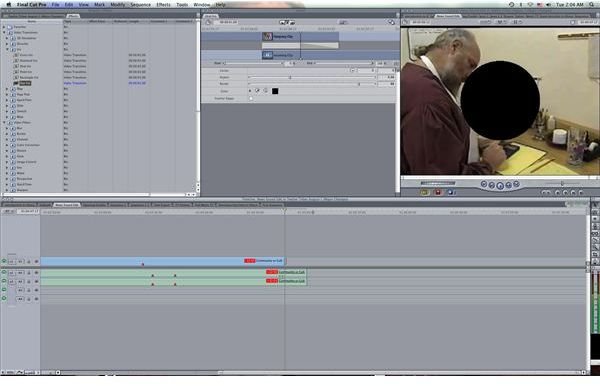
Final Cut Pro are best when you want to highlight a character in the following scene instead of the previous one. The more traditional iris effect is the oval iris, but you can also select different shapes such as the star. Drag and drop this video transition onto the area between the two clips, which should be next to each other.
Now the when the iris opens it will focus on a specific person, and this process can always be used in reverse to end on a character as well. You should also make sure that the tone of the project will accommodate this as it is a very animated video transition and lacks subtlety.
References
Source: Author’s own experience.
Photos: Screenshots by Shane Burley.
This post is part of the series: Final Cut Pro Video Effects
Here are different articles that deal with Final Cut Pro video effects.


