Making your own save the dates can seem a little overwhelming at first, even when you’re full of enthusiasm, so this guide will walk you through the process from design to implementation. Even if you have little to no experience of desktop publishing software you needn’t fear, just read on.
Which Way to Go?
There are really three ways to go when making your own save the dates:
- Handmake every one using items from your craft stash.
- Use some free save the date templates available on the Internet.
- Design your own using free software.
The first two are pretty self-explanatory and easy to implement, so for this article we are going to concentrate on making and designing your own. I’ve used the free software package Serif CraftArtist Compact in designing the save the dates you’ll see here, but the principles work the same whatever package you choose. The CraftArtist program is so easy to use, even for beginners, which is why I’ve chosen this option.
Download details for this package can be found in the references section at the end of the article, and is a very straightforward and quick process.
Create a Simple Layout
In the first part of this article I will walk you through creating a simple layout for your save the date, using basic tools in any program that are easy to use. Please continue to the “Getting Started” section for a more thorough step-by-step process, taking a project through from start to finish.
Once deciding to make your own save the dates, you’ll likely find that simple is often the best way to go, not because it’s easier, but because that is just the nature of a save the date announcement. For this reason black and white will always be a classic choice that can be updated to reflect your style.
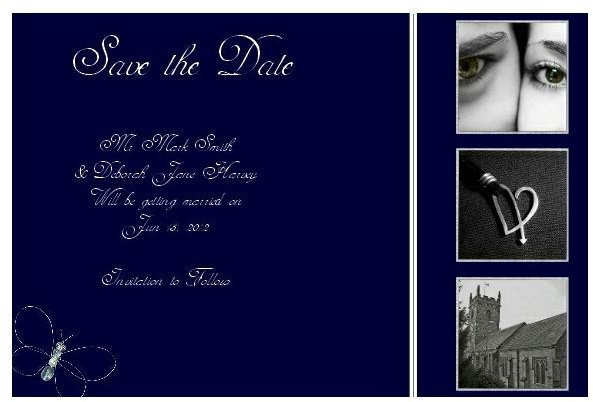
Select a black background, add some black and white photos, an elegant font created in white to make it stand out, and an embellishment or two. To create even the simplest design by hand is a lengthy process, but this wedding save the date literally took me minutes to complete. You can click on the image to get a larger view.
The background on this design actually uses a very dark blue, to make the look a little softer and more opulent - you could use a silver colored font instead of white here too, which would match up with the heart emblem. I’ve added three images, that kind of tell the story in a flash - odd numbers usually work best. To create a divide between the photos and the text I just drew on a white rectangle shape and moved it until I was happy.
I’ve centered the text here as it has a more formal look, but it depends on the style you are opting for. The butterfly embellishment in the bottom corner has been purposely placed a little off the page, to create some further visual interest - formal but a little quirky, to match the overall theme. If you don’t have any ready-made digital embellishments to use, you can easily make use of a free wedding dingbat . Simply download a font you like, and use a relevant image from it in your design.
Use a Readymade Layout
If you opt to use CraftArtist to make your save the date announcements you’ll see very quickly how easy it is to use (as demonstrated above), but you can make things even easier on yourself when using this package by choosing from one of their ready-made layouts. I
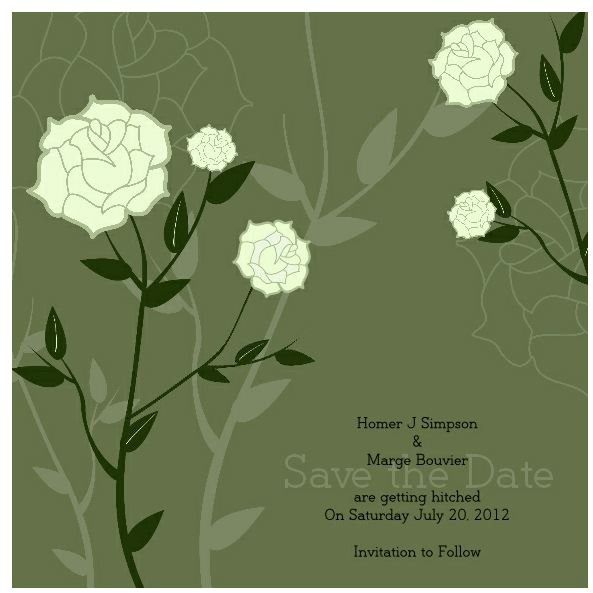
made this wedding save the date in minutes, using the background and floral embellishments that were already set up. After selecting that layout, all I did was insert a text box at the lower right corner, added my save the date wording, chose a font I liked and centered it.
For the “Save the Date” wording that appears behind this text I inserted text again, chose a larger version of the same font, and used the color picker tool to select a coordinating color from the leaves, then applied it to the text, before moving it behind the bulk of the other text.
Getting Started
If you’re using CraftArtist to create your own save the dates, then begin by selecting a new craft project. There are many templates already there, but you can always page down and create a “custom” card, using your own dimensions. Here I’ve chosen to use a square design of 6" by 6", because I think square save the dates are easy to design, as well as being a little bit different.
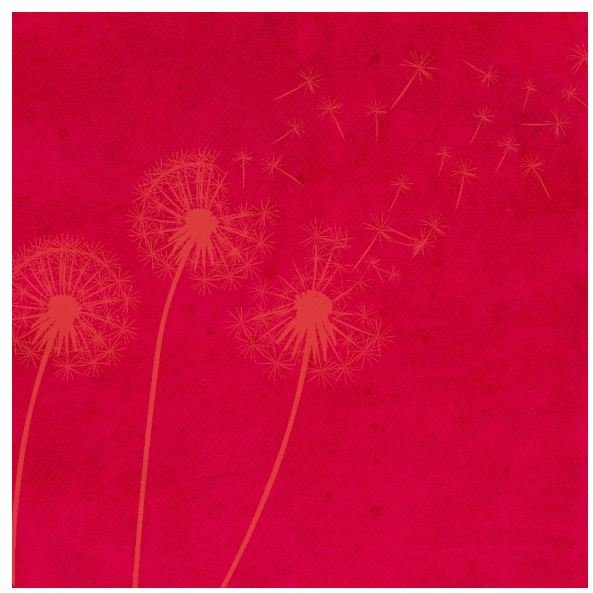
Being one of the hot color choices of the moment I’ve gone with a cherry red background, but black and purple are also great trend colors to use for save the dates, as is using pink and brown together - you should go with whatever suits you and your theme. Simply pull across your background of choice directly onto your blank page and the program will do the rest.
There are plenty of embellishments to choose from, many of which are free to download in the CraftArtist store. Here I’ve gone with a dandelion clock, progressively losing its florets. After adding each embellishment I used the transparency slider tool to make them more of a part of the background - we want our save the date to look good, but we don’t want it to get in the way of the wording.
Adding Pictures
I’ve opted to use a black & white photo here, as it is such a classic and timeless option, but you could just as easily use colored images; colored photos work well if they contain a large amount of color that matches with the background.
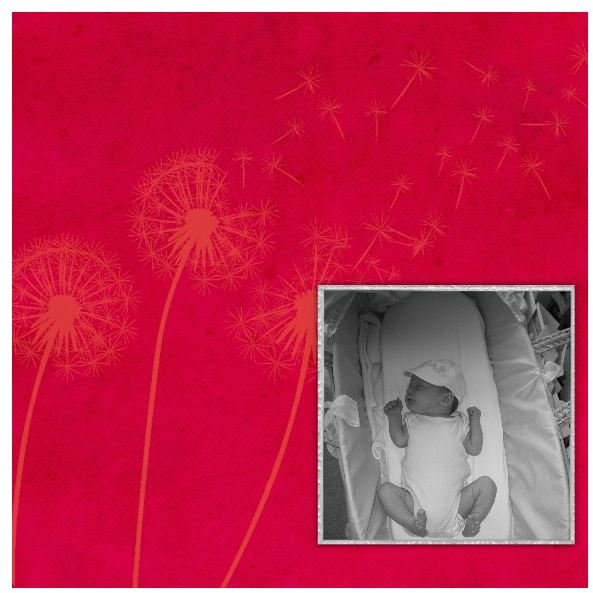
If you have a color picture that you want to make black & white, there are plenty of packages that can do this for you in a click - the photo used here was actually made into a black & white pic using the PhotoLab that comes with the full version of CraftArtist.
After selecting a frame and dragging it into position, I did the same with my photo - the intelligent frames in this package make sure the photo will fit the frame, so you don’t even have to mess around cropping your picture to size or shape. Although I’ve just used a single image, a series of three or even five images would work well - odd numbers always work best.
To add a bit of dimension, you can add a shadow to your frame which I’ve done here, so the photo appears slightly raised from the background.
Wording & Details

I’ve chosen a typically childish/baby-style font for this save the date design as it suits the theme, but obviously a wedding save the date would require a more elegant wedding text font depending on the style.
I also opted to leave a large chunk of white space between the bulk of the text and the “Invitation to follow” at the bottom. Don’t be afraid of using white space in your design, filling up every inch of space doesn’t always make a more striking card. In this case, as I’ve subdued the background a little, this also gives you space to write a handwritten message in this area should you wish to.
I’ve added a large flower embellishment to the page and “sent to back” so it acts like a secondary frame to the photo, and have used smaller versions of the same flower to add detail to the corner of the photo (plus an added gem), and to the top corner of the card.
I’ve tried to be as thorough as I can when walking you through creating your own save the dates, but please do let me know if you have any questions.
References
Serif CraftArtist Compact - Free Download
All images are the work of the author, created using the CraftArtist software.
B & W Heart - photographerpandora/Flickr
B & W Eyes - krystalchu/Flickr
B & W Church - Tim Green/Flickr
This post is part of the series: Save the Dates
This article series brings together everything you need to know about save the dates. We cover the best free save the date templates available, how to make your own save the dates, save the date wording, and save the date etiquette, as well as some alternative ideas for your save the dates.


