Thinking of a career in scientific photography? If you have a science background or a keen interest in science, then you have one of the major traits of a scientific photographer. Learn more about this highly specialized niche in photography by reading this article.
What is scientific photography all about?
Just about anyone can take good pictures with a little skill , a decent camera and a few camera accessories . Only a few can take pictures that are powerful and magnificent enough to catapult the photographer’s name to fame, such as Anne Geddes and Ansel Adams . In between, there are talented photographers who have the skills in pursuing career niches in photography, such as scientific photography. But what is scientific photography? Many photos taken by scientific photographers are used in scientific research and in the field of applied sciences, such as medicine , astronomy and forensics . But scientific photography is also utilized in businesses, military operations, and in the arts. The purpose of the scientific photography is not limited to science. But what exactly is the job of a scientific photographer?
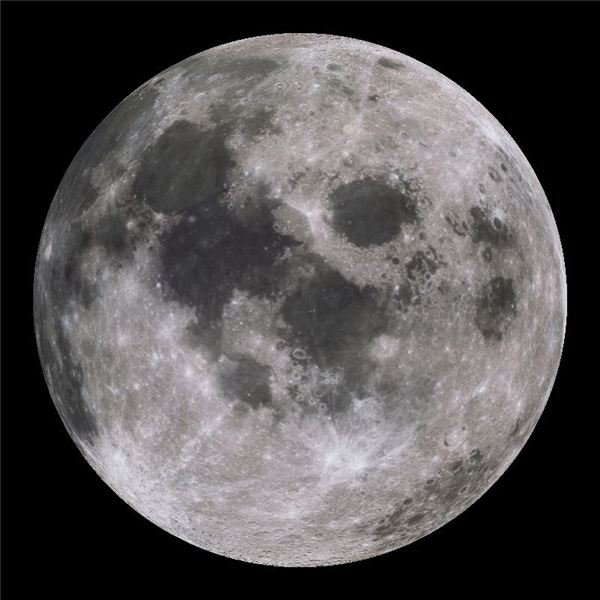
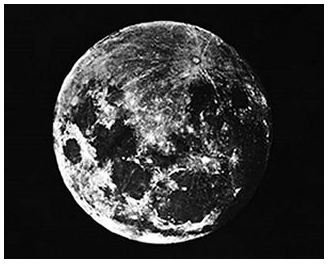
In layman’s terms, scientific photography is all about taking pictures of subjects that are too small, too far, too fast, and too difficult to see with the naked eye. One of the earliest scientific images was that of an object that was very far away; the moon. American chemist John W. Draper took it in 1840. Since then, scientific photography has evolved into a collection of photography techniques that create these types of scientific photography: photomicrography, photomacrography, thermography, infrared photography, ultraviolet photography, fluorescence photography, high-speed photography, and Schlieren photography.
(Click on any image for a larger view)
Types of Scienific Photography
Here are brief descriptions of the different types of scientific photography:
-
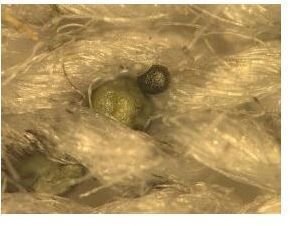
Photomacrography – It involves the use of macro lenses to photograph objects that have been magnified several times. To produce excellent scientific macro photos , the photographer must be skilled in manipulating depth of field and correcting aberrations.
-
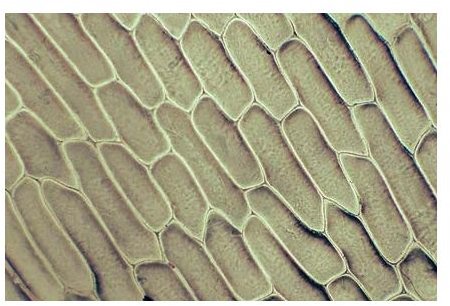
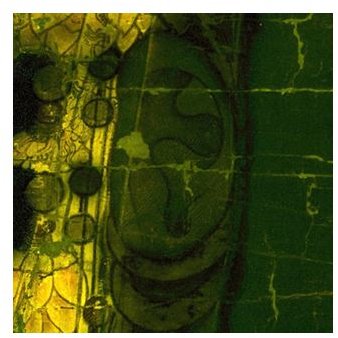
Photomicrography – Similar to photomacrography, photomicrography takes images of magnified objects. But it does not utilize lenses. Instead, the camera body is connected to the microscope.
Advertisement -
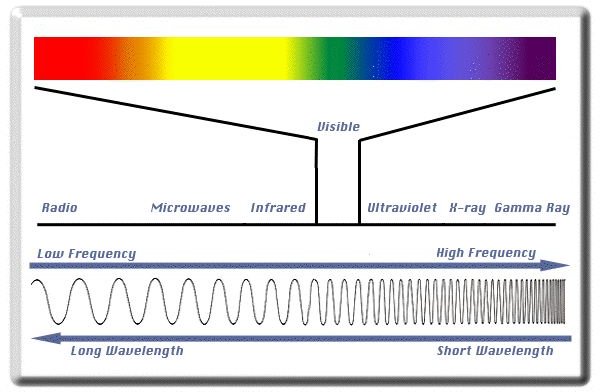
Infrared photography – Space is actually filled with electromagnetic radiation. The eyes can see a small part of this radiation as colors (red to violet). The radiations that cannot be seen are seen indicated in the diagram
 Advertisement
. Beyond the red color, a set of radiations that has long electromagnetic waves is called infrared. Humans cannot see infrared but can detect a little of it because of the heat it produces. Taking images of the heat reflected by objects is called infrared photography . It usually involves the use of apochromatic lenses and a strategy known as focus shift correction.
-
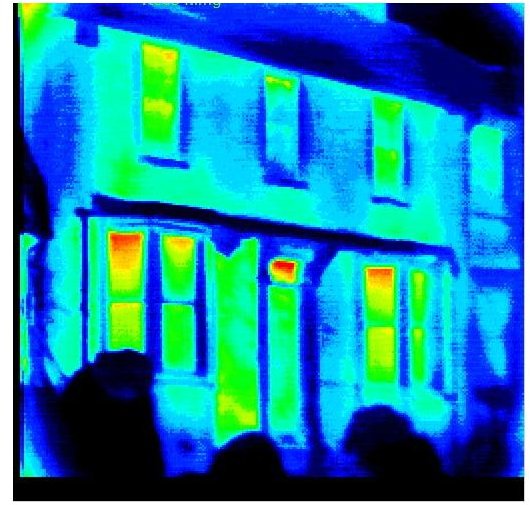
Thermography – This is similar to infrared photography but it has a wider scope. Thermography takes pictures of all objects at all temperatures. Instead of recording images of heat reflected, thermography records images of heat emitted. The scientific photographer uses special equipment called a thermal camera.
Advertisement -
Ultraviolet photography – Just as there are long electromagnetic waves that the eye can not see, there are also very short electromagnetic waves (300-400 nm), such as those of ultraviolet radiation and x-rays, that unaided eyes are unable see. Revealing the images created by these unseen energy waves will need quartz lenses and black filters and familiarity with ultraviolet photography skills.
-
Fluorescence photography – This is initially similar to ultraviolet photography because it uses ultraviolet lighting. However, the recorded image is not that of ultraviolet radiation but the visible image produced when objects are illuminated with UV. This is why fluorescence photography is normally conducted in the dark so that other visible light radiations will not interfere with the final image.
Advertisement -
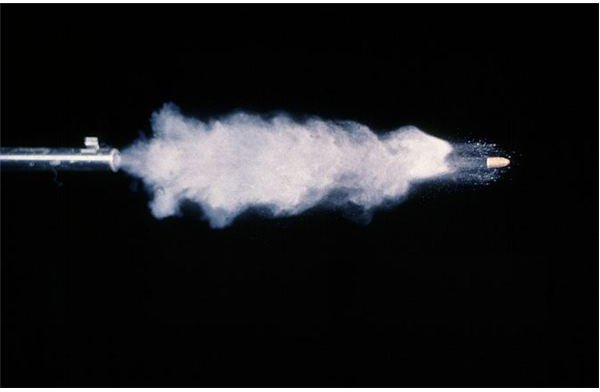
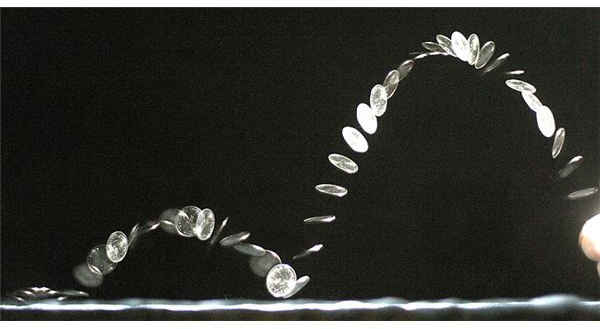
High-speed photography – This is used for taking images of events that happen too fast to capture with a regular camera. The usual gadgets used are intervalometer devices, spinning mirror, and a source of pulsed lasers.
-
Schlieren photography – This produces images of the flow of fluids (e.g. air and liquids) when there is a disturbance or shock waves. Some of the equipment used are scanning diode array cameras, electronic video recorders, and twin-lenses for obtaining 3-D hologram images.
Advertisement
The scientific photographer
Practically anyone can become a scientific photographer, as long as there is a strong interest in science and a willingness to learn the use of a wide variety of sophisticated equipment. This is because scientific photography can be done even when the photographer is on earth and the “equipment” is floating in space. The scientific photography career is usually associated with research laboratories, hospitals, universities, pharmaceuticals, manufacturers, and even the military. The job does not bring fame, but it does have a regular paycheck because most scientific photographers are considered employees, not freelancers. Scientific photography courses and training are offered at various colleges and trade schools. For more information about scientific photography, check out Sidney Ray’s book “Scientific Photography and Applied Imaging .”
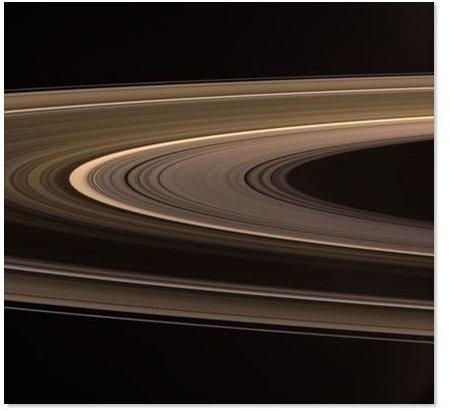
Examples of Images from Scientific Photography