Creating a photo family tree is a great way to teach children about family history. It also makes a beautiful display item and is inexpensive and fun to do! This article will show you how to make a photo family tree and provide you with tips on how to make it look fantastic.
What You’ll Need
-
Printed snapshots of all the family members you want to include
-
Family group photo (if you have one)
Advertisement -
Markers
-
Decoration material
Advertisement -
Glue Stick
-
Poster Board
Advertisement -
Poster Frame
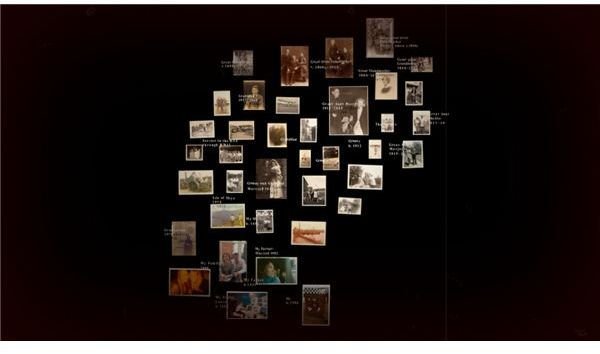
Family Tree (Click to Enlarge)
How to Make a Family Tree!
- Lay the poster board flat on a clean table with lots of access to the poster board so you can move around it.
- Place your family group photo in the center. It looks very nice if this photo is larger than the rest, a 5x7 or even an 8x10. Don’t glue anything yet!
- Lay out the other snapshots around your family. One easy way to organize it is to have the paternal relatives on the left and the maternal relatives on the right, starting with a generation above. This will depend on family size, which is why you shouldn’t start gluing until you have it organized the way you like.
- Once you have it organized, glue the snapshots down.
- Start drawing lines from snapshot to snapshot. You can make it a thick black line and write the connection along the line, or a thin line and leave the explanation blank.
- Because this is something for posterity, around each photo you should write who is in it, and if possible, when the picture was taken. More information is better than less!
- Decorate the blank space with the decoration materials as you see fit. This is your opportunity to really personalize your family!
- Once the poster looks the way you want, let it dry completely overnight. If anything is rippling or warping, place a heavy book over the spot.
- Frame the family tree in the poster frame, and proudly display it somewhere in your home!
Tip: When choosing your poster board and decoration supplies, consider the colors you are going to use. White frames around your photos will look great on a black background, and contrasting colors can help draw the eye to specific photos.
This is a beautiful, inexpensive craft and can be a great way to keep family close by (especially in a child’s room!) if your family doesn’t live close by. Also makes a wonderful holiday craft to get excited for the holidays! This makes a very nice gift, but I think it’s best when you personalize it with your own family touch!
Photo Credit:
https://www.castalle.com/files/family.jpg
This post is part of the series: 10 Fun Photo Craft Projects!
This article series will provide you with 10 fun and inexpensive photo craft projects. With easy-to-follow instructions and helpful tips, your digital photographs will finally get the attention they deserve. These photo craft projects are great for the whole family…even teenagers!
- 10 Fun Photo Crafts - Get the Most From Your Digital Photos!
- Learn How to Make Personalized Photo Bookplates - A Fun Photo Craft Project!
- Create Your Own Photo Stickers with this Fun Photo Craft!
- Learn How to Make a Photo Family Tree - An Inexpensive & Fun Craft Project
- Wall of Photos - Perfect Photo Craft Project for Teenagers
- How to Make a Photo Tote Bag - Save Money by Doing it Yourself!
- How to Make Photo Frames from CD Cases
- How to Make a Memory Board to Display Photos
- How to Make a Photo Bouquet - A Great Craft Project that Shows Off Your Photos!
- How to Make a Photo Coloring Book
- How to Make a Corkboard Photo Frame!


