Here is a look at how to compress JPEG photos in Apple’s Compressor.
A Special Option for Apple Compressor
What we consider “video” has changed quite a bit as we have moved around in the world. Much of the “video” we see on websites like YouTube are actually just a single JPEG image with an associated audio track, mainly an excuse to hear the song in a streaming format. Because we may be focusing on JPEG images with our video post-production software we have to alter our workflow slightly and focus on video conversion and video compression formats that fit that need specifically. What this does is uses Apple Compressor’s video compression capabilities for compressing photos and photo format conversion. Apple Compressor maintains the ability to compress videos for the JPEG photo format with a codec preset that they have for this exact purpose. Here is a step by step Apple Compressor tutorial on how to compress photo JPEGs.
Compressing a Photo JPEG
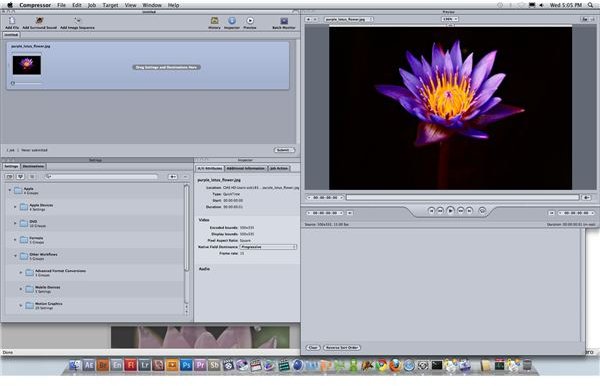
The options you have when dealing with a photo JPEG in Apple Compressor for compressing photos and format conversion are much different. If you just open a photo JPEG in Apple Compressor you are essentially going to get a very brief video of the image. Instead, if you export it in Final Cut Pro you will actually be exporting it as a movie file in a certain way where you have altered its length and added an audio track. To be sure, when you are using the photo JPEG codec options in Apple Compressor you will have an audio track to follow it. If you are exporting it as a video then you may just want to use a more standard QuickTime format.
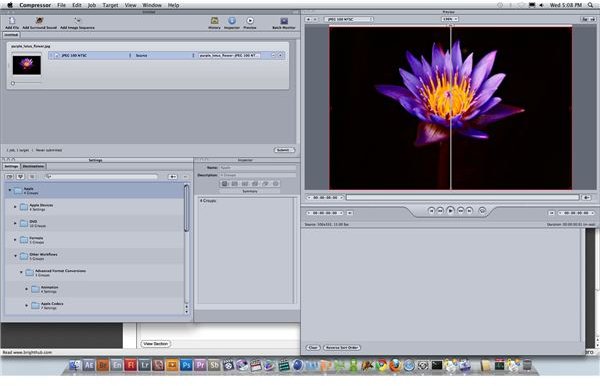
Once you open up the photo JPEG in Apple Compressor for photo compression go ahead and set the Target in the Destination menu. From here go down to the Settings window below, select the Settings tab, and then choose the Apple folder. From here you are going to want to select Other Workflows, which is at the bottom right below Formats. In this list you are going to get some more alternative video codec options to choose from. You will want to select the obvious Photo JPEG, which is right below High Definition and above Standard Definition.
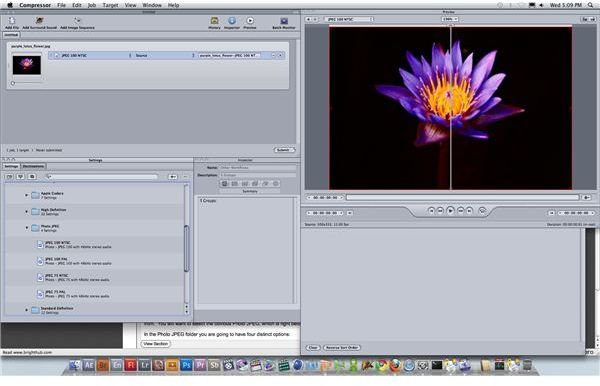
In the Photo JPEG folder you are going to have four distinct options: JPEG 100 NTSC, JPEG 100 PAL, JPEG 75 NTSC, and JPEG 100 PAL. The same principles apply for photo JPEGs in Apple Compressor as they would with more standard video compression and you will be selecting NTSC if you are in the U.S. regions and PAL if you are in Europe. The purpose of this video codec option for photo JPEG is to allow the still photo be viewed as a video that could be broadcast in a specific way, which is determined largely by location or region. This is not to say that compressing it here will turn it into a video of any length, which it will not, but it will allow the file to be approached as such. This photo conversion process is actually what allows compressing photos to hold a lot in common with video compression. It is going to transfer it into a QuickTime format and you can then use it in the same way as you would, which also means importing it into other post-production software
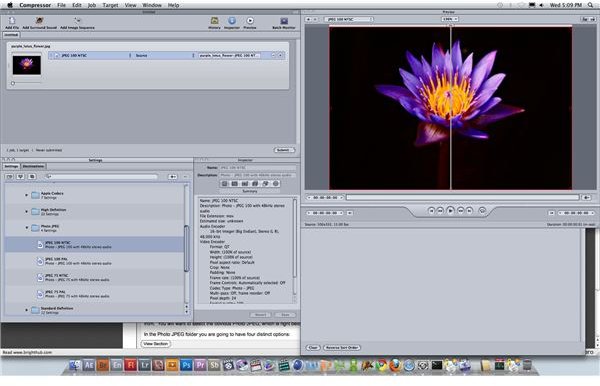
where it is easier to work with a QuickTime file .
From here you just choose the video codec that you want for your photo JPEG, drag and drop it up into the project window above, and then select the Submit button. As long as you set the target previously the compression and conversion process will begin and you can watch it in detail by selecting the Batch Monitor. When compressing photos is completed you will have successfully converted the photo JPEG to a .mov file, and the process should be fairly brief.
This post is part of the series: Special Apple Compressor Situations
Here are Apple Compressor tutorials with unique situations or very specific uses of the software.


