The act of writing and shrinking your video is essential for switching formats, but there are a lot of decisions that have to be made.
Video editing projects are incredibly memory (RAM) intensive as real time video takes quite a bit out of the computer at any given time. To save memory the editing program does not fully render all the video, meaning that some of the video remains not completely ready for viewing and then before the video needs to be printed or watched in full the video is prepared for full use. This process can be somewhat extensive for larger processes. There are choices that you can make to direct the rendering in one direction or the other.
Manual Render
The first thing you need to do is check the settings on your editing software. Before you export you need to figure out if you need to manually render the project or if it will do it on its own. It will likely do it automatically, but to be safe you might as well do a full render before exporting. This is extra important if you are going to print it directly to a tape format .
Codec
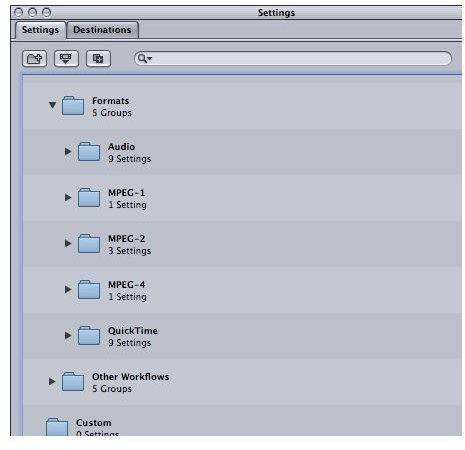
When exporting to a digital format you have to decide what kind of codec you wish to have it in. MPEG-2 is often used for DVD compression, and it is not a bad choice for any other type of distribution. You can also go with things like QuickTime or Windows Media, but these are going to be incredibly large file sizes. Today we are dealing with RED footage, the high quality Apple Pro Res, the portable H.264, and other codecs, all of which have different purposes when employing new HD formats . In general, you are going to need to consider how it was shot, what platform you are using, how large the file size can be, and how high quality the image must be.
Resolution
The most important issue in normal rendering is how good the resolution should be. This is really a choice of file size, with the better resolution being larger. Check the space you have on your format and then choose how good you want the render to be. There are usually clear automatic options available in your compression software.
Audio
Audio is often selected for render and compression separately, so you have to select a codec for that as well. The most common of these is
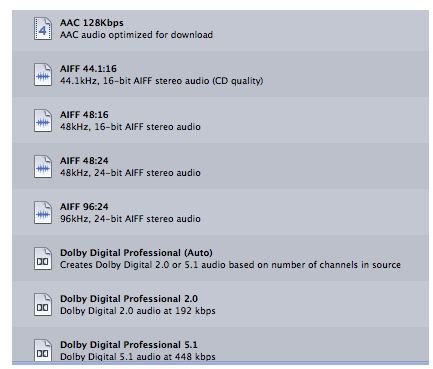
AC-3, especially if you are going to be importing the compressed files into a DVD authoring software. Remember, audio compression runs completely different than video compression . Unlike video compression, audio compression simply shrinks the dynamic range.
Singular File Type
If you are not going to use a physical medium like a DVD then you will probably want the video to be one file instead of the audio and video separate. This will make uploading it to a website or transferring it to another computer easier. This is a choice that is made during render and compression and the last decision that is usually made.
References
Source: author’s own experience.
Photos: Screenshots by Shane Burley.
This post is part of the series: Video Editing Functions
Here are articles with tips and guides for specific video editing functions.


