Scanners make the creation of digital copies of documents easy. Most scanners have several different settings options to choose from, however, so it’s important that you are choosing the best document scanning settings for your specific documents.
Scanning Settings
When scanning documents , your scanner will have different settings available for use with different types of scans. Finding the best document scanning settings for the specific documents that you’re scanning requires that you understand how these different settings work so that you can get a quality scan that is easy to view or read.
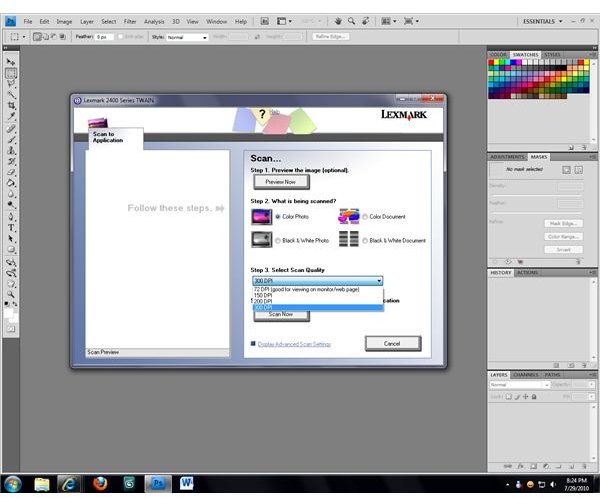
The first of the settings that you will need to consider is the scan type. While the options available may differ slightly depending on the type of scanner that you use, most color scanners feature options for black-and-white photos, color photos, color documents, and black-and-white documents or line art. Each setting is designed for different purposes, and choosing the wrong setting for your document can result in blurry text or colors not being represented correctly.
The other setting that you will need to consider is the scan quality. This is measured in dots-per-inch or DPI, and is an indication of how many sections the image will be broken into within each square inch of scanned space. A low DPI setting results in a low resolution image which has a small file size, while a high DPI setting results in a high resolution image with a much larger file size.
Document Considerations
To choose the best document scanning settings for your documents, take a moment to consider exactly what type of document you will be scanning. Consider any images that might appear in the document, how much text it contains, and whether part or all of the document is in color. You will also need to consider whether you want the paper color and grain to appear as part of the scan; if you’re wanting a full copy of the document then you might, but if you just want the document’s contents then you likely won’t. As different settings will give you different results, it’s important that you have a good idea of what you want the final result to be before you begin adjusting your scanner’s settings.
Choosing the Best Settings
Once you know how you would like your scanned document to appear in the scanned image, choosing the best document scanning settings for it is easy. If the document contains color then you will want to select either the “Color Photo ” or “Color Document” options; choose the “photo” option if you want the scanned image to capture all of the document (including the paper), or the “document” option if you just want its contents. If your document doesn’t contain color, choose one of the black-and-white options using the same criteria.
Selecting the quality setting for your document is a bit more objective. A higher DPI will result in crisper images and more readable text, but will significantly increase the image file size. Avoid low DPI settings unless you only want a very basic scan, however; small or closely-spaced text may not be readable, and images may not retain their clarity. A quality setting between 200 and 300 DPI will be sufficient for most documents (and may be the maximum allowed, depending on your scanner and its software.)
Image Credit: Screenshot by J. Edward Casteele


