Using Microsoft Publisher to make Halloween sticker sheets can be a fun, easy project to involve your kids with this Halloween. Even though the instructions here are geared towards Halloween, they can easily be modified for any holiday or special occasion.
Gather Your Supplies
The first thing to do in preparing to make stickers with Microsoft Publisher is to pick out some labels from the office supply store for the project. You can use any type of label you like, but for Halloween stickers, I like Avery’s 3/4“ round, orange labels (product 5465). Picking out labels that already have some color in them can make things easier on your printer. In fact, since the traditional colors are black and orange, the orange labels are great for providing color to items printed on a black-and-white printer.
Designing Your Stickers in Microsoft Publisher 2007
Although there are several software applications you can use to create your sticker designs, Microsoft Publisher makes the process quite easy.
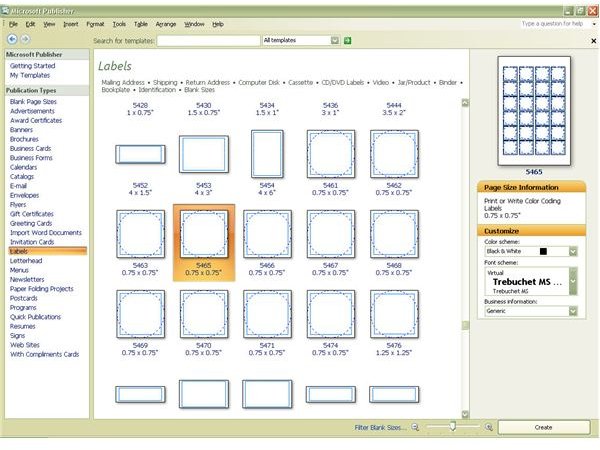
Once you’ve opened Microsoft Publisher, select Labels from the left panel under Publication Types. Then, from the listing at the top of the middle panel, click on Blank Sizes. Scroll through the selections until you either find the template for your label or the one closest to it. You shouldn’t have much difficulty here because Publisher 2007 comes with templates for almost every label under the sun.
Note: Click any image in this tutorial to enlarge the picture.
This step isn’t completely necessary, but I usually go ahead and choose the Black & White Color Scheme. Any additional color that we want to add can be done while designing the stickers or will come directly from the images that we’re going to place on them. Click Create when finished here.
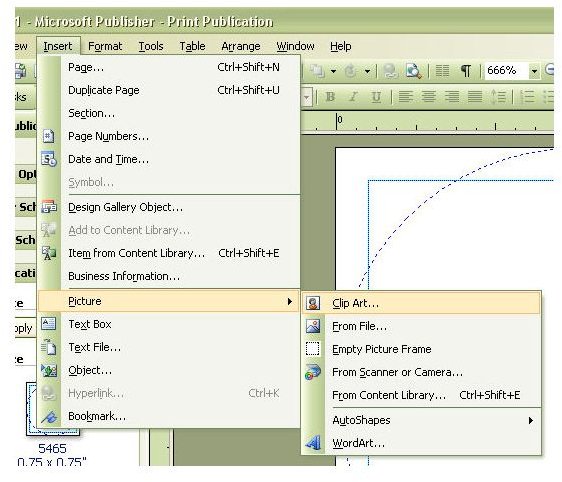
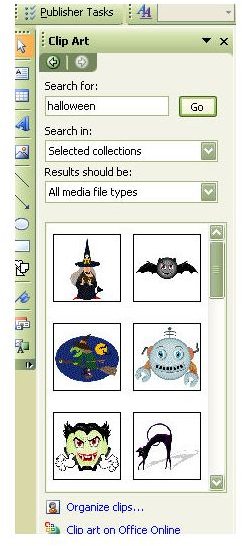
Now it’s time to find some images for our stickers. From the Insert menu on Publisher’s main tool bar, choose Picture and then Clip Art. This action will open up the Clip Art window in the left panel of Publisher.
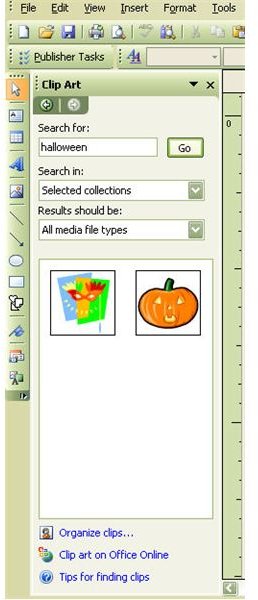
Here, you can do a search on Halloween to view any related clip art that came packaged with Publisher or that you have already downloaded. If there isn’t anything you like, click on Clip Art on Office Online to see what other images might be available for download. Or, check out Laura Jean Karr’s article on Free Halloween Clip Art .
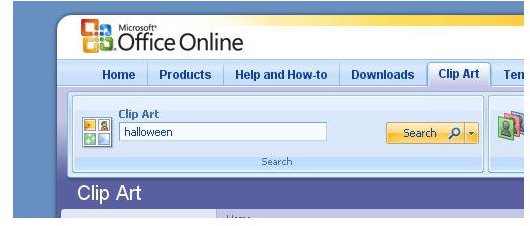
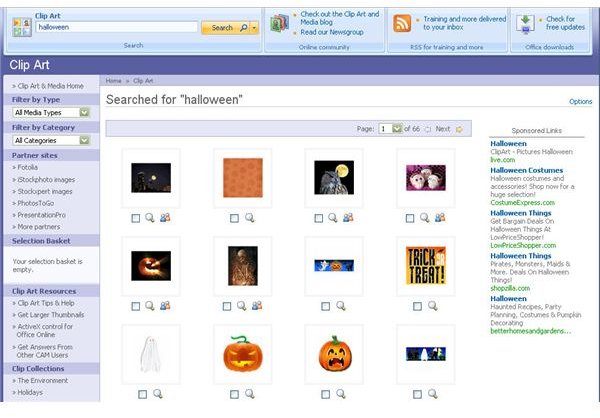
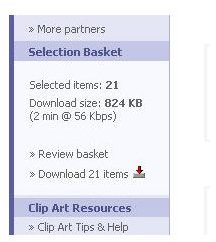
If you choose the Clip Art on Office Online option, a window in your browser will open to the Office Online Clip Art site. You can enter “Halloween” in the search box to look for related images. After the search is complete, you can browse through all the images and pick the ones you want to download. Instead of downloading one at a time, just place a check in the box next to the images that interest you and keep browsing. When you’re finished going through all the images, you can download all the checked ones with one click.
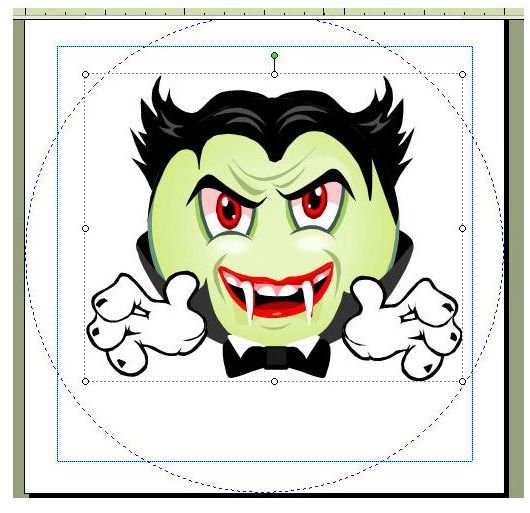
Once you’ve downloaded the images into your Clip Art Gallery, perform the search for “Halloween” again in Publisher. Your new images should show up now. Select one you like and it will be placed in the label. You can use the picture tools to resize and modify the image as you wish.
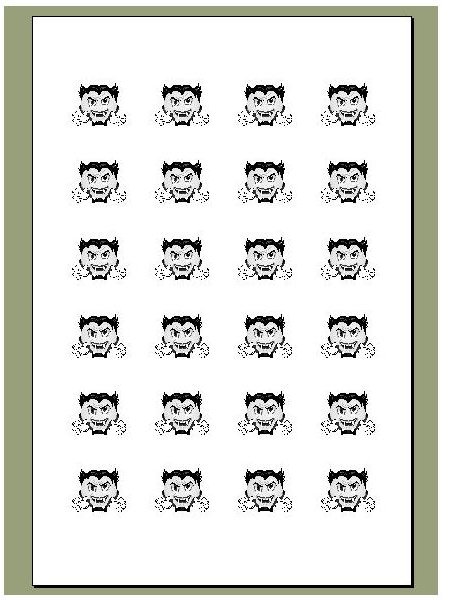
Before printing, you can use the Print Preview option located in the File menu to take a look at how your stickers will appear. Then, when you’re satisfied with the results, place the labels in the printer and print.
This technique can be used for any other holiday or special occasion as well. In fact, it doesn’t even have to be a special occasion - all you need is a sheet of labels and any fun image to create a sticker page that your kids can share with their friends.
This post is part of the series: Kids’ Crafts
Craft projects you can make with, or for, your kids using desktop publishing software.


