Ready to use the free open source alternative to all those pricey desktop publishing programs? Well, here we go.
Install
Installing Scribus is pretty straightforward. Get the latest stable release download from Scribus.net and follow the install instructions for your operating system. I’ll be using Windows XP so you can follow along if you are too. Otherwise, there are specific directions for other operating systems here: https://www.scribus.net/?q=downloads
For Windows, you also need Ghostscript and it does not come bundled inside the Scribus package. Ghostscript is housed at Sourceforge, so you can do a search there or this link should get you there: https://sourceforge.net/projects/ghostscript/files/AFPL%20Ghostscript/6.0/
Both programs work in standard Windows fashion. Double click the exe files then follow the wizard. For Ghostscript there are no options other than the directory to install in. For Scribus, just take the full install for now. Someday, you might want to tweak it, but not until you know the program better.
You’ll need a way to read PDF files in order to check your work. The standard Adobe Reader is free from www.adobe.com . I also like to use Foxit Reader, which is much smaller, takes way less memory, and loads a lot faster. If you’ve ever clicked on a web page link to a large 20-plus page PDF file and then waited for two minutes before your computer started responding to your keyboard again, you were waiting for Adobe Reader to start up in your browser. It can load faster if you let a stub load at startup, but then you are wasting memory for all that time you are not using the reader. Use Foxit as your default viewer inside Firefox or IE and you won’t have that super delay anymore. However, when it comes to complicated PDF files (and Scribus can make some doozeys if you push it) nothing works as well as the Adobe Reader, so you’ll need it too.
Windows (and Mac) come with a Color Management System (CMS) built in. The purpose of color management is to match what you see on your computer screen with what shows up on your printer, or more specifically, what shows up on the machines at your printshop. We won’t get to color management for a while, but if you want to get everything all at once, look into a program called Little CMS at www.littlecms.com . As I said, Windows comes with CMS built in, so you won’t have to have this, but Little CMS is cross platform and “little” so it can come in handy. It is small enough it won’t hurt to have standing by on your computer just in case. If you already know about CMS and have implemented it for Photoshop or something else, then you won’t need to re-invent the wheel here.
Take a Look
OK, enough with the foreplay. It is time to fire this baby up.
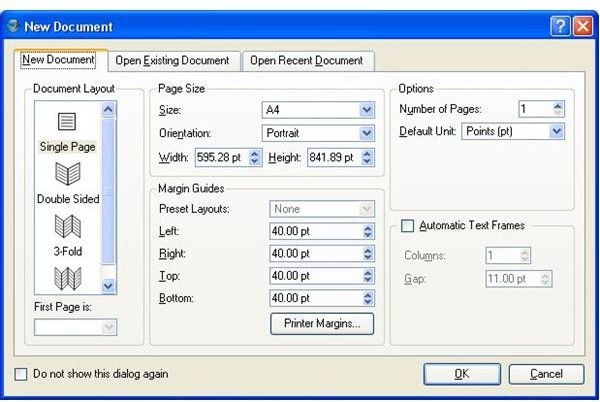
When you first start up Scribus, you will get a New Document window. (Figure 1) Scribus is written primarily by developers in Europe so you’ll see a lot of defaults accordingly, everything from mm to page size. For our purposes we are going to start off easy and home based, so we’ll change the page size to Letter instead of A4 just to avoid any unpleasantness when we go to print later on our regular printer paper. Also, we are going to start easy, but not boring, so go ahead and pick mm for our Default Units (we’ll be measuring for now), 3-Fold for our layout, and Magazine for our Preset Layout. We’ll take the defaults on everything else, but look around so you can see some of your options. Click OK.
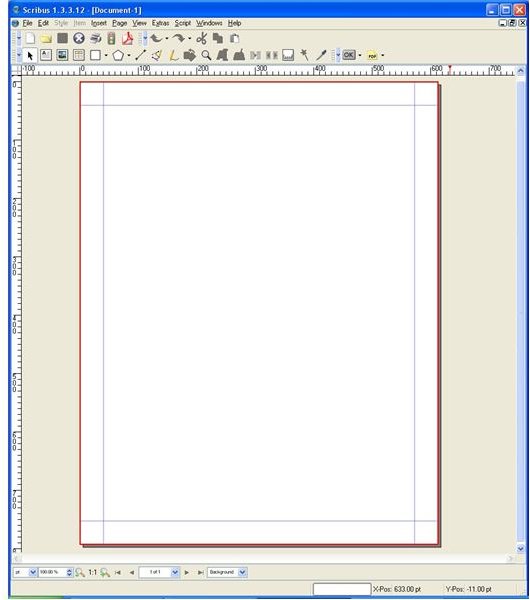
Now, we are looking at the actual Scribus program. (Figure 2) You’ll notice that in some ways it looks very much like a word processor with Layout view on. A lot of first timers to DTP jump right in and start typing here. It can be done, but remember that this isn’t word processing, this is DTP. We are mostly concerned about layout. In fact, depending on who you are doing this for, someone else might be doing the writing. Yours truly is a professional freelance writer , so let’s pretend that I’m handling the text just to keep us focused. (I also do DTP and a pretty good job, thank you :) )
This layout can be customized to your needs. For now, we’ll stick with the standard, but you can get buttons you don’t need out of here, and buttons you do need up in a prominent position. The blue lines mark our margins, and the red lines mark our physical page.
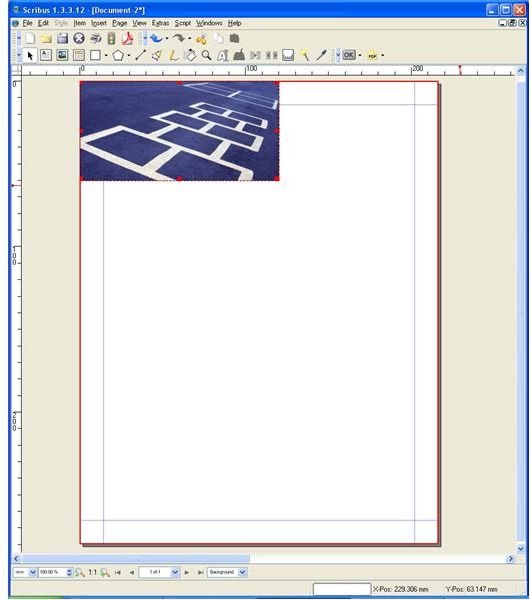
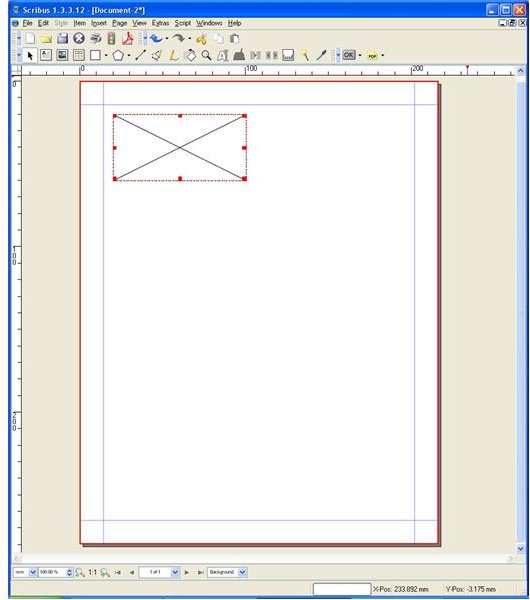
Since we have a professional freelancer doing our text, we’ll start with an image, the company logo which we want in the upper left corner. The thing that looks like a picture of mountains is the picture tool. Click it and you’ll get an icon to draw in the frame with. Click where you want one corner to be and drag it to the opposite corner. Don’t worry about placing it, we’ll get to that, just draw some sort of rectangle. (Figure 3)
You can reposition the frame by dragging it or resize it by grabbing one of the red squares and dragging the frame out or in.
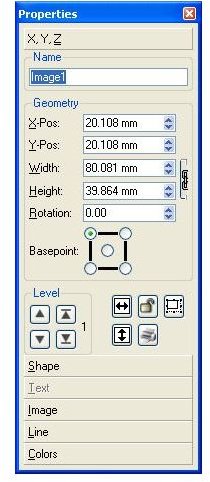
With the frame selected (red dotted line highlight) click Windows -> Properties (or press F12). (Figure 4) The properties window allows you to set all of your objects, not just images, so we’ll be back here a lot. Change the Name to something usable, in this case, Logo. Then set the X-Pos: and Y-Pos: to 0.000 mm. Change the Width to 120mm and the Height to 80mm. If it is changing either the height or width when you set the other it is because you have the values linked. Click the little chain link next to the width and height fields to get it to stop. We can do a lot more here, and we’ll be back. For now, close the properties box.
Now, let’s get our image. Right click inside the image frame and you’ll get a menu. Choose get image and it’s browsing time. To avoid any lawsuits we’ll use a random image from Microsoft’s Clip Art website. Select your image and there we go. (Figure 5)
Next Up, we’ll finish up with that image, and we’ll start getting into our layout.
Images
This post is part of the series: How To Use Scribus The Free Desktop Publishing Application
Scribus is a powerful desktop publishing solution. Unlike its very pricey cousins from Adobe and Quark, Scribus is also free. Don’t let its price fool you though. If you know what you are doing, you can do almost anything in Scribus.


