If you’ve ever wanted to learn the basic screen printing techniques to help you get started, read on! Here you’ll learn what you need to silkscreen print, the techniques involved in inking and transferring your design to your project, and how to make your design last longer with heat.
What is Screen Printing?
Screen printing, or silkscreen printing, is a stencil method in which you take a piece of mesh fabric and use it to transfer ink or paint to another surface. Most commonly, screen printing is used for high quality shirt designs. Because it involves fabric paint, screen printed shirts tend to last much longer than ink transfers. However, it is not uncommon for screen printing to be used on things such as balloons, business cards, and various other forms of merchandise.
The history of screen printing dates back to ancient China, as the methods are not entirely dissimilar to block printing. However, screen printing was perfected in Japan and China, when they began using screen printing. It still remains a popular practice and beginning screenprinting as a hobby is growing in popularity. Here, we’ll give you some neat tips and tricks to help you perfect your basic screen printing techniques.
When Assembling Stencils…
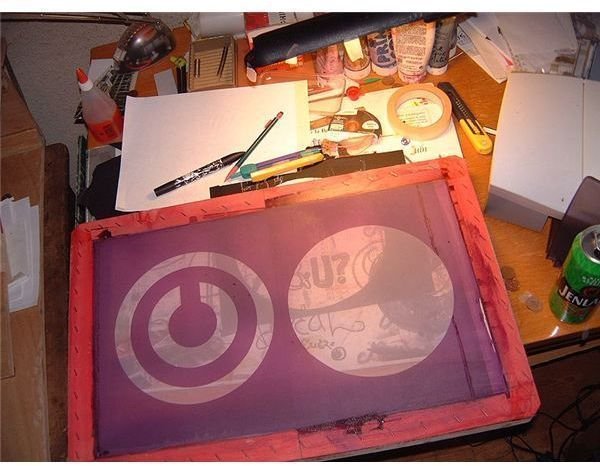
You could buy specialty stencils for your screen printing endeavors, but realize that you would be paying for things that you could easily do yourself. All you really need to make your stencils is the fabric that is talked about above, and then a few pieces of scrap wood. If you cannot find scrap wood, you can often buy lengths of wood from local hardware or home supply stores for incredibly cheap. Realistically, for a yard of fabric and 60 inches of wood for your frame (if you want to make a 15"x15" stencil, a great size for a beginner), you can expect to pay under ten dollars. Just remember that when you stretch the fabric over the wooden frame, that you hold it very tight with staples, and stretch it as evenly as you possibly can. This will ensure the best results when you begin the inking process.
Photo Emulsions: Techniques for Using & Curing
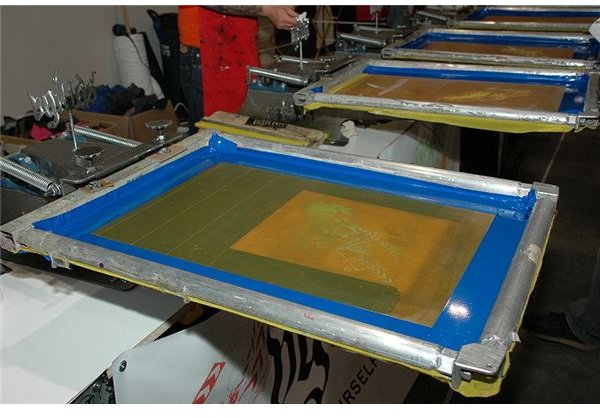
Photo emulsion, or photo sensitive emulsions are substances that harden when exposed to direct sunlight or other forms of bright light. This is one of the most common, as well as one of the easiest ways to go about creating your stencils. Also make sure that while you are working with the photo emulsion, keep them out of direct sunlight! After you finish painting your mesh with photo emulsion, you’re going to have to dry (or cure) it in a dark place for at least twelve hours, but you can safely cure most stencils for over a month! Just store them in a dark cupboard, unused bathroom, or closet, and make sure they stay away from sunlight or other sources of bright light.
More tips for how to pick out fabrics, inks, photo emulsions, and more, check out Screen Printing at Home: What Do You Need to Get Started?
Proper Technique for Creating Your Stencil
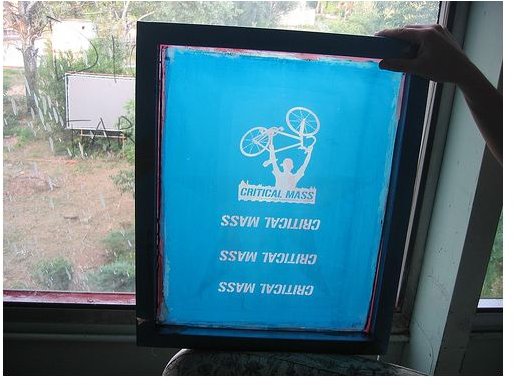
To create your silk screen, you have to create your design on a clear sheet of acetate. You can take a design to a local print shop and have it printed, or simply trace over it with a black permanent marker. Make sure that when you are done, you cannot see through the stencil design at all, which may involve you needing to go back over it with some black acrylic paint. Then, take a cured blank stencil, and place your design over it. Simply cure it in the sunlight for however long the instructions require you to. However, if you don’t have the amount of sunlight needed to create your stencil, you can also use a halogen flood light, just be careful not to burn yourself or your stencil - halogen light bulbs get very hot!
If you don’t want to create your stencils freehand, you can always create stencils for screen printing with Photoshop , it’ll help you get started in no time flat!
Painting Techniques
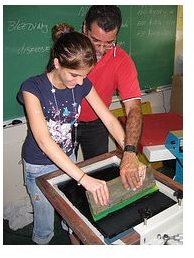
After you have exposed your stencil and washed off the excess paint according to the manufacturers directions, it’s time to start painting! This means you’ll need inks or paints suited to your project. Most likely, you’ll be using fabric paints which can be purchased at craft stores and on the Internet for fairly cheap if you don’t mind buying larger quantities.
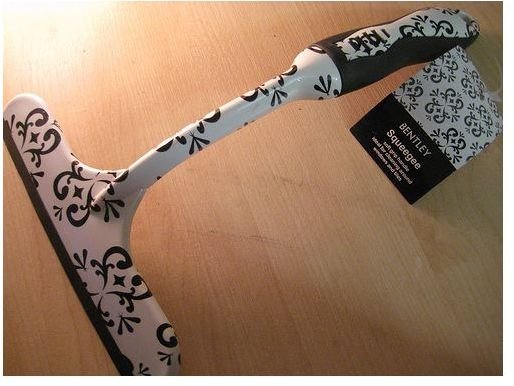
Make sure you purchase a squeegee with a rubber blade and a comfortable handle for this part! You can typically find these in home improvement stores and they’re not too expensive to buy.
To start, lay your stencil down flat on your piece of cloth, and make sure there are no wrinkles under it.
Then, pour a line of ink or paint that spans the whole way across the top of your stencil design, just above it. With the rubber blade of your squeegee, drag the paint down using firm, even pressure. This will transfer your design flawlessly to your fabric!
Make sure you use enough ink or paint that you can coat all of your stencil easily, and go back over it if you notice there are areas that need a second coat. When you are done, remove the stencil carefully, and immediately, and wash the stencil under warm water. This makes sure that you can use it again, and prevents your fabric from drying to the stencil if left there too long.
Techniques for Heat Setting Your Design
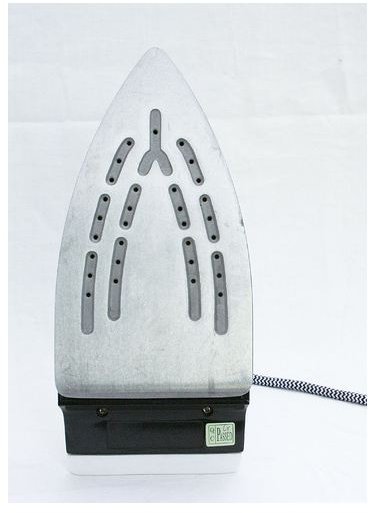
Often times, a fabric paint or ink will require you to heat set it before you can wash the finished project. To do this, make sure your piece of fabric has dried for at least 12-24 hours. When you are absolutely positive that it is completely dry, take your iron on a dry, medium heat setting and iron over the design a few times.
The most important thing to remember that you need dry heat, so make sure that your iron is completely free of water and not on a steam setting if it offers that feature. Wet heat could ruin the design that you’ve worked so hard on!
References
A majority of the information in this article is based on the author’s experience in silkscreen printing.
History’s Influence on Screen Printing’s Future by Gordon Roberts, https://www.screenweb.com/content/historys-influence-screen-printings-future
Image Credits:
https://commons.wikimedia.org/wiki/File:TeeshirtCopyleft_cadre.jpg
Squeegee by ChicGeek
SilkScreening BellaPelle logo on a Tshirt by Michele Ursino
Silkscreen by Michele Aquila
Iron by Emily Walker
Silkscreening @ UPRC by Jose Izquierdo
https://commons.wikimedia.org/wiki/File:Maker_Faire_2008_San_Mateo_246.JPG


