Screen printing is a fantastic way to create unique products for yourself, your small business, or your non profit organization. However, there are a few things you need to learn before you begin, and this article features some very important screen printing tips for all you beginners out there.
Be Budget-Minded
One of the most important things you need to remember is don’t break your budget if this is your first time. Realistically you should not be planning on offsetting the cost of production with your first few tries. Using cheaper supplies will still yield good results as you become more comfortable with the process. So go ahead and buy the cheaper photo emulsion, reuse those old mesh net curtains collecting dust in your closet, and try your hand at building your own cheap wooden frames. It’s a learning experience, after all!
Read Instructions…

One of the most important things you need to do is make sure you read the instructions included with all your dyes, inks, and paints, as well as your photosensitive (photo) emulsion. This includes curing times, ways to develop photo emulsions, dry times for inks and dyes, and how to get the best life out of your finished product. For instance, a lot of paints require you to heat set them with an iron, while some inks require special settings for the wash so they don’t run or fade.
… And Safety Labels!

Before you even begin screen printing be sure to read all the safety warnings on your packaged products. I actually highly recommend reading these before you purchase the product. You especially need to pay special mind to any safety precautions that the manufacturer recommends you take, such as working in a well ventilated area, wearing a respirator, wearing gloves, or wearing goggles.
And even if the manufacturer does not recommend it, it’s still not a bad idea to work with photo emulsions, inks, and dyes in well ventilated areas. Even though they might not have a strong smell, some of them can be harmful to your lungs and eyes. So go ahead and crack open the window and let in a fresh breeze. These are also projects that can often be done outside on the patio or picnic table, just make sure to cover all areas with drop cloths so you don’t ruin anything.
Cure Away From Light
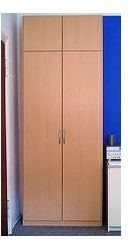
Cure your photo emulsion in a dark, cool area, such as a closet, cupboard, or spare bathroom. The goal is to avoid exposing it to any light, at least for 24 hours. However, if you’re going to be making your screen printing stencils, you might want to make several at a time and cure them in a spare cupboard for up to a month.
Alternative Developing Methods
When developing photo emulsion, if you live somewhere where you don’t get a lot of direct sunlight due to weather or season, you can recruit the help of a cheap UV bulb or a halogen flood light. Just make sure to follow the time according to the instructions included with your photo emulsion. This time can vary wildly from brand to brand, and the last thing you’ll want to do is ruin a stencil by not letting it develop long enough.
Resources
Author’s experience with screen printing & design
Image Credits:
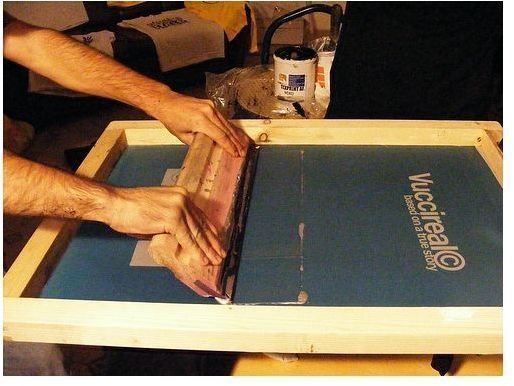
Vuccireal / Gotaste (Palermo Screen Printing) by cicciostoky - https://www.flickr.com/photos/cicciostoky/2076039435/
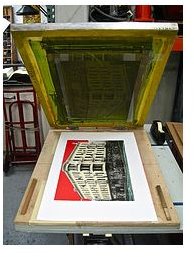
Screen Print | Defenestration by Lars K, - https://www.flickr.com/photos/solsken/4409272387/
https://commons.wikimedia.org/wiki/File:Toxic.png
https://commons.wikimedia.org/wiki/File:Contemporary _cupboard.jpg
art by mags screen printed scarves by Mallory - https://www.flickr.com/photos/uproar/449084833


