One of the great things about Paint Shop Pro is that the software lets you create and save your own unique designs for textures, brushes and other elements to use again in future projects. In this tutorial, we’ll show how easy it is to create a marble texture.
Creating a Marble Texture From Clouds
One fairly straightforward way to create a marble texture in Paint Shop Pro is to start with a digital photo. Of course, you could always use a photo of actual marble to do this—but, a good marble photo can be hard to find. On the other hand, there are lots of great free photos of clouds lurking around on the Internet!
Yes, a standard trick that works with most image editors is to use clouds as a basis for marble textures. With a couple of adjustments, these cloud photographs can be transformed into very unique textures. I’ll walk through an example of how to do this.
This tutorial was created using Corel PaintShop Photo Pro X3 , but the basic steps will work in older versions of Paint Shop Pro as well. A similar technique will work in other image editing applications also.
Click on any image in this article for a larger view.
Step 1: Finding the Initial Cloud Image

First find a sample cloud photo that you like. You could either use a photo from your own collection or search through free image sites. See Top Five Free Sites for Royalty-Free Photos and Drawings for a list of places you can search. These sites generally have tons of images that feature all types of cloud formulations, so you shouldn’t have much trouble finding a few you like. Note that we’ll be cropping the image so it’s not necessary for the entire image to feature the sky. Any landscape photo with an ample amount of clouds showing will do.
For this example, I’ll be using the photo shown to the right.
Image Credit: morgueFile/cohdra
Step 2: Cropping
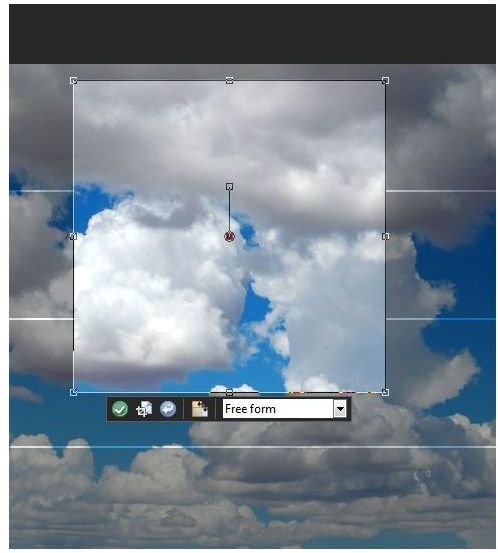
Open the cloud photo in Paint Shop Pro and select a square section of the photo to crop. Experiment with this step and have a little fun. Since the look and feel of the final texture will depend on which section you choose to crop, you can actually get infinitely many different marble textures from one photo!
How large an area should you crop? That’s entirely up to personal preference, but I generally like to crop a 1200 x 1200 pixel region and then resize it to 300 x 300 pixels. By doing this, I crop enough out of the original image to give the texture some variety, yet I’m resizing the entire cropped selection to be smaller so that the texture file can be used on a variety of images.
Of course, if you want to use the texture on larger images and still have a lot of variety, you may want to keep your region fairly large. The process of creating a texture is fairly quick, so you can try a lot of different image sizes and cropped portions and just keep the ones you like.
Step 3: Converting to Greyscale
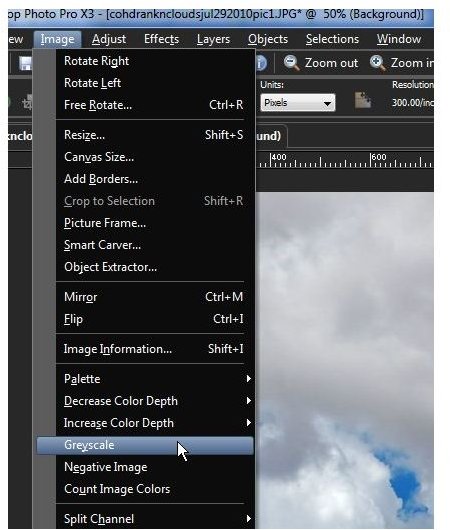
After cropping the image, convert it to black and white by selecting Greyscale from the Image menu. If you started with a black and white photo, you can skip this step.
Actually, you could wait until later in the creation process to convert to greyscale, but since you’ll have to do it eventually, it’s a good idea to do it right off the bat. That way, you’ll be able to see the transformation of the image better as you go through the rest of the steps in the process.
Step 4: Blurring the Image
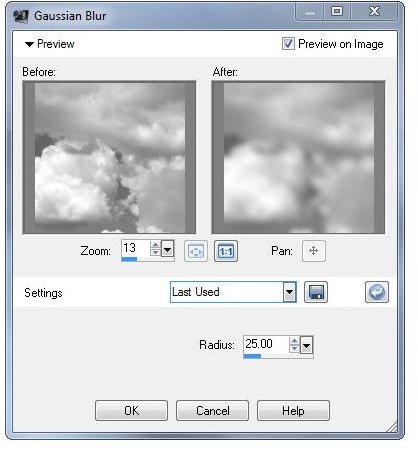
Now, we want to blur the image so that it starts to look more like marble and less like clouds. To do this, from the Adjust menu, select Blur and then Gaussian Blur. When the Gaussian Blur window pops up, experiment with the Radius setting and use the Before/After preview windows to get an effect you like. For this example, I’ll use a radius of 25.
Just as with the cropping step, choosing a different radius will result in a different texture. So, this is another area where you can completely customize the look of your final marble texture.
Step 5: Make the Texture Seamless
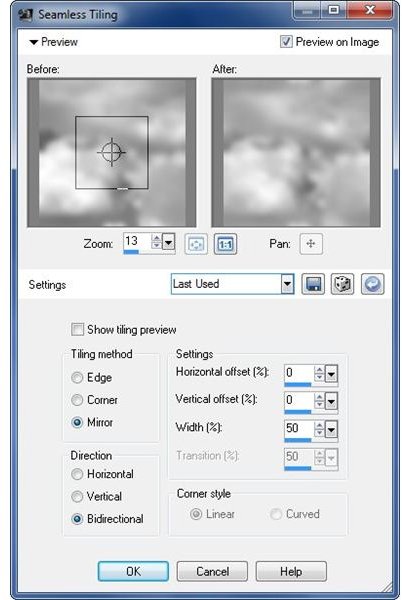
Since you’ll most likely be applying the marble texture to a wide variety of images with different dimensions, it’s important to make sure that the texture is seamless. From the Effects menu, choose Image Effects and then Seamless Tiling. When the Seamless Tiling window pops up, you can use the Before/After preview to help you pick the exact settings you want.
I generally select Mirror or Edge for Tiling Method and Bidirectional for Direction, but you can definitely play around with these settings to get different effects.
Step 6: Adjust Brightness and Contrast (Optional)
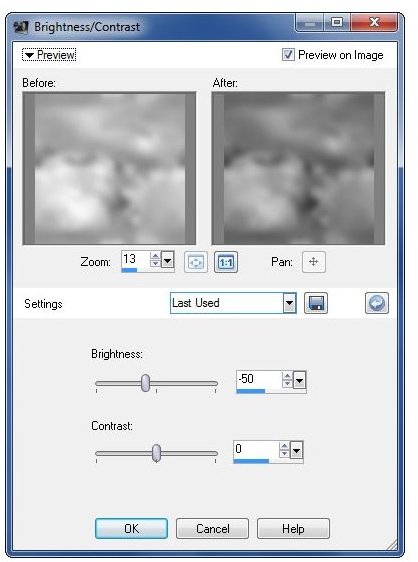
This step is entirely optional, but it can help you achieve more customization and detail for your marble texture. From the Adjust menu, select Brightness and Contrast and then pick Brightness/Contrast. Again, you can use the Before/After preview window to help guide the settings you choose here.
In this particular example, I’m leaving the Contrast alone and changing the Brightness to -50. This slightly darker image will make the marble texture stand out a little more when used on images with lighter colors.
Step 7: Save to Textures Folder
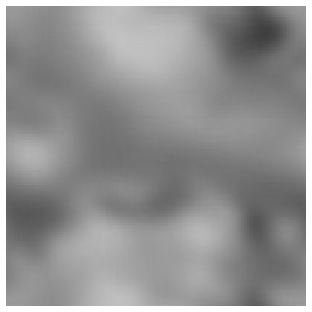
To make sure the new marble texture shows up in the texture list of Paint Shop Pro, you will need to save it as a BMP file to your Textures folder. This could be a folder that you’ve created and added to your File Preferences list, or you can just use the default folder (generally something of the form Documents/My PSP Files/Textures).
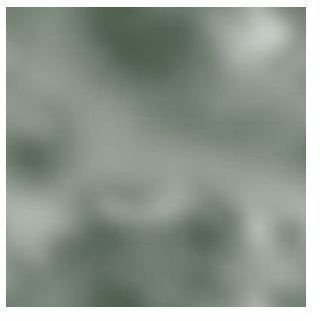
The actual texture we created is show to the right. By using the different texture settings, this single file can create several different effects. For more details on adding textures to images, please see Using Textures in Paint Shop Pro .
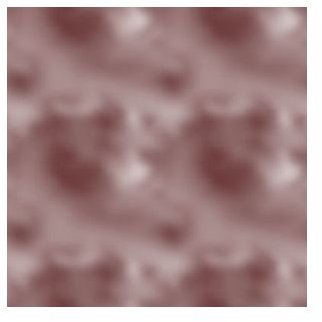
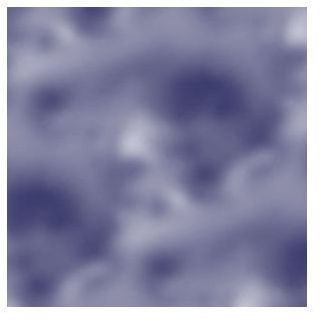
Below are some example of this texture applied to single color images.
Samples of This Texture in Use