Microsoft’s Pro Photo Tools, a free download, makes it easy to edit a photo’s header information. It can also help you find the GPS coordinates for your photos.
A Swiss Knife of Features (5 out of 5)
In addition to the geocoding feature covered in part one of this review, Microsoft’s Pro Photo Tools also allows you to edit other parts of the photo header. Some of the header fields are easy to understand, but others had me scratching my head. It obviously helps to be familiar with what a JPG header contains. The sections include Description, Date Time, Others, Categories, Shot, Camera, and Photographer.
Description (5 out of 5)
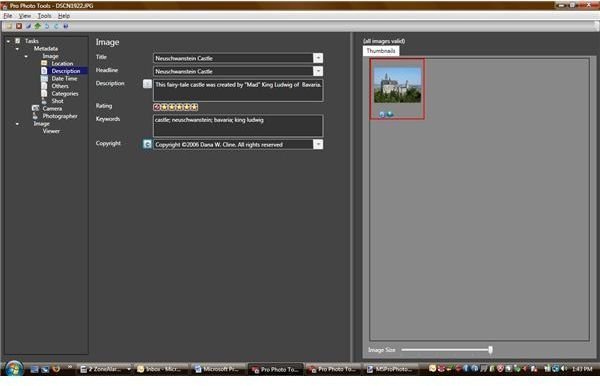
The Description includes fields for the title, headline, description, rating, keywords, and copyright. The title and headline fields are similar, allowing you to either type one line of text or select previous entries from a drop-down list.
The actual description field appears to be a multi-line text box, but I couldn’t seem to get it to wrap the text – if you keep typing, it just expands the field to the right. I tried shift-enter and ctrl-enter but neither would wrap the line. A button to the left of this field will automatically create a description from the camera information, but this also is on one line.
The rating field lets you select from zero to five stars. The keywords field allows you to enter keywords. Like the description, this field appears to be capable of multiple lines of text but I could not figure out how to actually achieve that.
The copyright field has a button at the side that will create a copyright notice based on the date of the photo and the author’s name.
Date and Time (4 out of 5)
According to the date time section, there are three fields for date and time. The EXIF fields are set by the camera when the picture was taken. I don’t know much about the IPTC except that it’s a set of metadata used by the International Press Telecommunications Council. Presumably the GPS date is set when you geocode the photo, although it didn’t seem to be in my case.
Others (5 out of 5)
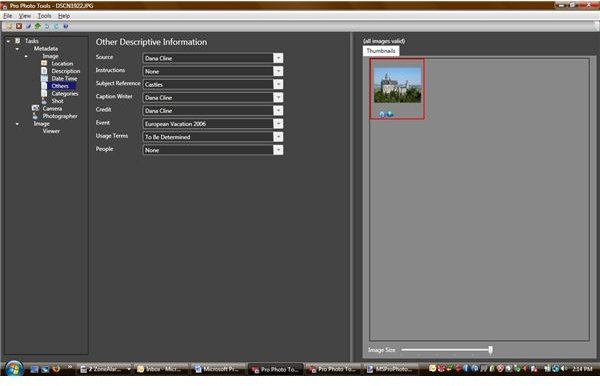
The others section includes fields for source, instructions, subject reference, caption writer, credit, event, usage terms, and people. Each field is one line and has a drop-down so that previous entries can be easily reused.
Categories (4 out of 5)
The categories section offers fields for category, intellectual genre, scene, urgency, status, and supplemental categories. The category field looks like any other one-line field here with a drop-down button, but after typing four characters, you get a popup message stating that the IPTC category can only be a three-character code. Sadly, there was no button to bring up a list of these codes and the help file didn’t mention them at all. I was able to fill out the other fields with no problems. The urgency field allows choices of zero through nine. The supplemental categories field looks like it accepts multiple lines of text, but like similar fields, there is no way to create more than one line.
Shot (5 out of 5)
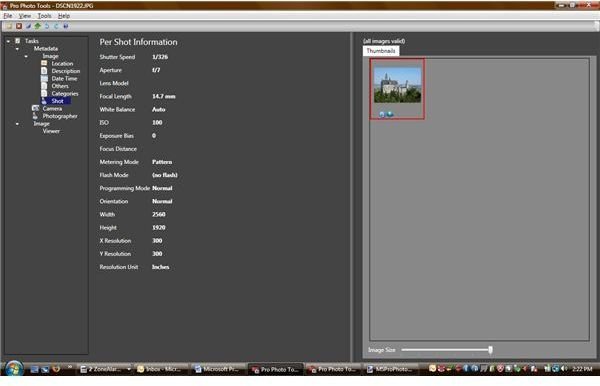
The shot section is created by the camera at the time the picture is taken, and is viewable but not editable by this program. Fields include shutter speed, aperture, lens, focal length, white balance, ISO, orientation, width, height, and focus distance. Your camera may or may not fill in all of these fields.
Camera (5 out of 5)
Like the shot information, the camera information is filled in by the camera and is not editable. There are four fields – model, make, software, and camera serial number. The model and make should reflect the camera that took the photo. The software field is set to Microsoft Pro Photo Tools, and in my case the serial number was blank.
Photographer (5 out of 5)
The photographer information is about what you might expect – title, name, email, phone, address, and web site. You would certainly want to make sure all your photos have this information – it helps to keep down theft as well.
A Few More Features (5 out of 5)
There are several other features worth mentioning here. The first is the ability to read and write RAW files. You must have the proper Windows codec installed for your specific camera. When you write the information back out, you can specify whether to add the data to the RAW file or to something called a “sidecar file”.
One other useful feature helps make tweaking large numbers of photos very easy. Once the photos are loaded, select multiple photos. Any changes to the data will be sent to every one of the selected photos. This means you only need to enter your photographer’s information once for all files. Then you can select each individual file (or group of files) to add information specific to that file or group.
This post is part of the series: Review of Microsoft Pro Photo Tools - Including Helpful Tutorials
It doesn’t let you alter your photographs, but you can do just about anything with the photo’s header data. One major feature links your photo to the location it was taken.


