Here is a basic tutorial on how to import RAW photos into Photoshop for editing.
Importing into Photoshop
Photoshop acts as a very complete and full photo editing program that allows you to do almost anything to a photo. Since Photoshop is so powerful, it is best to make changes to your photos in the program instead of before, but there are still some things that you may want to do when getting them in to your Photoshop project. Here is a step by step process on how to take photos from the RAW format in your digital camera and then into Photoshop ready to edit.
Shoot in RAW
Before you get close to your computer and even before you head out to take photos you need to make sure that you have set your camera to shoot in the RAW format. Each camera tends to have their own RAW format, such as Nikon’s .NEF file format. This will not allow your image files to be compressed as they would with a JPEG or other format, so go into your DSLR camera ’s menu and change it so that you are shooting in RAW. This could be in different places on different DSLR cameras, so check through settings around image quality, size, or file type.
Bridge
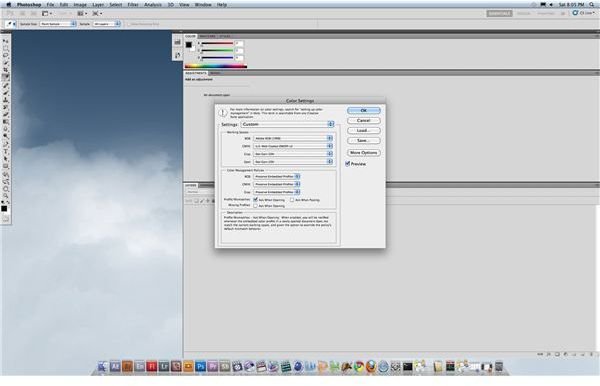
Start by plugging your digital SLR camera into your computer and then copying the RAW photos onto your desktop or another storage area on your computer. Open up Photoshop and go to Edit and select Color Settings. You may want to change the RGB to Adobe RG 1998 and then make sure that the Profile Mismatches “Ask When Opening” box is checked.
Go ahead and open Adobe Bridge and then select the images from your desktop or selected storage area. You can also use Adobe Bridge to view the available META data of the images. Since you have shot your images in a RAW format you can select them and a detailed menu will come up allowing
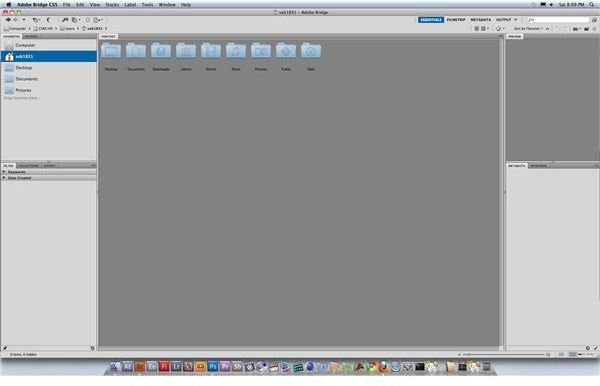
you to choose a series of options. These will include changes to your brightness, contrast, exposure, saturation, white balance, clarity, vibrance, and other features.
Here you can make a few changes to your image before you enter into Photoshop, but you must remember that these are destructive changes and will fully change your image. You may want to

address some of the blacks, fill light, and white balance, but do not do too much to the image in Bridge as you will be doing your real work once you get into Photoshop. Once you are finished making changes, which can go as far as changing the available pixels per inch, you will hit the Done button in the lower right hand corner. You can also save the RAW picture to an entirely different format, such as a compressed one, you can hit Save Image in the lower left hand corner. If you want to actually import the photo into Photoshop, which is the workflow you are doing, then you will hit Open Image. This will send the picture that you altered in Bridge over to Photoshop, and you will start your real editing.


