Quick Mask is one of the most phenomenal tools ever developed for photo editing software. It is useful in creating fairly complex to usable selections. Learn how to effectively use Photoshop’s Quick Mask with this tutorial.
What is Quick Mask?
The Quick Mask tool is not a tool per se, but rather a mode you can enter when you are creating selections. Through this tool, you can isolate areas in a layer you are working on, giving you greater power in using Photoshop . How exactly does the Quick Mask work?
When a painter has to paint a room in a house, the masking tape is an essential tool. If he has to paint the window frame, he puts on masking tape around the area he wants to paint, paints the frame, removes the tape and the glass is paint free. If he wants to paint the door frame, he does the same thing and the rest of the wall remains untouched.
In essence, the Quick Mask works the same way, it’s like digital masking tape and assists in getting a good transition between the areas which are selected, and which aren’t. Remember the anti-aliasing and feathering features of Photoshop we mentioned in part 3 of this tutorial series? Quick mask works almost the same way, but the difference is that it is more powerful than any of these features. If you want to change a photo’s background, or modify areas on a photo without affecting other areas, then this is the tool to use.
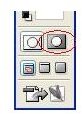
Back on the tools panel, at the very bottom (see photo on the left - click any image to enlarge), you will see two view options. The one of the left is the normal view - the standard page you see when you open a photo for editing. To enter the Quick Mask mode, you need to click the icon on the right (encircled in red) or you can press Q to get in and out of this mode.
The difference between Quick Mask and other selection tools such as Marquee and Lasso tools is that it lets you make complicated selections. It is better than the Magic wand tool because you can make selections by changing the opacity of the edges.
The Importance of the Quick Mask Tool
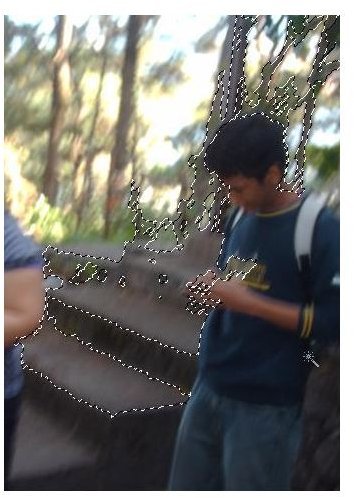
When you make selections in the normal mode, you will see outlines around the chosen area. This is okay if you are not choosing large areas, for example the whole background. With large areas, making selections can become confusing, as you won’t know which parts you have and have not already chosen.
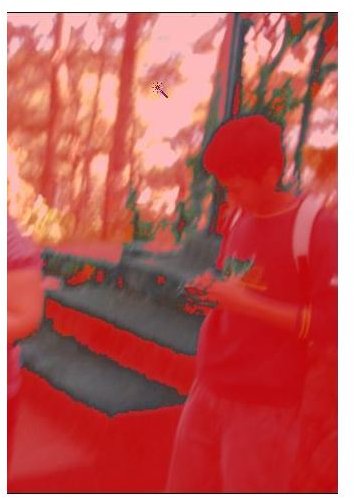
Now, let’s view the same photo in Quick Mask mode. In the Quick Mask mode, the photo is expressed in two colors. In this example, it shows gray for the selected part and red for those not selected. This setting can also be changed depending on your preference. To change, just double click the Quick Mask icon on the tools panel, and from there, you can change the color for the unselected portions, and the tool’s opacity. This way, it is much easier for you to see if you already selected the areas you want to edit.
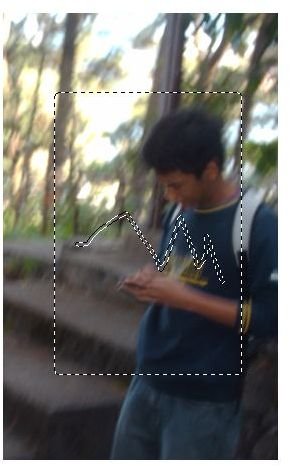
Now let’s look at the power of Quick Mask. Look at the photo on the right and pay attention to the path of selection. Try creating a selection like this using the basic selection tools we’ve already discussed, I’m pretty sure you will have a difficult time in normal mode. To get this kind of selection, these were the specific steps I did:
- In normal view, I changed my tool to the rectangular marquee tool and made the square selection.
- I then went to the Quick Mask mode, changed my tool to the Brush and created the zig zag lines.
- I switched to normal view, and this is the selection I had.
In just three steps, I was able to make a complicated selection! If you think you will have to edit again, it is best to save you selection so you won’t have to redo it.
The Power of Photoshop’s Quick Mask
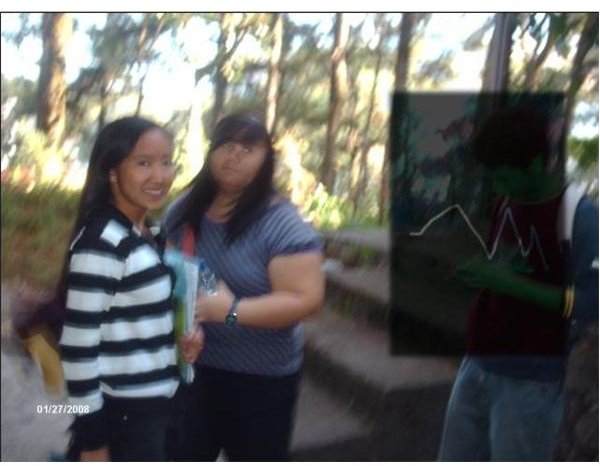
Using the selections I made in Quick Mask, I adjusted the hue/saturation for this photo. As you can see, the unselected section are untouched while the selection is added with the effects that I chose. If you wish to have semi transparent edges, you can also apply feathering.
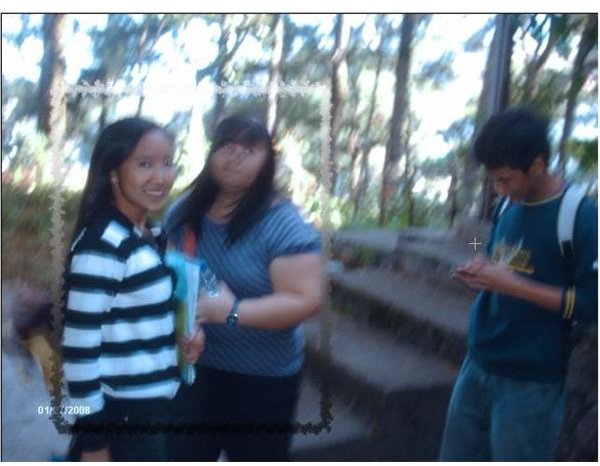
In the second photo , I created a frame for the two girls. To do this, here are the steps:
1. In normal mode, I switched to rectangle marquee tool and made the selection.
2. To give the frame a rippled effect, I used Filter>Distort>Ripple, Filter>Distort>Glass and Fliter>Blur>Gaussian Blur.
3. I switched back to normal mode, expanded the border to 10 px, and applied gradient overlay. I also adjusted the opacity to 70%.
Now, go on and try it for yourself! Just follow the steps that I outlined about and experiment with the other effects available in Photoshop.
Changing a Photo’s Background
Changing the background of a photograph may sound difficult but with powerful photo editing software, such as Adobe Photoshop, and a powerful too,l such as Quick mask, this task is a lot easier.
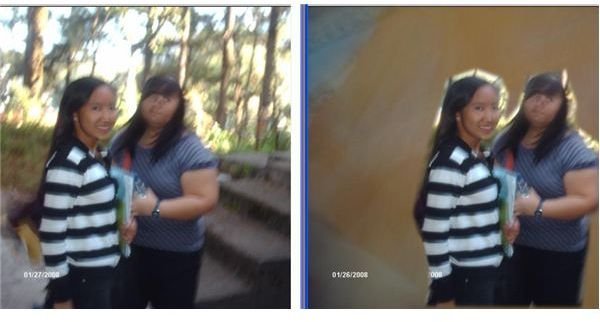
For the photo on the left, our goal is to change the background of the two girls. To do this, here are the steps I took:
1. Go to the Quick mask mode. Once there, select the photo bucket tool (right click the gradient tool if you can’t find it on the tools panel). This should mask the whole photograph with a red layer.
2. Using the polygonal lasso tool, select the areas you want to cut out. Click delete. This should remove a layer of red.
3. Go back to normal mode (click Q), and press CTRL+C and CTRL+V onto a new photo you want to use as a background. The selection should be pasted on the new one and you have effectively changed you photo’s background!
This post is part of the series: Using the Basic Selection Tools in Adobe Photoshop
The power of Adobe Photoshop lies in the user’s ability to create more accurate selections. In this series, you will learn how basic selection tools work. You will also learn about keyboard shortcuts which can make your job a lot easier.


