Alter Skin Tones with the Suntan Tool in Corel Paint Shop Pro Photo X2: Digital Photography Software Tutorial

Give Yourself a Tan
The Suntan Tool is part of the collection of makeover brushes found in Corel Paint Shop Pro Photo X2. This neat little tool can be used to “paint” a tan onto any subject in a digital photo. It’s extremely versatile and as long as you’re careful when choosing a strength value, the results appear surprisingly natural when applied to most skin tones.
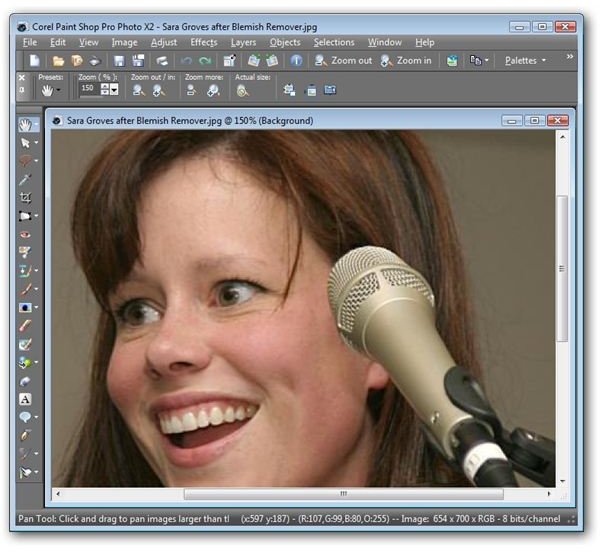
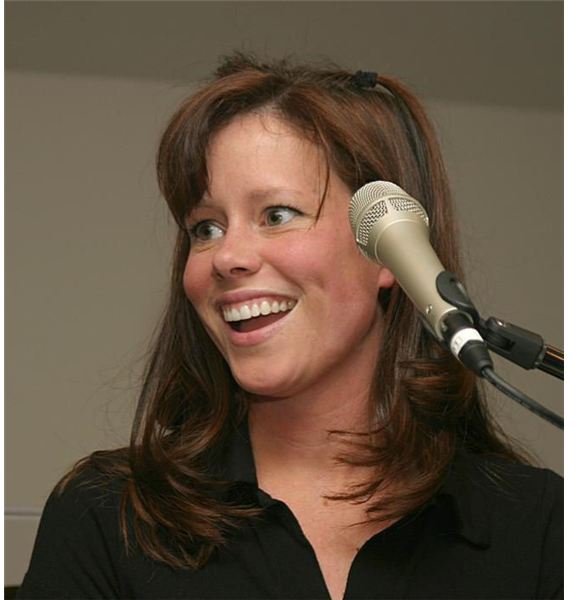
As we describe how to use the Suntan Tool, we’ll be using the same digital photograph that we’ve been working with in other parts of this series covering Paint Shop Pro’s makeover tools. We’ll continue where we left off in Part 2 with the photo shown below. (Click any image for a larger view.)
How to Use the Suntan Tool
Step 1: Zoom into the area of the digital photograph where you want to apply the Suntan Tool. You will probably have to zoom in even further later when working on the finer details, but for now, just pick a “comfortable” range.
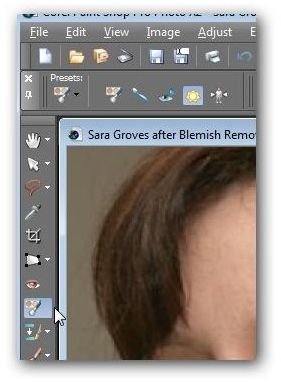
Step 2: Select the Makeover icon from Paint Shop Pro’s side tool panel.
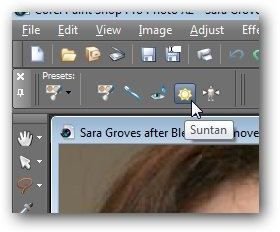
Step 3: Click on the Suntan Tool on the Makeover toolbar that is now shown underneath Paint Shop Pro’s main toolbar.
Step 4: Adjust the Size and Strength of the Suntan Tool. The Size setting refers to the diameter of the brush – larger values increase this diameter. If you want a “darker tan”, increase the Strength setting, but be careful when making modifications here. If you choose too dark of a setting, the result could end up looking very unnatural, especially if the original subject in your photo has a lighter complexion.

Step 5: Move the cursor over the area of the skin that you want to modify, and “paint” on the tan. Make sure that you only cover the skin areas in the photograph, and try to avoid hair, eyes, lips, and clothing. For areas that border close to these items, you may want to zoom in closer and select a smaller Size for the tool.
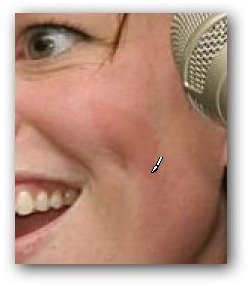
The screenshot below shows our final results after applying the Suntan Tool to all visible skin areas.
In this particular example, it only took a few moments to modify the skin tones. More complex photographs can require a lot more effort, especially if more than one area of the body is visible. If you plan to do a lot of work with altering colors in digital photos, you may want to check out the AKVIS Coloriage plugin.
In the next segment of this series, we’ll look at the Thinify Tool, the final object on Paint Shop Pro’s makeover toolbar. For more tips and tricks, be sure to check out the other items in Bright Hub’s collection of Paint Shop Pro tutorials and user guides found here on the Digital Photography Channel.
This post is part of the series: The Makeover Tools in Paint Shop Pro
With the collection of Makeover Tools found in Corel Paint Shop Pro Photo X2, you can quickly and easily improve the appearance of subjects in your digital photographs. In this series, we’ll take a look at how to use these powerful and fun tools.