Got an old scanner that you’re not using? Well, then why don’t you make a camera from a scanner? It’s a cheap project and gives new life to your old scanner. Learn how to make a camera from a scanner here.
Recycling Your Way
If you have an old scanner that you don’t use or that just doesn’t work, then you may want to take it to the local electronic recycling station or donation center. You can, however, make a camera from a scanner simply materials that you can find at your local home improvement or craft store. This project is relatively cheap, costing less than $30.
Materials
Supplies
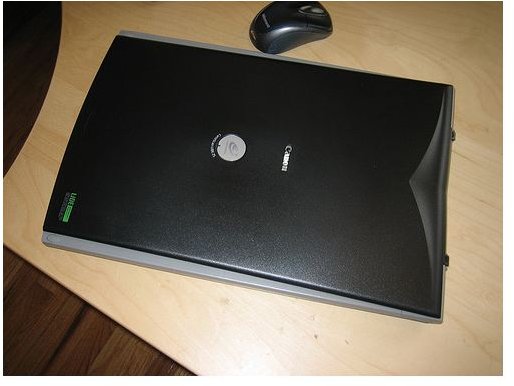
Old Scanner
Magnifying Glass
Foam Core Board
Gaffer Tape
If you already have a scanner, then you are eliminating the most expensive part of this project. If not, just pick one up from a thrift store. You usually can get one for less than $10. A magnifying glass generally runs less than $5, usually more like one or two dollars. The gaffer tape is also less than $5, and the foam core is usually about $10. If you already have a scanner , then this project costs about $20. If not, then it’s about $30.
Creating Your Box
The first thing that you need to do is remove the lid from the scanner. You don’t need it, and it tends to get in the way if you do leave it on when you want to take pictures. Depending on the type of scanner, you can either just pop it off, or you may have to unscrew it from the base.
Now, it’s time cut your foam core board . You can use a regular knife or utility knife for this purpose. Purchase the black version of this board. You want to create a square box with one section open. The open section goes over your scanner. The goal of this is not to completely cover the scanner. Instead, shoot for an evenly measured, slight large box that covers more than half of the scanning glass. You can use the pieces to cover the rest of the scanner so you don’t get any light pollution in your camera.
Tape the outside sides together, and then create an inner lining using the foam core as well. The outer and inner sheets should be the same size. Tape these pieces together, and then tape them to the outer board.
Add the Magnifying Glass
You should now have a square with one section open. Now, remove the handle or just the glass of magnifying glass, and place it in the center of the top lid of the square. Draw a circle around it, and use the knife to cut out a hole that just large enough to fit the magnifying lens. If your hole is too large, the lens will fall right through. If so, then use a little tape around the edges and top of the glass to hold it in place.
Take Your Pictures
Tape the box to the scanner with the open section flush to the glass. Block out the light using the rest of the pieces. Now, you are ready to take pictures.
Turn on the scanner, and select the image capture button on your scanner software. Then, the camera will take a picture of whatever is in front of it.


