Foam core is an easy way to mount your photos. But, how do you frame photos mounted on foam core? It’s easier than you think!
How to Mount Your Pictures to Foam Core
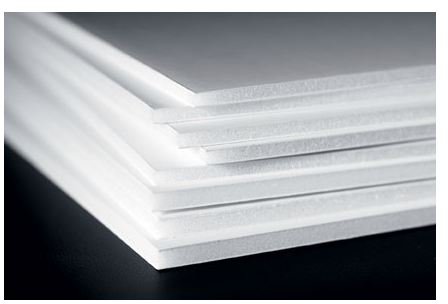
Foam core is an easy and inexpensive way to mount your photos . Cutting a mat to perfectly fit your picture can be time consuming and difficult. With foam core, you simply cut the size that you need, and then mount your picture to it. Foam core comes in a variety of colors so it’s easy to find one that will match your picture.
To mount your picture to foam core, follow the below instructions:
Materials:
Foam Core Board
Utility Knife
Straight Edge
Spray Adhesive
Directions:
- Buy a foam core than is at least a quarter of an inch larger than your picture.
- Spray a light amount of adhesive to the foam core and your picture.
- Place the image on the foam core where you would like it to go, preferably the center of the board.
- Remove any bubbles from the picture by smoothing it out.
- If desired, trim the edges of your picture using the straight edge and the utility knife. You can always leave the trim as a mat.
- Let the picture dry.
How to Frame Your Foam Core Mounted Photograph
But, once you mount your picture, how do you go about framing a photo mounted on foam core? It’s actually quite easy to do.
Materials:
Regular Picture Frame with Glass
Mounted Picture
Utility
Cardboard (Optional)
Directions:
- Measure the inside of the frame and the foam core mounted picture.
- Cut the picture with the utility knife until it will fit snugly into the frame.
- If the foam core picture still moves within the frame, add a thin piece of cardboard and then seal the backing. If the foam core is large enough to not move within the frame, simply seal the back without adding a piece of cardboard.
If you do decide that your photo mounted on foam core would look better with matting, you will need to get a deeper frame. You should maybe take your picture to a frame store and ask them what they recommend. And, if you’ve never cut matting before, you should have a professional do that as well. Once the matting is cut, simply follow the above procedures with the addition of added the
matting to the front of your picture.
One other way to frame a photo mounted on foam core is to mount it at the back of a deep frame. Basically, you’re creating a shadow box, which gives the image a three-dimensional quality.
There are no limitations on how to frame a photo mounted on foam core. You can experiment with added decorations to the frame of the front of the photo. If you go with the shadow box idea, add little dolls, furniture, etc., section nearest the glass and make your photo the background. Above all, just have fun with it.


