In Part 2 of this series on working with frames in Microsoft Expression Web, we continue by taking a look at the steps needed to create a basic frames layout.
Choosing a Template for the Frames Page
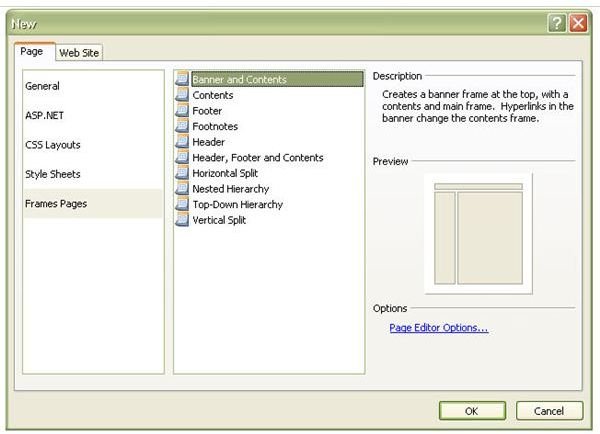
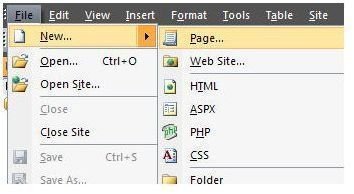
To begin creating a frames page in Expression Web, select New from the File menu dropdown list and then choose Page. This will open a window where you can select the type of page you want to create. Click on Frames Pages to bring up a listing of the various layouts available in Expression Web for this option.
Selecting any of the pages in the middle panel of this window will bring up a preview of the template in the right panel. Take a look at all the options and choose the one that is closest to your needs. We’ll go ahead and select the Banner and Contents page now to use as an example. Click OK to continue.
Elements of the Frame Page
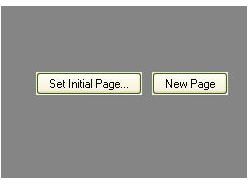
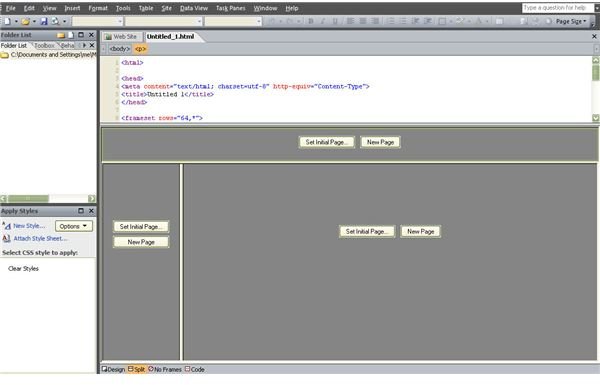
Once you’ve selected the frames page layout you want to use and clicked OK, the template will open in Expression Web. The template we have chosen has three distinct frames, each one making up its own section of the page. Within each frame are two buttons - Set Initial Page and New Page. These options are used to add content to the frame. We’ll dive deeper into that aspect in Part 3 of this series.
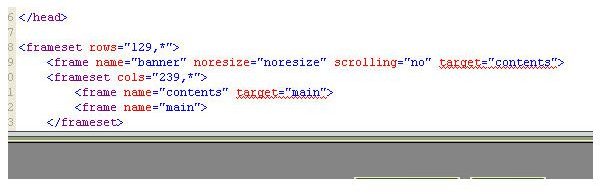
If you don’t like the default height and width of one or more frames in the template, this is a good time to make adjustments. To adjust these dimensions, place the cursor on any of the bars that divide the frame sections, and drag the bar to your desired new position. If you’re familiar with the HTML used for coding frames, you can also make changes directly to the HTML in the Code view.
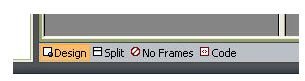
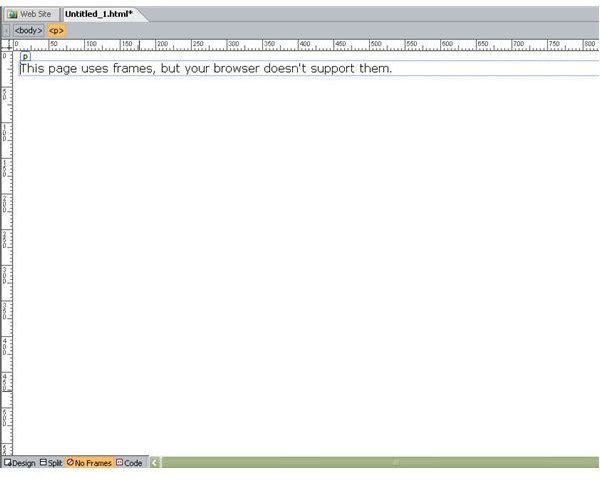
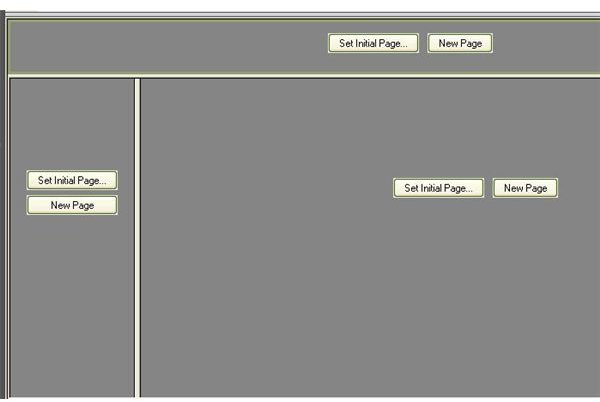
In addition to the Design, Code, and Split views that are always available for a web page, a frames page has one more option – the No Frames view. This view shows what the page would look like to someone using a browser without frames capability. The default image for this view is shown in the second screenshot above this paragraph. Later in the series, we’ll cover how this page can be modified so that those without the ability to view frames can still access portions of your web site.
Additional Resources: For more tips and tricks, be sure to check out the other Microsoft Expression Web tutorials and user guides found here at Bright Hub.
This post is part of the series: Frames in Expression Web
This series starts out with a general overview of frames in Expression Web and continues with several tips and tricks you can use to incorporate the use of frames in your web site design.


