Now that we have laid down the basics for the installation of Microsoft Forefront Client Security and prepared our servers and software, we roll up our sleeves and proceed with the installation.
Installing Forefront Client Security on SRV2003DC
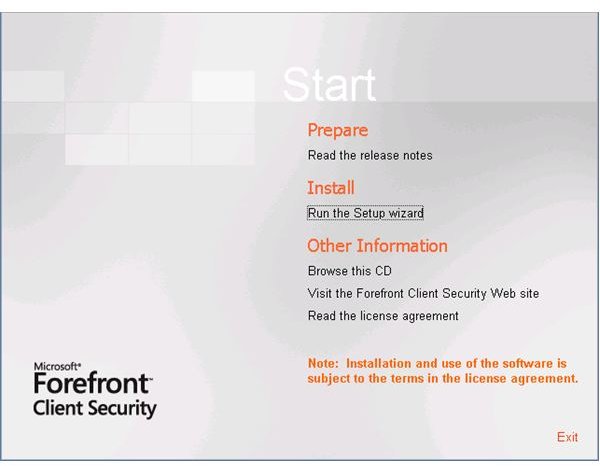
To install the Forefront Client Security on SRV2003DC, go to Microsoft Virtual PC menu and select CD » Capture ISO Image and select the Forefront Client Security ISO file (the name should be similar to FCS_RTM_EVAL_en-us_1703.0, depending on the build version available for download). You will be greeted with the welcome screen:
Figure 1: Microsoft Forefront Client Security installation wizard welcome screen.
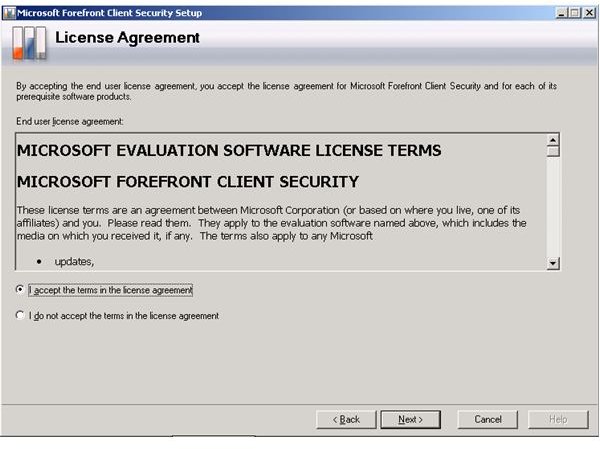
Figure 2: License Agreement
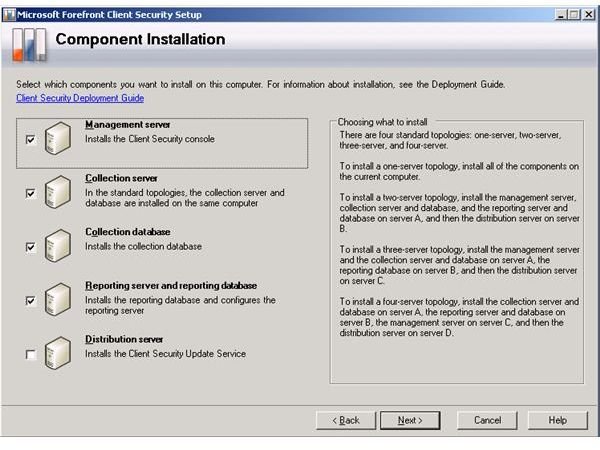
Figure 3: Component installation. As in our topology, we will install Management Server, Collection Server, Collection Databae and Reporting Server and Reporting Database components on SRV2003DC and leave distribution server to SRV2003FCS-DIST.

Figure 4: Selecting the Collection Server. Since we are installing Management Server, Collection Server, Collection Database and Reporting Server and Reporting Database components onto SRV2003DC, the Collection Server computer name is SRV2003DC.
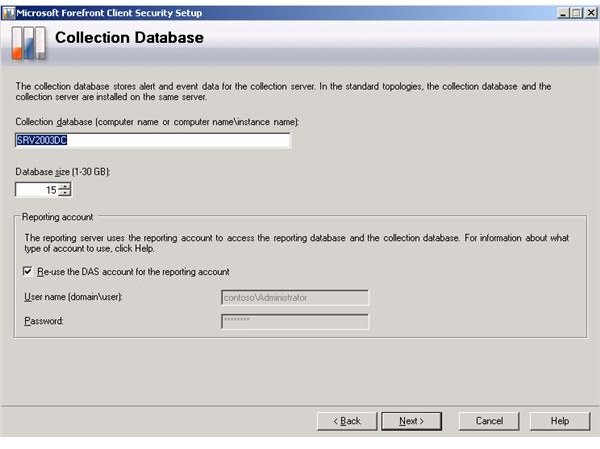
Figure 5: Same as above. The Collection Database is on SRV2003DC.
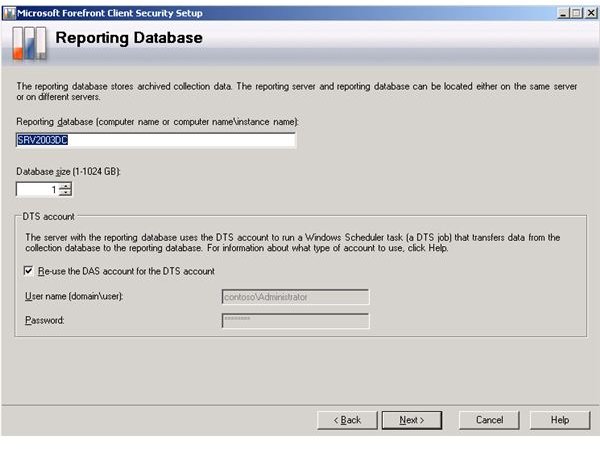
Figure 6: The Reporting Database is on SRV2003DC.

Figure 7: The Reporting Server is SRV2003DC.

Figure 8: With the Action Account we define with which rights the server will query the client computers. For the sake of simplicity, leave it as Administrator.

Figure 9: The installation path of the Client Security application. Leave as default unless you have strong reasons to do otherwise.
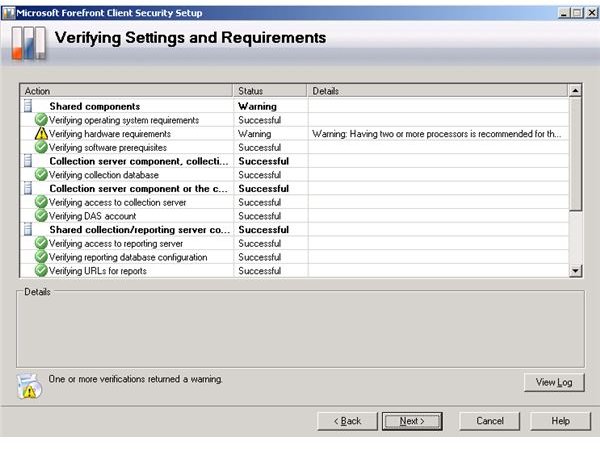
Figure 10: The installer is verifying if everything is ready to install Client Security with the selected components.
Note the warning sign in Figure 10, “Verifying hardware requirements.” Although our host computer is equipped with a quad-core processor, the warning tells us that “having two or more processors is recommended.” The reason is simple: Microsoft Virtual PC can recognize only one processor. You can safely ignore this message and proceed with installation.
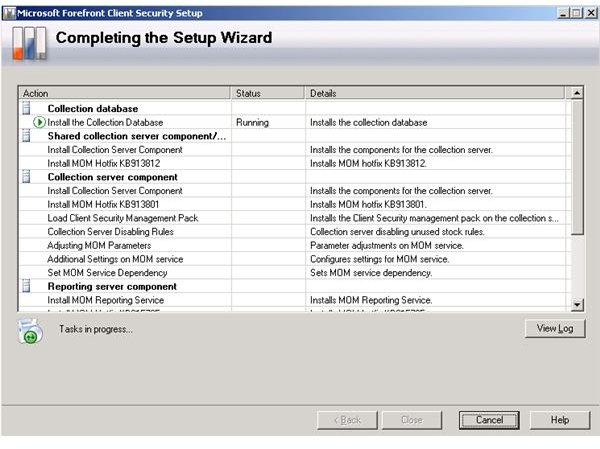
Figure 11: Installation completed.
After installing everything, I strongly recommend you to reboot your virtual machine. After that, to increase performance of your server, go to All Programs » Accessories » System Tools » Disk Defragmenter and defragment your virtual hard disk. Reboot.[1]
When you log on to your virtual machine, you will see Microsoft Forefront under All Programs. Following this path, open Microsoft Forefront Client Security Console. You will be greeted by a wizard, which will ask you to configure
- the location of the collection server,
- the location of the collection database,
- the management group name,
- the location of the reporting database,
- the user name and the password of the reporting account,
- the location of the reporting server, and
- the URLs for the reporting server.
If you have followed the default values during the installation, you can proceed with the wizard by clicking “Next.” In the “Reporting Database” window, you will supply the credentials of the reporting account. For the sake of simplicity, we will proceed with the Administrator account and we enter Contoso\Administrator as the user name and the password of the Administrator account. Proceed by clicking “Next.”
In the next window, you can safely click “Next” if you have come so far with the default values. The next two screens will perform relevant checks and configurations. Wait until everything is complete. Finished.
[1] I strongly recommend you to reboot your virtual machine after making system-wide configuration changes, such as installing new server roles or installing programs such as Update Agents, IIS, FrontPage extensions etc.. The installer may not ask you to restart your computer, but despite this go on with a reboot. Sometimes virtual machines may act weirdly and you may experience some unexpected behavior. Reboot will probably be the first thing you will try. To save yourself from this unexpected acts, reboot at the first place.
Installing Forefront Client Security on SRV2003FCS-DIST
We have done most of the job by installing our first server. Now we will go on and install the second server, namely SRV2003FCS-DIST, which will act as our distribution server. Before proceeding, we have to make sure that we synchronize Windows Server Update Services (WSUS) with www.update.microsoft.com . To do this automatically, go to All Programs » Administrative Tools » Windows Server Update Services. In the Update Services window, select Synchronizations on the left pane and on the Actions pane on the right select Start Synchronization. This may take a long time depending on your connection. Unless this step is completed, Forefront Client Security installation will not continue.

From now on everything is pretty straightforward. The wizard will check for the software prerequisites and if WSUS is synchronized with Microsoft Update Services and install the necessary components.
This post is part of the series: Forefront Client Security 2-Server Installation on Microsoft Virtual PC
Installing Microsoft Forefront Security can really be a daunting task if you do not gather the necessary requirements and define your topology. Throughout the articles, we will discuss each step one by one and establish a working Forefront Client Security system with two servers.


