If you are working on a book, report, thesis or article, it is a good idea to start with an outline. Fortunately, Word makes it easy to create one. Read on to find out how.
Overview
Making an outline before you actually begin to work on an important Word document can save you lots of time and trouble. With an outline, you can lay out all of the important points you want to include without having to include the particulars. This outline will guide you through the process of creating your first draft, and Word makes it easy for you to create an outline.
Getting Started
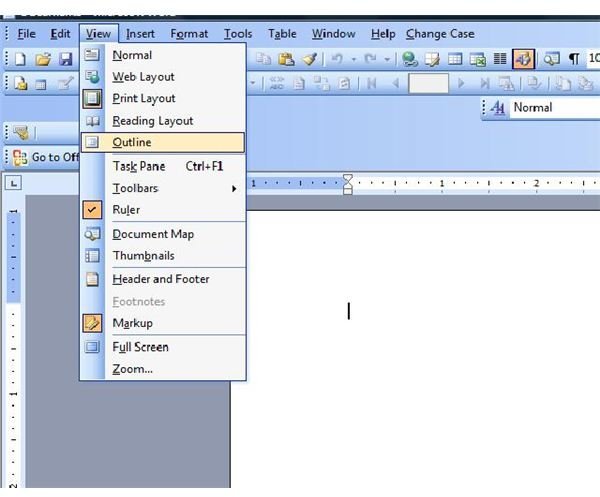
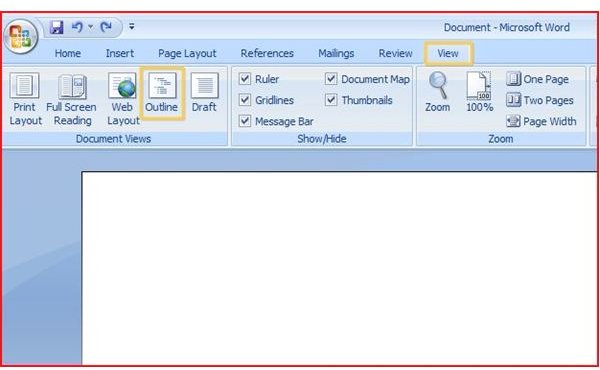
Start out with a new, blank Word document. In Word 2007, go to the View tab and select Outline from the Document Views group. In Word 2003 or other earlier versions go to the View menu and click on Outline.
Outline Headings
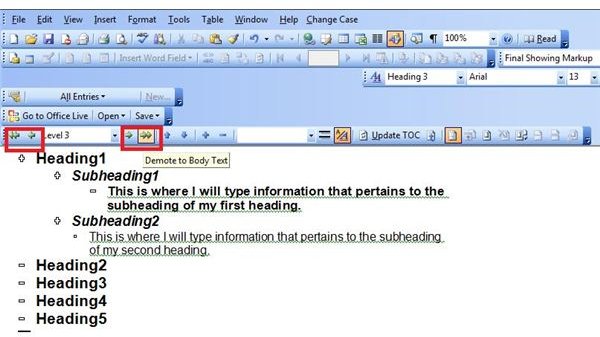
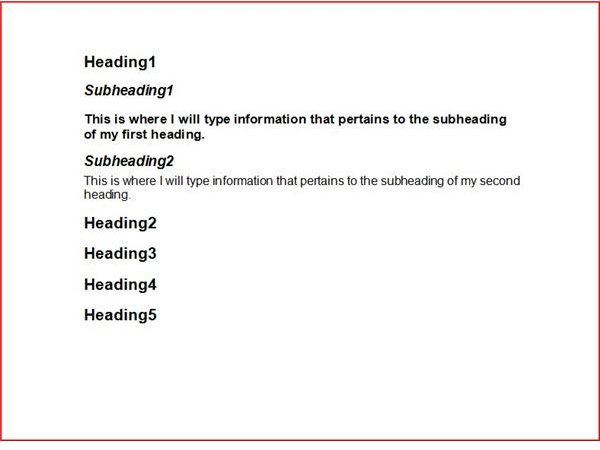
Type in the name of your first heading and press Enter. Type in the next heading and press Enter again. Continue entering the rest of the headings you want to include. You will notice that each heading in your outline has a minus sign (-) to the left of it. This is an indication that this heading has no subheading or subordinate text yet.
Don’t worry whether they are in the proper order, because you can move them around with ease. To move a heading in a Word outline, use the arrows in the Outline tools. Place the cursor in the heading you want to move. Click either the Move Up arrow or the Move Down arrow as many times as you need to so that your heading is in the position you want. You can do this before or after you add subordinate text beneath the headings, as this text will move with the heading with which it is associated.

Subheadings and Subordinate Text
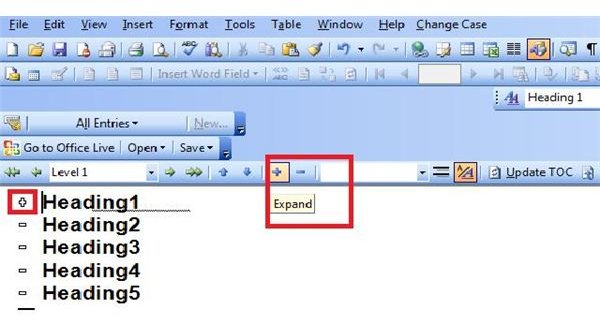
Once you have entered subheadings and subordinate text for your outline headings, you can choose whether you want to view all of the text or only certain levels. To hide the subordinate text following any outline level, place your cursor in the line you want to remain visible and then click the Collapse button. To show these levels again, follow the same steps, only this time press the Expand button. This is helpful if you want to work on or read through a section of your outline without being distracted by the remaining text.
Format and Style
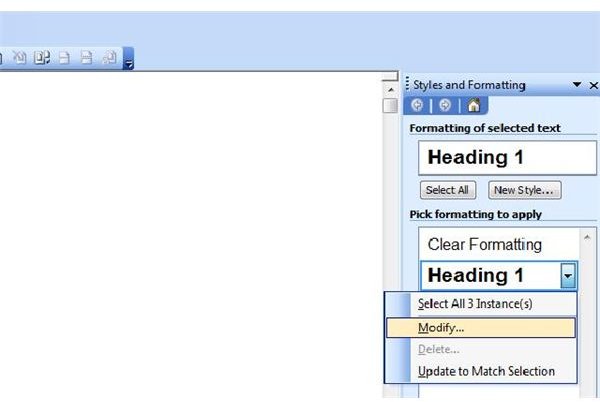
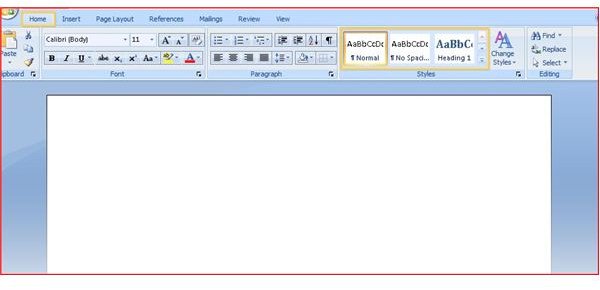
While the default Word formatting might suit you just fine, you don’t have to resign yourself to it if you would prefer something different. In Word 2003, click Styles and Formatting in the Format menu. In Word 2007, select the heading style in the Styles section of the Home tab. Right click the style you want to change and click on Modify. You can then make any changes you desire. (If you are using Word 2007, the Bright Hub tutorial Creating and Saving Your Own Quick Style can help you easily create and apply custom styles.)
View the Finished Product
Once you have completed your outline, you can go back to the View menu or ribbon tab and select Print Layout or your choice of view. You can add more text or graphics if you choose, and your Word document will be ready to go.
For more tips and tricks, be sure to browse through Bright Hub’s collection of Microsoft Office user guides . Additional articles are being added all the time, so check back often!


