It’s a myth that HP Media Center PCs running Vista don’t support copying analog video and audio signals from the front-panel inputs. Hauppauge “WinTV” tuner cards have long supported analog capture and encoding from an analog source to a digital (MPEG) output. Here we show you how it works.
So often when I want to do something with my computer, I start out in the Help files and end up searching Google for more information. In this case, I have some VHS tapes that I wish to transfer to DVD. I want to do this by using a component cable hookup to the front inputs on my HP Media Center PC. I started out by searching the onboard/online help on the PC and found that only digital inputs were supported on the front panel inputs. The documentation for the PC agreed, and HP’s website showed a way to use a digital camcorder to convert an analog source input into a digital input.
OK so far, but I don’t have a digital camcorder. Furthermore, my previous two Media Center PCs had front panel inputs that were capable of recording analog signals from a conventional VHS camcorder. Since this involves hardware-level encoding provided by the TV tuner/capture card, it made no sense to me that Vista would prohibit this.
Here are some specifics about my setup: I have an HP m8124n Vista Ultimate Media Center PC with a Hauppauge WinTV HVR-1600 NTSC/ATSC (analog TV/digital TV/FM radio) combo card. This PC is hooked up via S-Video cable to a set-top Dish Network receiver. This PC functions as the primary work and entertainment device in my home office.
So I went to Google. I searched for
hp media center front inputs analog
and the very first hit was promising. It was a CNET forums posting by an owner of an HP Multimedia PC with the same tuner as mine, and he actually wanted to capture a few VHS tapes and convert them to DVD. Perfect!
I began to read . . .
“I realized I could run the vcr into the coax and use windows media [Center] in live tv mode and just hit play on the vcr and record in windows media center but it creates those funky dvr-ms files . . . My TV card came with its own recording software [but this guy has an ATI tuner card] . . . Spent about 25 mins on the phone the other day, only to get a tech who was flipping thru pages reading me word for word what I already read in the help portions of the HP online sections . . . They just replied the inputs were for digital content not analog, and the card manufacturer . . . is the only one that could tell me if it could support analog thru possibly some other software program etc.”
Another fellow suggested that Vista Media Center could find the analog inputs. I found that was true, but it was a minor pain to implement. It involved going into Media Center’s settings and switching away from the normal input by finding a signal at video input #2. I tried starting a recording by playing a VHS tape, and Media Center stupidly thought it was recording on the last channel I had selected. At the end of the hour, it promptly stopped recording. This is more hassle than it’s worth. Not only would I have to choose a manual recording, but I’d have to start the recording at a time that jibed with the last channel I viewed with a program that ran long enough.
I clearly needed something better than this.
Back in that CNET thread, another fellow who had no luck getting help from HP support had found happiness using Roxio’s MyDVD application. Well, that didn’t come on my PC, and I found that it cost about $50. I’m on a budget, and I like free.
Then I visited Hauppauge’s website and looked up the documentation for my card. It said that the card had an analog-to-digital encoder. In other words, it’s still a real TV capture card as well as a tuner, just as I thought.
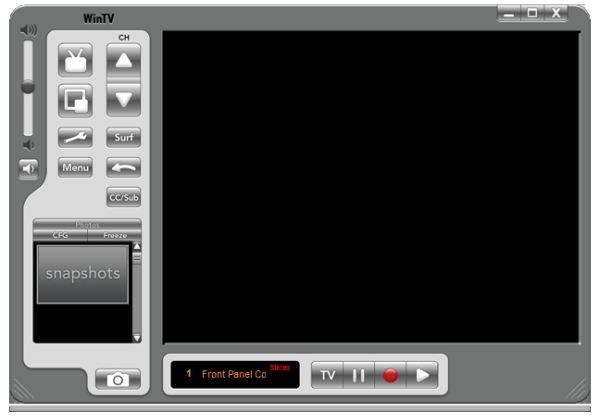
Now I was getting somewhere. I decided to download Hauppauge’s WinTV application , which I had some experience with a few years before with a USB “stick” TV tuner for a laptop. It worked, but it was a bit clunky. I hoped it had improved.
The website advised, “Note: This is a single file which includes the driver, the driver update, middleware, video decoder, and WinTV v6 applications. This package is for Windows XP, Windows XP Media Center Edition, and Windows Vista.” That told me not to expect an Aero appearance, but it was nice that it also worked with Media Center 2005 in XP.
After installing the application (and rebooting my PC, which was necessary a couple of times to get the driver to work), I hooked a VCR up to the front panel inputs and started a movie. The next step was to find the inputs.
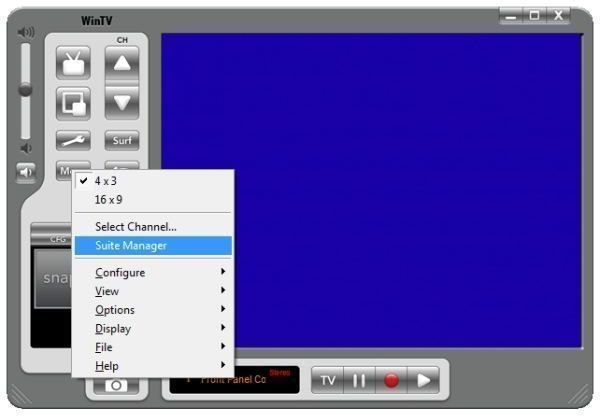
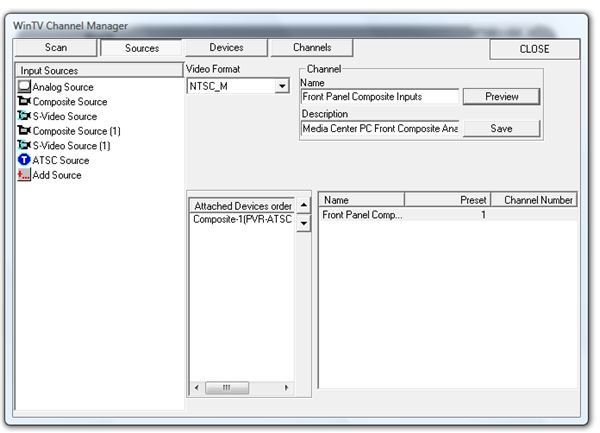
I clicked on Menu, then Suite Manager. This brought up the “WinTV Channel Manager” dialog. I clicked the “Sources” tab, and, with the movie still playing, I selected “Composite Source (1) and clicked “Preview.”
Bingo! There’s my movie, so I know that I can at least watch a VHS tape on my PC.
For name, I entered “Front Panel Composite Inputs” and for description, I put “Media Center PC Front Composite Analog Inputs.”
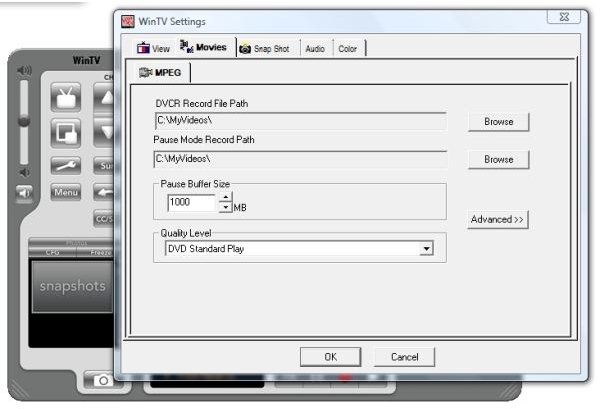
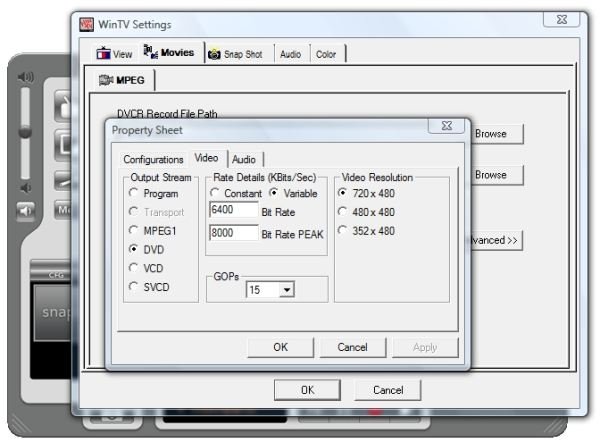
For MPEG settings (the analog to digital conversion done by the tuner card), I selected “DVD Standard Play” for the quality setting. If you’re curious about the output settings, click the “Advanced” button. You’ll see that the video resolution for DVD is set to 720 x 480 pixels with a variable bit rate of from 6400 to 8000 Kbit/Sec.

So here’s the plan. I’ll use WinTV 6 to record “The Dalek Invasion of Earth – Tape 1” to a DVD-quality MPEG file. Then I’ll convert the movie to DVD format using DVD Flick. Finally, I’ll burn it to DVD using ImgBurn.
That’s the technique. The tape says that it’s approximately 76 minutes. So there you have the basics of how to use the front panel inputs and WinTV 6 to record a VHS tape from an external player. You can stop here if you wish, but you are welcome to come along with me as I step through making an actual copy of a VHS tape, convert it to DVD format, and then burn it to a DVD.
Still with me? Great! Let’s get this rolling.
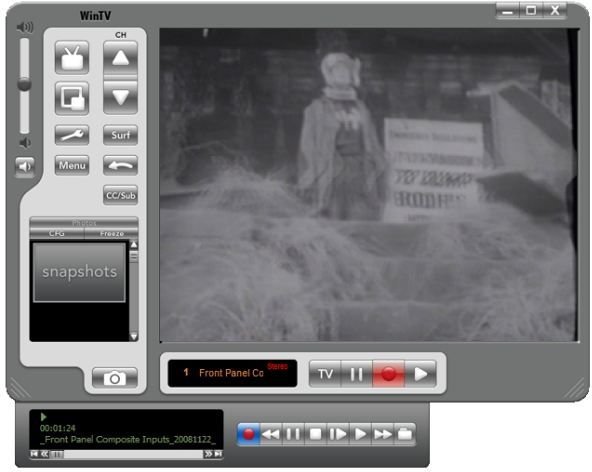
I inserted the tape and pressed Play. In WinTV 6, I clicked the red “one-touch recording button.” After a few seconds, it said “Recording” and the recording panel appeared under the screen.
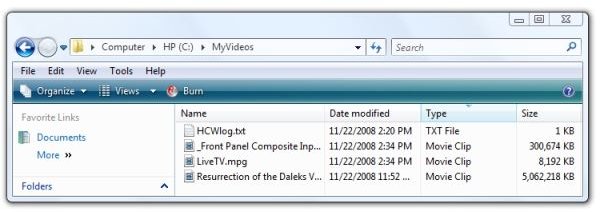
At six minutes into the recording according to the counter on the VCR, the file size was already up to 300,674 KB.
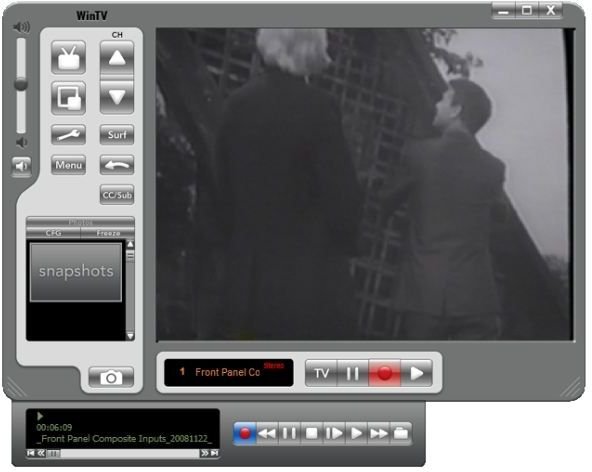
And here I’ll sit for the next seventy minutes, watching some good old Dr. Who episodes.
By the way, the Hauppauge tuner card is doing real-time capture and encoding while minimally involving the CPU. It’s writing the output file as I watch the movie.
But what about the other applications we’ll need to finish the project?
DVDFlick is a free, open-source Windows application usually thought of as a great way to burn DivX and Xvid files downloaded from the Internet to DVD . Fortunately, it can also take the MPEG-DVD-formatted files that WinTV 6 puts out.
DVD Flick can be downloaded here , and DVD Flick works best with the light-weight and popular free CD/DVD burner ImgBurn .
Basically, DVD Flick outputs DVD files - .vob files – and then starts ImgBurn to build an .iso image file from them. The ISO file can then be burned to DVD, also using ImgBurn.
Of course, if you don’t wish to actually burn the file to DVD, there are many Vista applications other than Media Center and Media Player capable of playing MPEG videos .
Also, if you’re using Media Center and have a large hard drive or large external hard drive, you can skip the DVD-burning step by using the freeware application My Movies 2 to open the files from your hard drive and, in effect, turn your Media Center PC into a video jukebox .
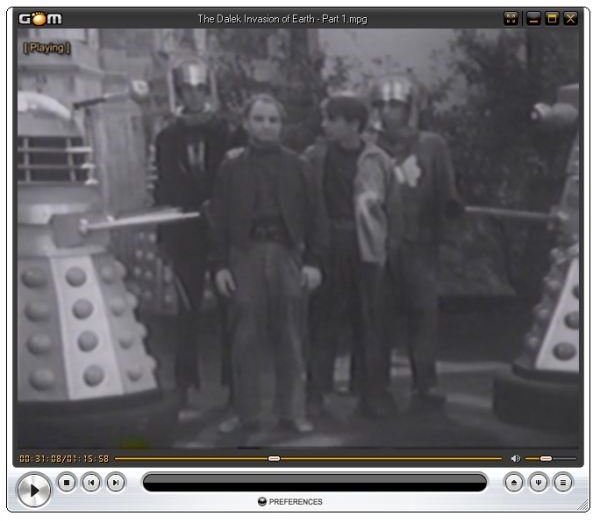
But, back to our recording . . . Our movie ended up being 3,957,476 KB, or about 3.77 GB. I renamed the file to “The Dalek Invasion of Earth – Part 1.”


Just to make sure that the sound and picture are synchronized, I tested the movie in GOM Player.
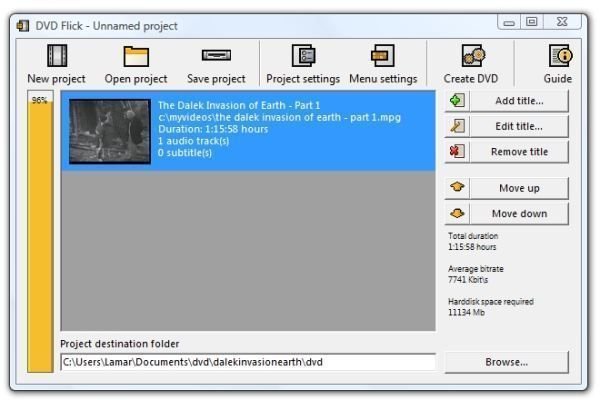
Now it’s time to use DVD Flick to convert the MPEG file into DVD format. We started the program, and then we dragged the MPEG file and dropped it in the center area. At the bottom, for “Project destination folder,” I entered
C:\Users\Lamar\Documents\dvd\dalekinvasionearth\dvd
Then I clicked “Create DVD” and confirmed it.
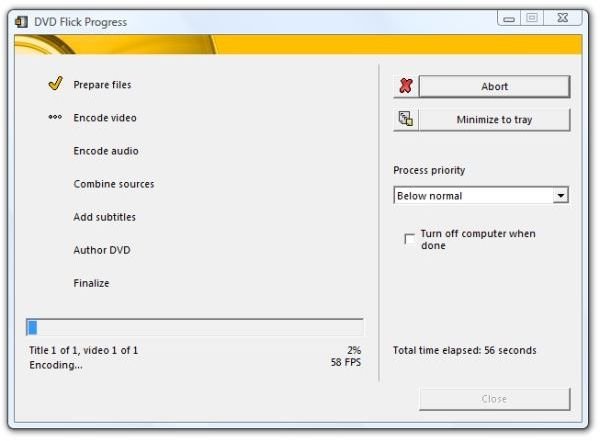
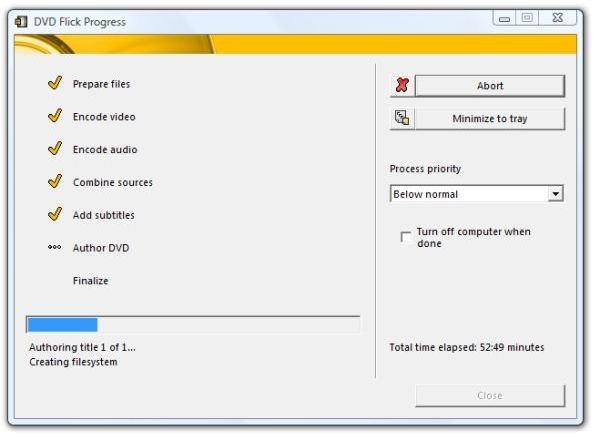
Here it’s been running about fifty-two minutes, and it’s almost done.
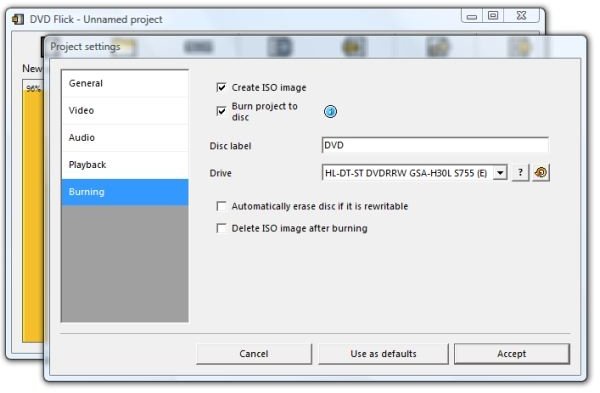
For our purposes here, we’ll be showing the steps to use ImgBurn separately, but please look at these options from DVD Flick’s Project Settings dialog. If (1) DVD Flick finds ImgBurn installed and (2) if a blank DVD-R or CD-R of the correct size is already sitting in a burner/player on the PC, DVD Flick can call ImgBurn automatically to do what we are about to do manually. Specifically, you can set it to create the ISO file, or create the ISO file and burn it to the disc.
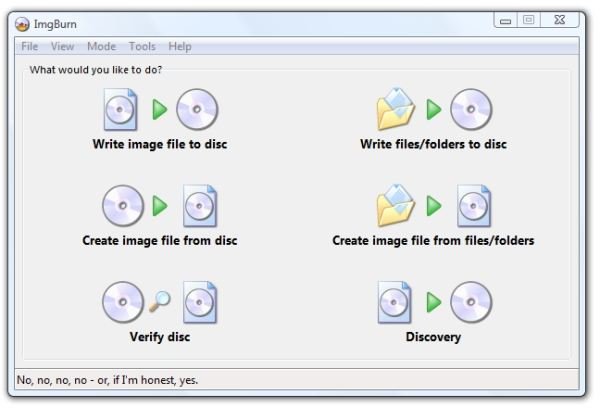
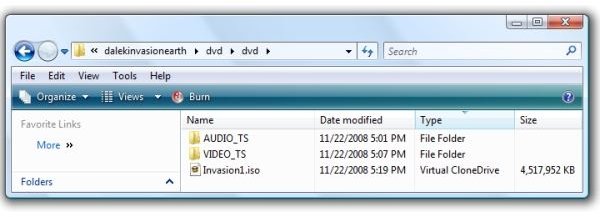
The next step is to get ImgBurn to create an image file for burning to DVD. Start ImgBurn and select “Create image file from files/folders.” Select the “dvd” directory that is directly above the AUDIO_TS and VIDEO_TS directories. Then ImgBurn will create the image file.
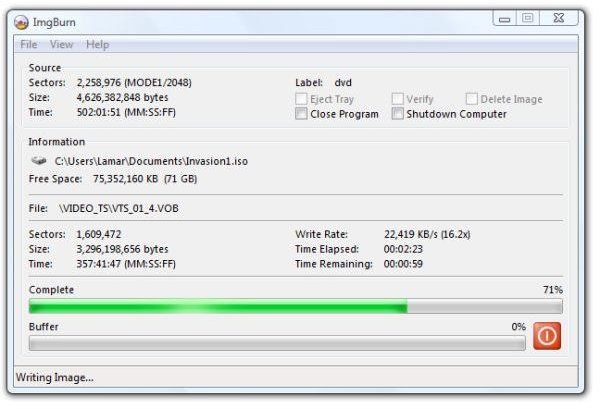
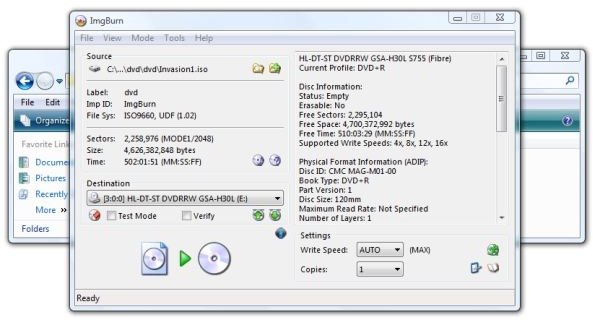
To burn the ISO image file to DVD, put a DVD-R in your drive, right-click the ISO file, and select “Open with . . . ImgBurn.” It may take a few seconds for ImgBurn to display the source file. That’s fine - it’s looking for DVD and CD writable drives and will fill in the dialog soon. Then click the green arrow near the bottom to start burning your DVD.
Conclusion
And there you have it. Contrary to the Help file that came with my HP Vista Media Center PC, HP support, and the conflicting and erroneous advice I found on the Internet, it’s certainly not impossible, or even overly difficult, to record a VHS analog signal through the front component inputs.
It’s not expensive, either. WinTV 6 is free and works with a variety of Hauppauge’s TV tuner cards.(If you have an ATI or other brand of tuner card, check the manufacturer’s website to see what they offer. I’d be surprised if a name-brand tuner card did not also do capture.) DVD Flick is donationware, as is ImgBurn, and both do their job without fuss as well as integrate with each other.
I hope this helps you in your task of converting your old VHS movies and VHS camcorder tapes to DVD. Thanks for visiting the new Bright Hub, and thanks for reading this.
Following are links to other Bright Hub articles referenced in this text.
How to Burn DivX and Xvid Encoded Files to DVD - Have you downloaded a movie or TV show encoded in DivX or Xvid format and want to burn the file to DVD for playing on the TV? This article tells you how.
Alternate Media Players for Vista to Overcome Missing Codecs Problem - Are you having problems playing files downloaded from the Internet on your Vista PC? This article looks at free alternate video players that run under Vista and that can often overcome the “missing codec” problem frequently encountered in Vista Media Player.
How to Turn Your Vista or Windows XP Media Center PC into a DVD Jukebox - Want to get your DVDs organized and saved on your big, new external hard drive in Media Center? “My Movies 2” in Media Center can give you that capability, and it’s free. Here we look at ways to burn DVDs to the hard drive and integrate them for viewing in Windows Media Center or on the TV.


