Want to get your DVDs organized and saved on your big, new external hard drive in Media Center? “My Movies” in Media Center can give you that capability, and it’s free. Here we look at ways to burn DVDs to the hard drive and integrate them for viewing in Windows Media Center or on the TV.
My Movies
“My Movies” is a donation-ware add-in for Media Center in Vista Premium and Ultimate and Windows XP Media Center 2005. It allows you to organize and store your purchased DVDs on your hard drive, along with the album artwork and cast notes.
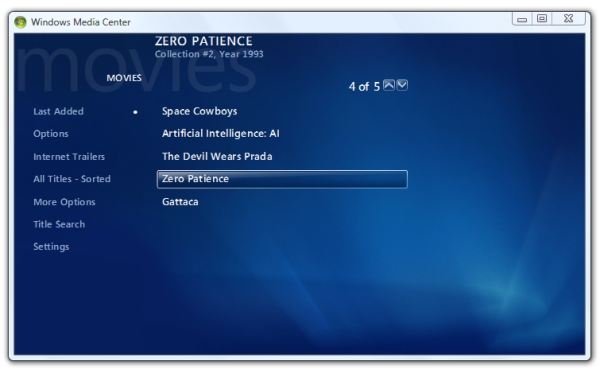
Here’s what My Movies looks like running in Vista Media Center.
My Movies is capable of copying an inserted DVD to the hard drive by itself. However, if the DVD is copy-protected, as virtually all commercial DVDs have been for the last couple of years, playback in Media Center will fail, and My Movies will not expressly warn you of this.
There are two very different techniques you can use with My Movies. One involves running AnyDVD by SlySoft on the PC. It acts as a “midde-man” between the DVD drive and Windows, allowing Windows to open the files on a protected DVD.
The other technique is manual, but it offers finer control, so that’s the method we’ll discuss here.
This involves using DVD Decrypter to copy the files from the DVD to the hard drive and then using DVD Shrink to remove unwanted portions of the video and unneeded languages. Both DVD Decrypter and DVD Shrink are freeware, but you’ll need to find them on the Internet for yourself. I can’t link to them here.
Anyway, we’ll look as well at using Virtual CloneDrive, to which I can link, to open a movie file that’s previously been saved as an ISO image to use with My Movies.
Here’s a run through of the steps involved.
Install My Movies
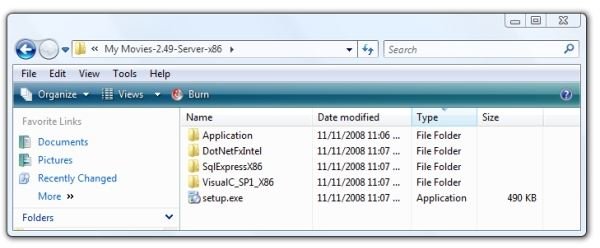
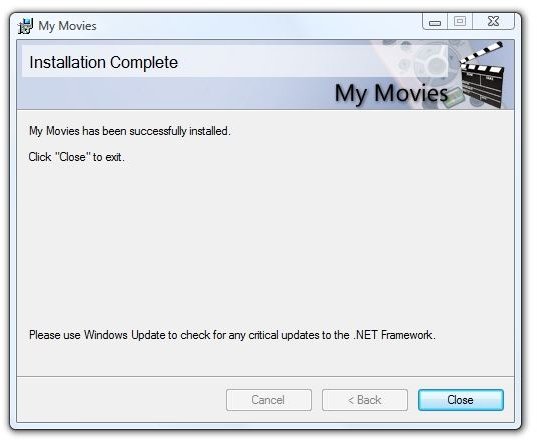
First, download the My Movies 2 add-in for Media Center and install it.
You’ll need to get the “server” version for the PC on which the movies will be stored. My Movies is distributed as a 78,646 KB zip file. It extracts to this.
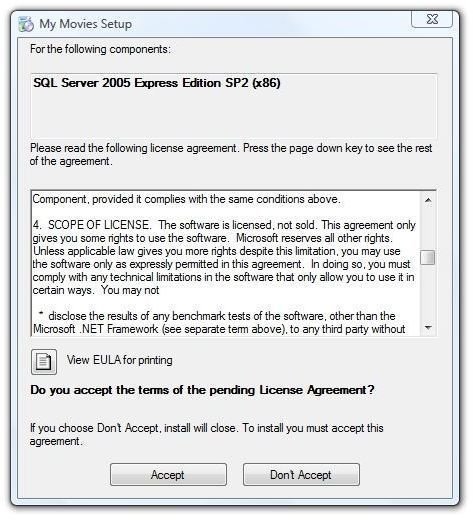
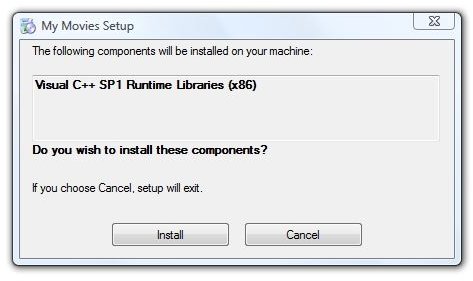
Double-clicking setup.exe runs the installer. It first installs Microsoft SQL Server 2005 Express Edition, and then the Microsoft Visual C++ runtime. Then it installs itself.
Images
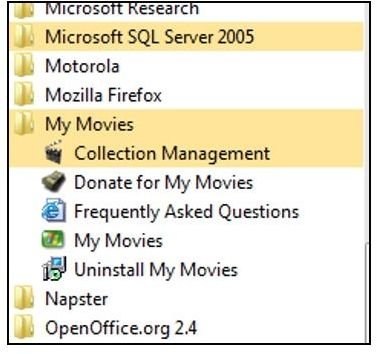
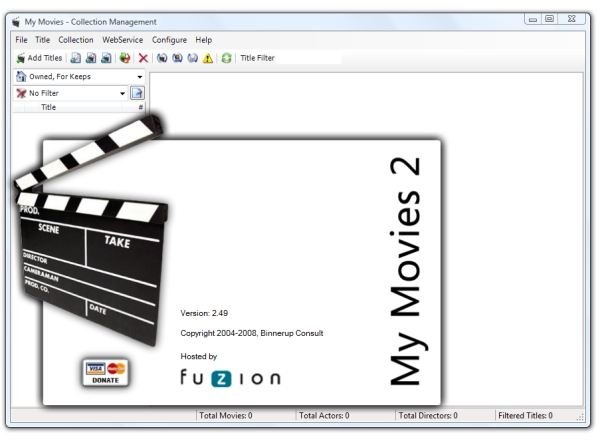
Below are the items added to the Vista “All Programs” menu and what the application looks like at first run.
Images
That’s all we need to do with My Movies right now - just install it. We’ll come back to it when we’re ready to add a movie.
Copy a DVD to the Hard Drive
If you place a DVD in your drive before starting DVD Decrypter and only one DVD is inserted, DVD Decrypter will very quickly select it and load the files from the DVD. If you have more than one DVD player loaded, you can select the one you want under the “File” menu.
Here’s what DVD Decrypter looks like when it’s running.
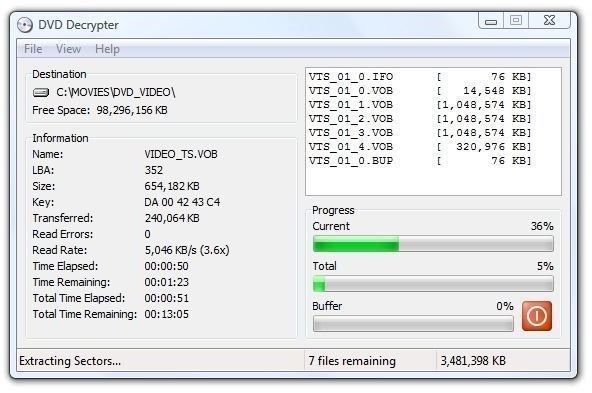
I have DVD Decrypter set to output to C:\Movies on my Vista machine. To specify the folder to which DVD Decrypter should write the files, click the folder icon to the right of “Destination:”
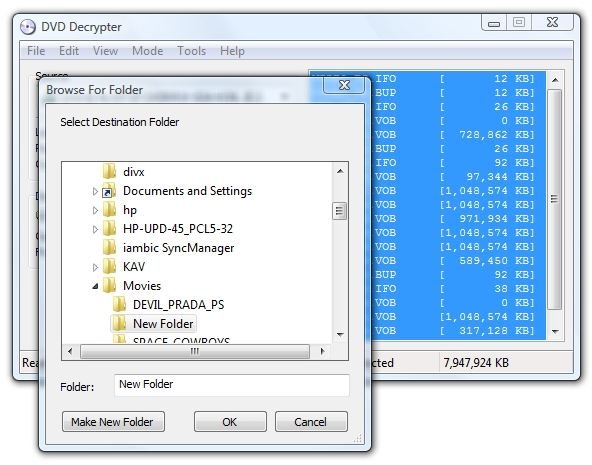
Then click the green arrow icon to run the program. For a 7.5 GB movie, DVD Decrypter runs for about twenty minutes.
Trim and Compress the Movie
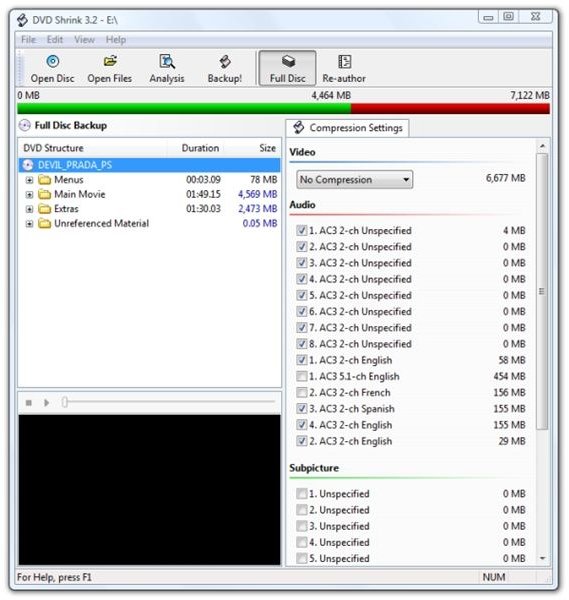
After DVD Decrypter has copied the files from the DVD to the hard drive, the next step is to start DVD Shrink. Start by clicking “Open Files” and then navigate to the folder (C:\Movies?) where you stored the files from the DVD.
The image below shows DVD Shrink with movie files open and “No compression” selected. As you can see, this movie started out as 6,677 MB. DVD Shrink allows us to un-select parts that we don’t need. For example, if you don’t want the Spanish and French language tracks included, you can un-check them. You can also delete the Extras folder if you wish.
Click “No compression” to see the other sizes that DVD Shrink suggests. In general, three to four GB end size makes for a quality compressed movie.
After you make your selections and click “Back Up,” DVD Shrink displays this dialog.
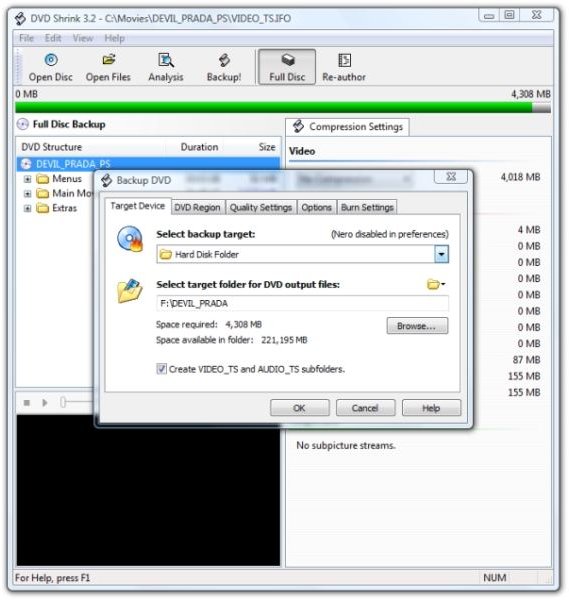
In the image above, the movie is being redirected to the external F: drive. It’s important that “Create VIDEO_TS and AUDIO_TS subfolders” is selected, because My Movies looks for that.
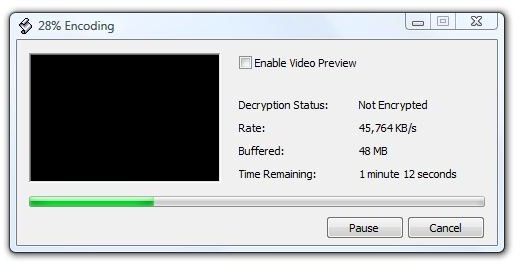
Here’s what DVD Shrink looks like when it’s running.
The final product will be a set of movie files from the DVD, customized the way you want them and optionally compressed to take up less space.
Next: Collecting Your Movie Data, Fine Tuning, and Finishing Up
Collect Your Movies
After DVD Shrink is finished, the next step is to use the “Collection Management” utility to add your movies and, optionally, go online to find more information about them.
To add your movie, click “Add Titles.” Then type in the name of your title.
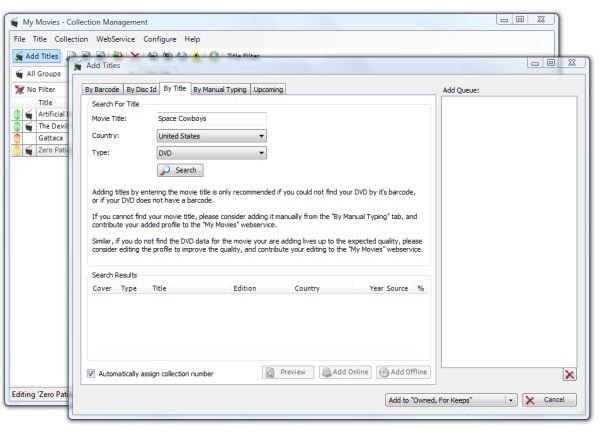
Then click “Search” to make My Movies consult the web service. In the image below, it’s found the movie by title.
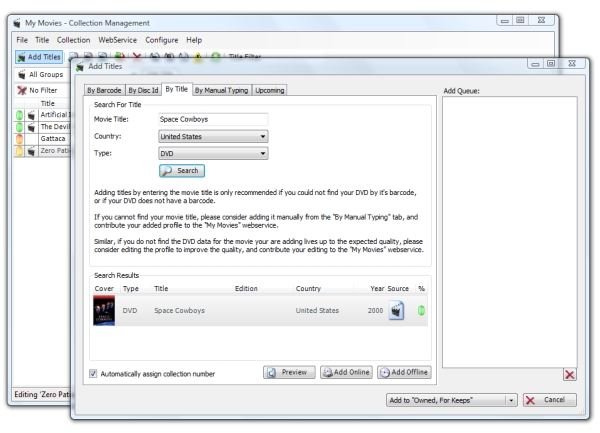
Since the movie is now present on the PC’s external drive, select “Add online” and point to the movie’s folder.
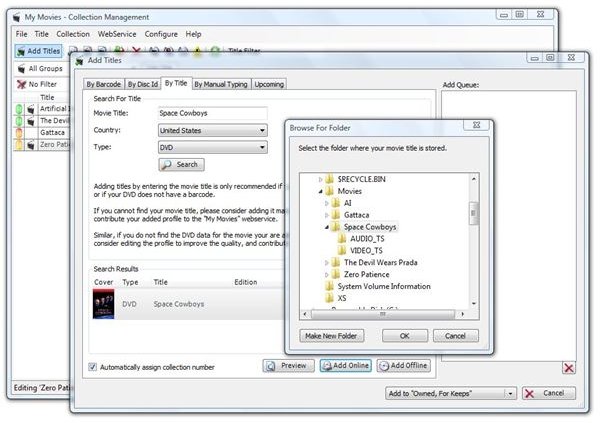
Finally, select the folder to save the movie to. The default is “Owned, For Keeps.” In the image below, My Movies went online and retrieved the information about the movie automatically. On lesser known movies, it’s necessary to query IMDB (the Internet Movie Database) manually in order to retrieve the information.
Some Fine Tuning
There are some options to look at while we’re still using the Collection Manager. Click on Configure, then Media Center Interface. If you’re going to be using a laptop or showing the movies on your PC monitor, I suggest that you select, “Interface is optimized for usage with mouse or touch screen.”
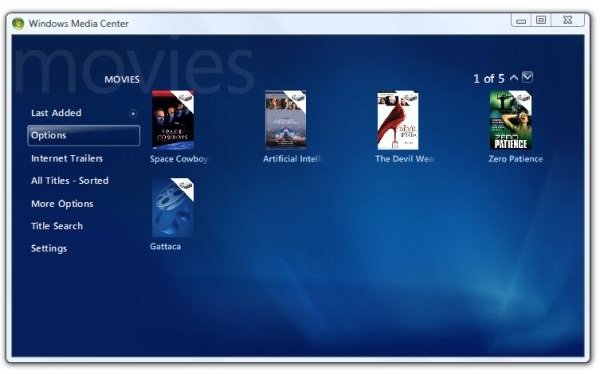
Under Views, select Thumbnails or List format. Here’s what each looks like in Media Center.
Images
You might also want to un-select “Include disks in local DVD drives in the title list,” particularly if you frequently rent DVDs and don’t want these movies included in the list.
Finishing Up
And there we have it. My Movies allows us to turn Media Center into a DVD jukebox. It works fine at desktop level and at the ten-foot level with the remote. Unfortunately, there’s not a way (that I’ve found so far) to go straight to My Movies from the remote.
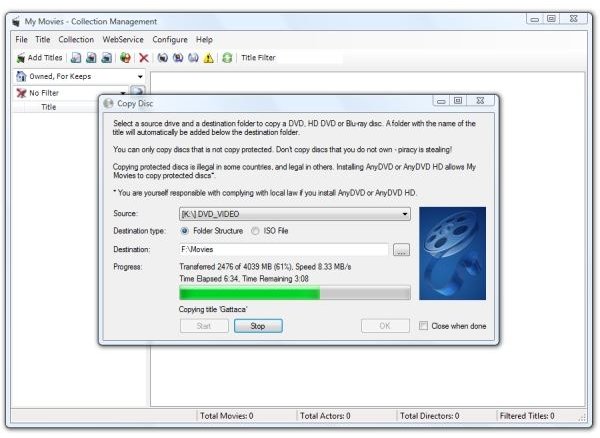
There are two ways to add DVDs to My Movies. If you also purchase AnyDvd, you can copy an inserted disk directly to your storage location using My Movies. This is the fastest method, but it also provides the largest file sizes.
If you want the fine control over your rip, final file size, and content, the steps above with DVD Decrypter and DVD Shrink will get you there.
And there’s one last thing. If you have previously stored DVDs on your hard drive as ISO image files, Virtual Clone Drive, also by SlySoft, will allow you to mount the ISO files as if they were DVD drives. You may then open the files in DVD Decrypter or DVD Shrink as if they were physical DVDs, or you may then use My Movies to copy the files into the format it recognizes for you.
Thank you for reading this.
We hope you are enjoying reading and learning at the new Bright Hub.


