Windows Police Pro is a fake application that claims to be an antivirus scanner, but in reality it is a big threat to your computer system. It can cause severe damage to a computer, causing important services like svchost.exe to crash. I will provide you with Windows Police PRO removal instructions.
Windows Police Pro Removal Instructions
In order to remove Windows Police Pro, you first need to terminate all its related services currently running on your computer system. Removing Windows Police Pro isn’t as simple as deleting an executable file. Once Windows Police Pro starts, it really embeds itself into the system, similar to another piece of malware known as Internet Explorer Antivirus (ieav.exe) .
Some people have developed a sort of command file, which when executed, terminates all the running processes related to the Windows Police Pro application. However, the authenticity of the file can’t be verified. So, I recommend you to manually remove all the processes related to the application.
Step 1:
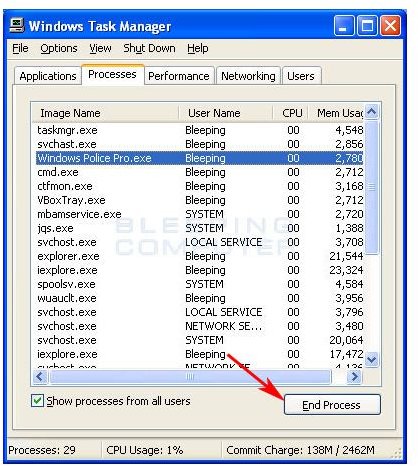
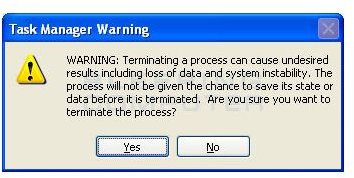
To remove the processes, press Ctrl + Alt + Del keys together, to open up Task Manager. Alternatively, you can right click on the taskbar, and then select Task Manager. In the Windows Task Manager window, click the processes tab and look for the following processes: “ANTI_files.exe”, “Windows Police Pro.exe”, “minix32.exe” and/or “dbsinit.exe”. Also, look for processes with name similar to the application name.
Step 2:
As a second step, you need to manually remove the registry entries related to the application. To do so, press Windows + R keys together to open the Run window. If you’re lacking a Windows key, simply click on the Start Menu, then select ‘Run…’ and a Run window will open. In the Run window, type “regedit” and press the Enter key. In the Registry Editor window, browse for the following key:
HKEY_CURRENT_USER\Software\Microsoft\Windows\CurrentVersion\Run
Look for a value named “minix32” and remove its entry.
Step 3:
The third step is to unregister all the dlls that have been registered by the Windows Police PRO application. To unregister the dlls, press Windows + R keys together to open the Run window. In the Run window, type the following:
regsvr32 /u “DLL-NAME”
Following are the dlls that you need to place at the DLL-NAME: “msvcp80.dll”, “svcm80.dll”, “dddesot.dll“, “msvcr80.dll”.
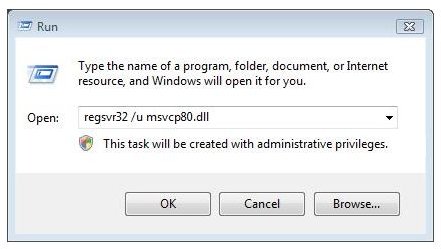
If the dll unregisters successfully, you will be displayed a message, otherwise, you will have to type in the full location of the dll file, which might be present in the Windows Police PRO installation directory.
Step 4:
The last step is to remove all the directories of the Windows Police Pro application, after you have performed all the above three steps.
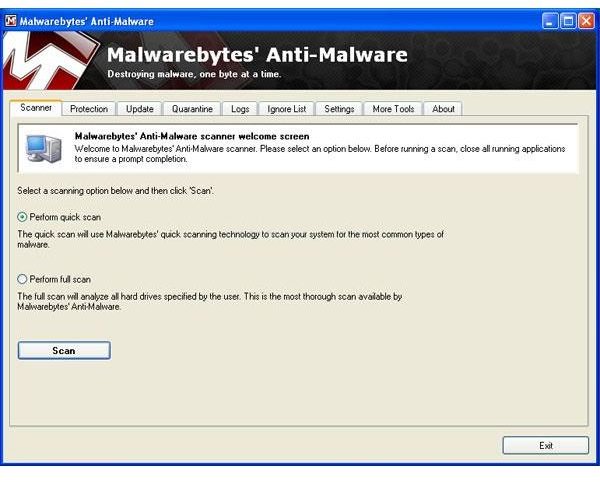
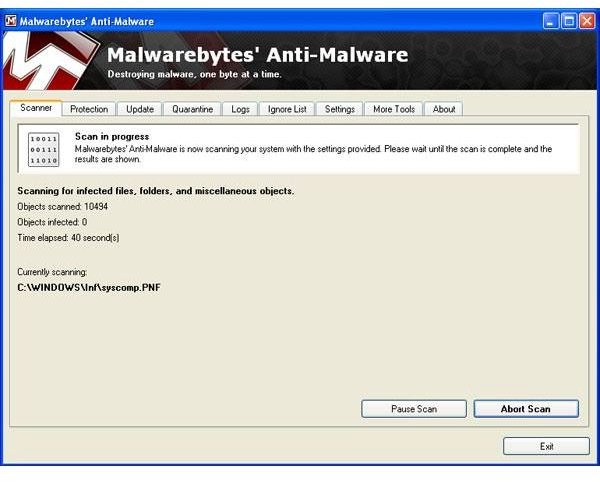
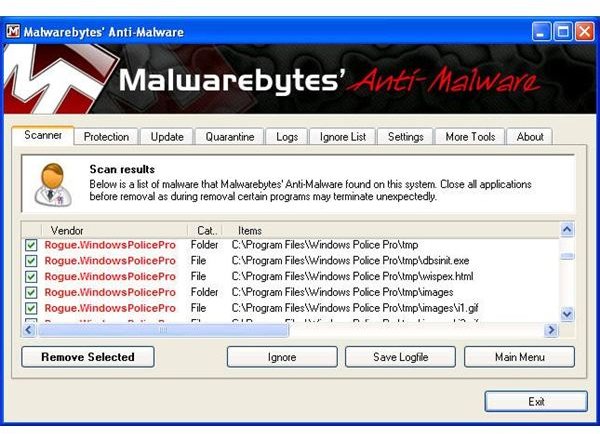
After you have completed all the above steps, you need to download Malwarebytes’ Anti-Malware Download Link and perform a quick scan using this free application. This will ensure that all the traces of Windows Police Pro application has been removed from you r system. If this anti-malware application finds any traces of any threat, it will notify you and then, you can remove the remaining threats too.
Note: If the 3rd step doesn’t work for you , then you can directly run Malwarebytes, but performing that step will guarantee that the application has been completely removed from your system and will no longer affect the performance and stability of your computer system.
Refer to images for more info.
Images
Images Credit
Windows Task Manager screenshots by Microsoft
Malwarebytes’ Anti-Malware application screenshots by Malwarebytes
This post is part of the series: Windows Police PRO
Windows Police Pro is a threat to your computer system that shows false and misleading information about computer system infection. This application is a copy of its predecessor application named Windows Antivirus Pro.


