Here’s how to customize Quicksilver to best fit your needs.
Making Quicksilver yours
So now you have downloaded Quicksilver (QS) and have installed it and gone through the set up process. At this point you can start to use QS, but there are some options that we should enable to truly get the most out of this tool.
Invoke Quicksilver using your hot keys which at this point use the default of control + space bar. This will bring up your command window which will again look something like this:
Now I have changed the color of mine and I will show you how to do the same. At any point to get to the preferences you will need to invoke QS and then when you see the command window type in command+, (comma).
Across the top you will see some options like General, Preferences, Triggers, Catalog, and Plug ins. Along the left side you will see additional options starting with Application, Appearance, Command, and Extras. We want to start out in Preferences on the top and Application on the left.

This is picture above shows what I have checked. I suggest the following to be checked. Start at login, this will start QS every time you start your computer or log in so you can start using it immediately. I keep Warn before quitting checked as well. I also like to keep the icon in the menu bar. Some people do not keep the icon in the dock because one of the benefits of QS is that we can keep a less cluttered dock. I keep mine in there just because I can quickly access it if I need to restart it or whatever. In the menu bar there is access to the preferences and other options without invoking QS.
You will want to enable advanced features. This will give you access and allow you to use features other then the launcher.
I also selected all the options under Check for updates. I have Daily selected as well. This is beta software and has been in beta since it was introduced.
For now skip the Appearance tab on the left and select Command. This is the location where you can change your hot keys. I have mine set up for command+space bar. Now this is the default for Spotlight, so you may want to look at the keyboard short cuts to see what is assigned where. (System preferences> Keyboard & Mouse > Keyboard short cuts). You can also reassign other keyboard short cuts here. If your short cut combination that you want is open, close out of System preferences, and type the combination into the HotKey Activation area. You can also adjust how high your command window is. I also have Show parent children menu selected. This allows you to see a wider view of the menu when searching in a parent folder. Here is a screen shot with out the children folder and with.
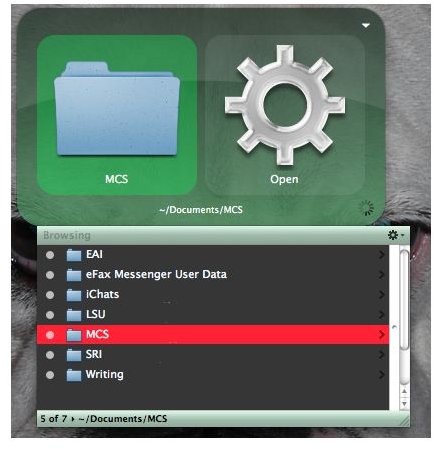
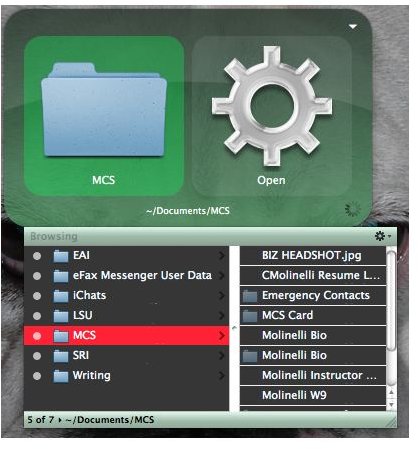
Even with this selected, the children folder will be hidden. To view it, put your cursor over the little dot in the right side where the slider might be and pull that dot to the left, this will reveal the next folder level. I also have Switch to text mode if no match is found.
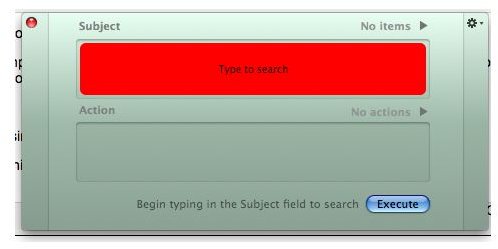
A nice feature of QS is that you can actually create a to-do or note from within it. You can also prepend or even append a document directly from the QS command window (this requires the advanced features to be enabled). To do this you will invoke QS and hit the period key. This will bring up a blank space where you can start to type your text. Now hit tab and type in prepend (or append), tab again, and find your document and hit enter. The information has been put into the document.
This post is part of the series: Quicksilver Set Up
Learn how to set up Quicksilver to get the most out of your Mac.


