Apple Time Capsule is much more than just a backup device. You can also connect a printer as well as an external hard drive to it to make it the ultimate all-in-one device. Many users have a hard time getting everything working with Time Capsule. Here is a definitive method for connecting a printer.
Connecting More Then One Device To Time Capsule
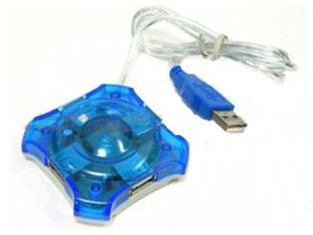
You can have both an external hard drive and printer connected to Time Capsule if you would like to use both. Also, you can have several external hard drives and printers connected to Time Capsule. However, if you want to to do this, you will need to purchase a USB hub. It is best to buy a USB Hub that is USB powered. That way, you can simply plug the hub into the back of Time Capsule, then plug your devices into the hub.
Connecting A Printer To Time Capsule
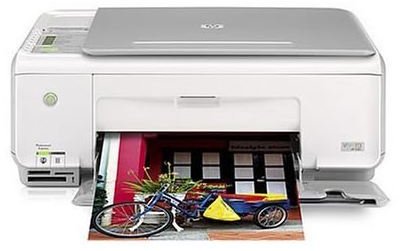
Aside from connecting an external hard drive to Time Capsule, you also have the ability to connect a printer. Connecting a printer is also a very simple process which can be done rather quickly. To start, you will first need to install the drivers for your printer. They should be on the disc that came with your printer. If you no longer have the disc, or you do not have drivers for OS X, you can usually download the drivers from your printer manufacturers website. For example, if you are using an HP printer, go to HP.com and do a search for drivers for your specific printer model.
After you have the drivers installed, you will need to make sure that you have restarted your computer so that the changes have taken effect.
Now, you can connect your printer to the back of your Time Capsule via the USB port. If you are using a USB Hub, connect the printer to the hub.
Now, you will need to get the printer setup on your Airport network. To do this, first open up your Airport Utility. You can navigate it by using the path Finder - Applications - Utilities - Airport Utility. WIth Airport Utility open, select your Time Capsule by using the lefthand pane. Next, click the Manual Setup button. Within the Manual Setup menu, you will see an icon labeled “Printers” toward the top of the screen. Click the Printers icon. You should now see your printer listed. You can now close Airport Utility, as you were just using it to verify that OS X recognizes your printer.
Now, you need to enable your printer. To do this, open up your Mac’s System Preferences Panel. You can navigate it by using the path Finder - Applications - System Preferences. Within the System Preferences Panel, you will see a Print & Fax icon located under the Hardware heading, click it.
Now that you are in the Print & Fax window, you will see your printer located within the printers menu along the lefthand side. This is a hardwired installation of your printer. However, you still need to add your printer again as a networked printer. To do this, click the plus sign in the lower left-hand side of this window. An Add Printer box will now pop-up and you will see your printer. Next to the name of your printer, you should see the word Bonjour. This is the printer that you need. Select it and hit the Add button. You have now just added your printer via Time Capsule. You can exit out of the System Preferences window. Go ahead and print out a test page to try out your new connection. Make sure that the Bonjour printer is selected before printing.
This post is part of the series: How To Add An External Hard Drive and Printer To Time Capsule Complete Tutorial
Apple Time Capsule has the capability to be a network attached hard drive as well as a wireless print server. However, it can be hard to understand the setup procedure the first time you are setting it up. Here is a tutorial to get you up and running in no time.


