Problem: Create eye-catching spreadsheets by adding WordArt. Word- Art is a tool that lets you make flashy headlines out of any words.
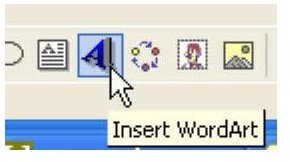
Strategy: Display the Drawing toolbar (View – Toolbars – Drawing). Click the WordArt icon, as shown in Fig. 1457.
Choose a shape from the WordArt gallery, as shown in Fig. 1458. Although there are 30 shapes shown, you can later adjust these shapes in a seemingly infinite variety of colors, contours, and faces. Choose something now and customize it later.
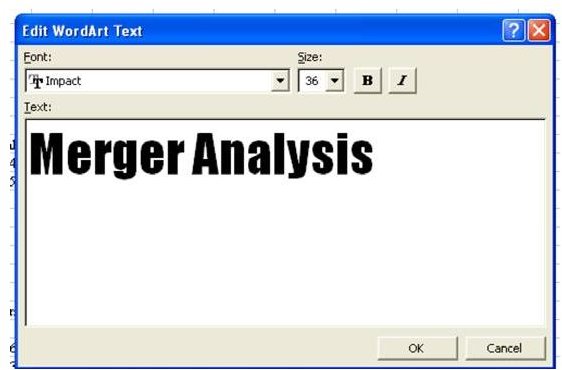
Next, you will be asked to enter the text, as shown in Fig. 1459. You can use the Return key to start a new line.
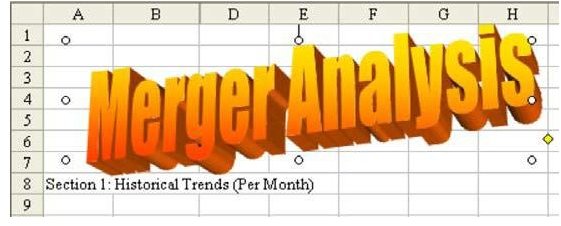
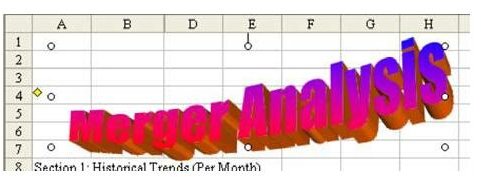
Click OK and the WordArt appears, as shown in Fig. 1460.
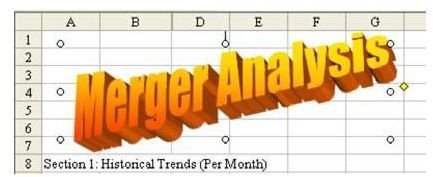
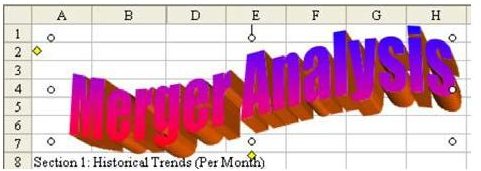
You will see handles to stretch or shrink the WordArt. You also will often have a yellow diamond handle to adjust the amount of tilt of the WordArt. As shown in Fig. 1461, in the following image, the WordArt was stretched to the right, and the yellow diamond was moved downwards.
When your WordArt is selected, the following buttons are available on the WordArt toolbar.
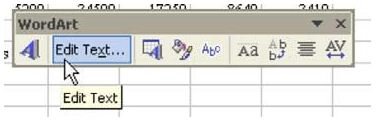
Edit Text: As shown in Fig. 1462, this button will allow you to edit the text that makes up the WordArt.
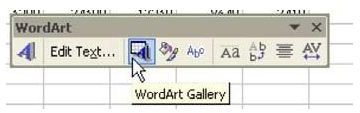
WordArt Gallery: The WordArt Gallery button allows you to change to one of the 30 other basic WordArt formats, as shown in Fig. 1463.
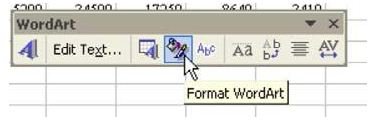
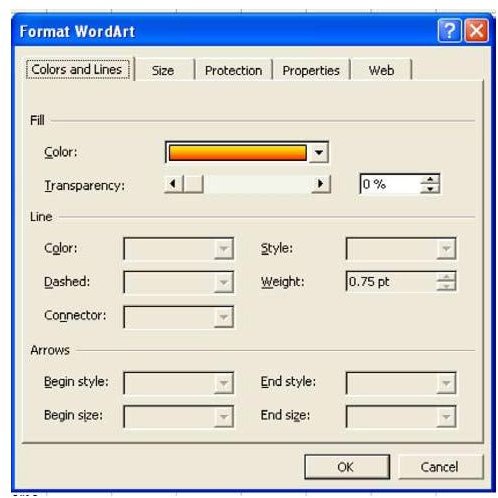
Format WordArt: Some of the WordArt shapes have a color for the letters and another color for the outline of the letters. You can change both of these colors in the Format dialog, as shown in Fig. 1464.
As shown in Fig. 1465, the Format dialog gives you options to change the color and, possibly, the line color. You cannot adjust the shadow color here.
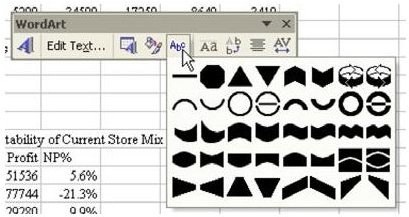
WordArt Shape: The WordArt Shape button allows you to choose from 40 different shapes for your WordArt, as shown in Fig. 1466. By choosing one of the 30 basic WordArt formats from the Gallery, you are selecting one particular shape. However, you can change the shape here.
As shown in Fig. 1467, this is the WordArt’s upward pennant shape. This is the first shape on the 3rd row of Fig. 1466.
The 6th shape on the third row is shown here in Fig. 1468.
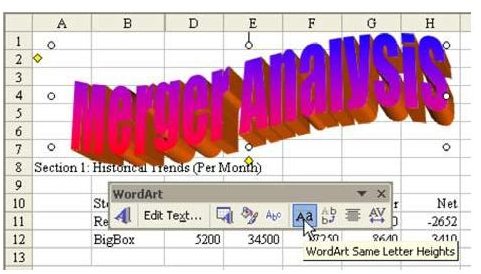
Same Letter Heights: The next button is to make all of the letters the same height, as shown in Fig. 1469.
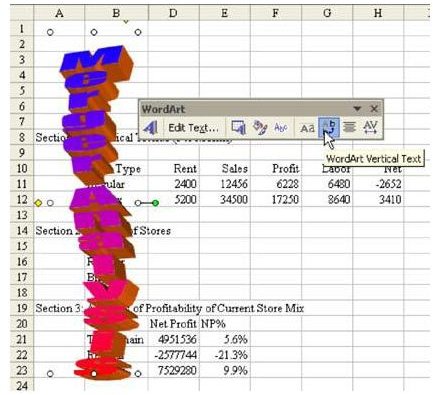
Vertical Text: The next button will make the type appear vertical instead of horizontal, as shown in Fig. 1470.
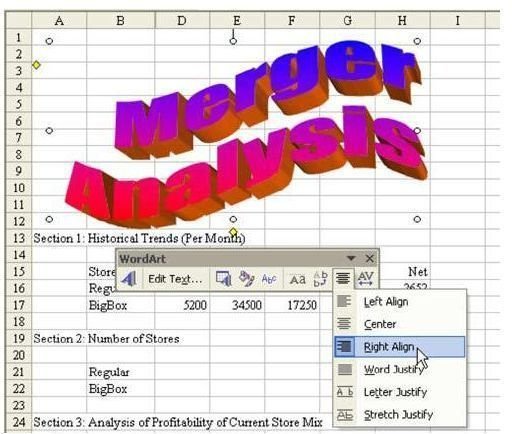
Align/Justify: If your WordArt consists of two lines of text, use the next button to indicate whether the lines should be left- or right-aligned, as shown in Fig. 1471. You can also ask for a couple of different methods of justification.
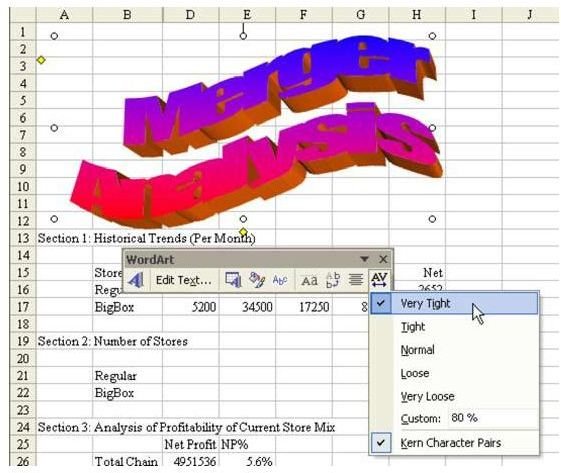
Spacing: The last button on the toolbar will adjust the spacing between characters. With the “Very Tight” adjustment, the letters all touch each other, as shown in Fig. 1472.
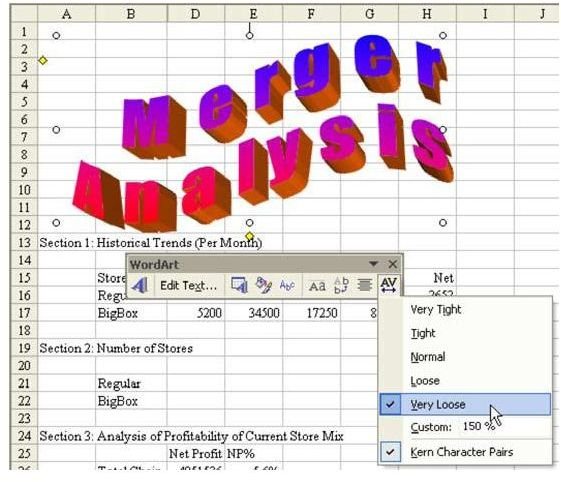
In “Very Loose”, not even the shadows will touch, as shown in Fig. 1473.
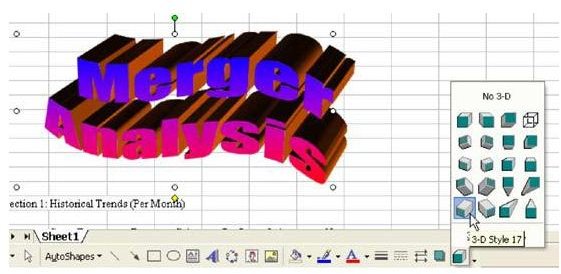
Some WordArt adjustments are made on the Drawing toolbar. To adjust the shadow or 3-D settings, use those buttons on the Drawing toolbar. A 3D effect is shown in Fig. 1474.
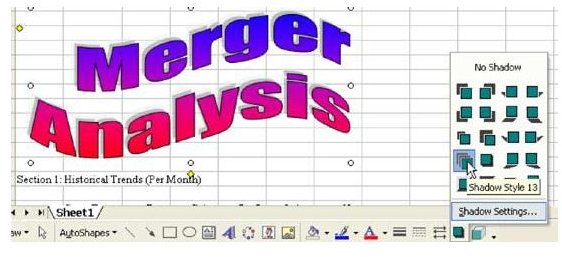
A shadow style is shown in Fig. 1475.
So, let’s see – you have 30 basic WordArt Formats x 40 Shapes x (20 3-D + 20 Shadow) x 256 colors x 6 spacing. This yields about 73 million different variations of WordArt!
WordArt can be added to worksheets or to charts. After you have a great chart defined, a bit of WordArt for a title can be the perfect finishing touch, as shown in Fig. 1476.
Summary: Using WordArt and its various options can make your worksheets and charts really eye-catching.
Commands Discussed: View – Toolbar – Drawing – WordArt
Images