Problem: How can you draw a perfect square by using the AutoShape tools in the Drawing toolbar?
Strategy: Click the Rectangle tool in the Drawing toolbar. Before you left-click in the worksheet, hold down the Shift key. Keeping it held down, draw the rectangle. Release the mouse button, then release the Shift key.
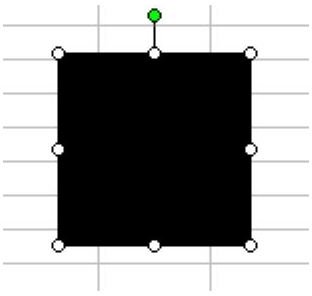
Result: A perfect square will be drawn, as shown in Fig. 1347.
Additional Details: If you want to resize a square, hold down the Shift key while you drag a corner handle. This will force Excel to keep the shape a square.
Additional Details: If you need to produce many identically sized squares, follow these steps.
-
First, draw one square as shown in Fig. 1347. Next, hold down the Ctrl key. Click on the first square and drag to move a copy of the square to a new location. You will now have two identical squares.
-
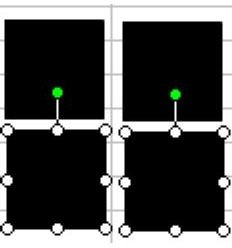
Hold down the Ctrl key and click on the new square. Both squares will be selected. Hold down the Ctrl key and drag the two squares to create a copy of both. You will now have four squares, as shown in Fig. 1348.
Advertisement
-
Hold down the Ctrl key and choose the original two squares to add them to the selection. You will now have all four squares selected. Hold down the Ctrl key, click and drag to make a copy of the four squares, as shown in Fig. 1349.
-
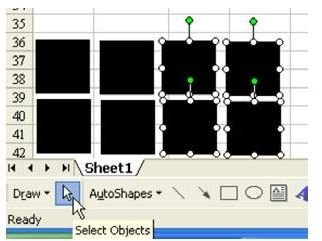
If you need to keep copying, you will want to select all eight squares. The fastest way to do this is to use the Select Objects arrow in the Drawing toolbar. Select this icon, then drag a box around all of the squares to select them all. Ctrl+Drag to copy the eight squares to be 16 squares.
Advertisement -
When you are finally done, choose the white Select Object arrow again to exit the Select Objects mode.
Summary: Use the Shift key while drawing a rectangle to force it to be a square.
Commands Discussed: Shift; Ctrl; Ctrl+Drag
Images