Problem: The oval tool in the Drawing toolbar is hard to use. With the rectangle tool, if you start dragging immediately above a cell, as shown in Fig. 1341, you can drag to the end of the range and effectively draw a perfect rectangle every time.
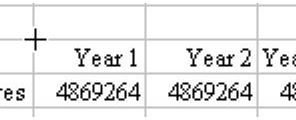
If you start drawing the rectangle in the upper left corner of the cell, the AutoShape will start in that corner, as shown in Fig. 1342.
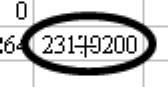
However, if you start drawing a circle in the same spot, the oval that you draw will not completely include the text in the cells, as shown in Fig. 1343.
Strategy: There are a few special keys that work well when drawing ovals.
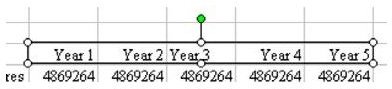
First, to force an oval to be a perfect circle, hold down the Shift key while you draw and release the mouse button, as shown in Fig. 1344.
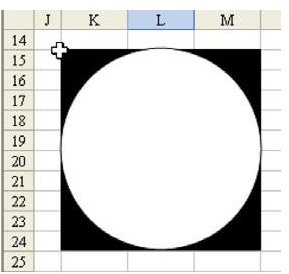
Second, a circle or oval is hard to draw. In order to draw the circle shown in Fig. 1345, you would have to start at the upper left corner of K15. This is non-intuitive, because all of the area in black is covered when you drag the circle tool to draw the circle. How can you know how far above your data to start in order to include all of the data?
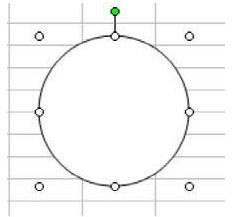
One solution is to hold down the Ctrl key when you draw the oval (or the Ctrl+Shift keys to draw a circle). Then, instead of starting in the left corner, start directly in the middle of the circle. As you drag outward, the circle will grow, as shown in Fig. 1346.
Summary: The Shift key will cause an oval to draw as a circle. The Ctrl key will cause the oval to draw outwards from the original point.
Commands Discussed: Oval Tool
Images

References and Additional Resources
If you’re looking for more tips and tutorials, check out 91 Tips for Calculating With Microsoft Excel . This collection of easy-to-follow guides shows how to customize charts and graphs, different ways to make complex spreadsheets easier to update, and even how to play games like Craps in Excel.
Other Resources:
Microsoft Excel Official Site, https://office.microsoft.com/en-us/excel/
Bill Jelen, Microsoft Excel 2010 In Depth, Available from Amazon.com .


