Excel Tips - How to Add a Page Break at Every Change in Customer
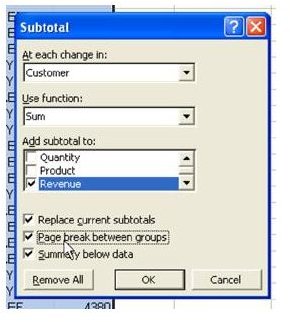
Strategy: The easiest way to do this is to add a subtotal by using the Data – Subtotals command. You can choose to have a page break between groups, as shown in Fig. 1252.
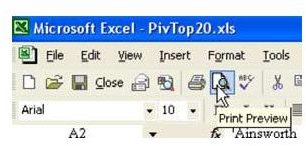
However, let’s assume that you cannot use the automatic Subtotals feature for some reason. It helps to understand page breaks. Excel page breaks can either be automatic or manual. If you use the Print Preview icon, as shown in Fig. 1253, and then close the Print Preview window, Excel will draw in the automatic page breaks. The Print Preview icon is in the Standard toolbar.
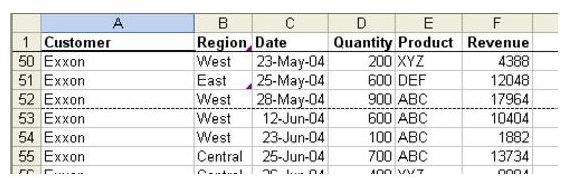
In this particular report, it turns out that with the margins and print size, Excel would normally offer an automatic page break after row 52. After you do a Print Preview, Excel draws in a dashed line after row 52 to indicate that this is an automatic page break, as shown in Fig. 1254.
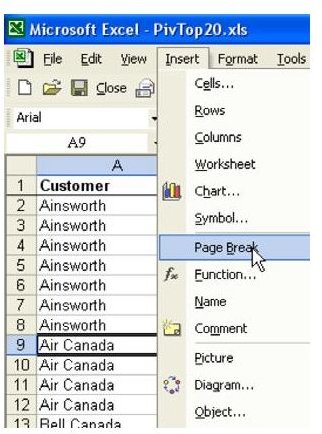
You can add a manual page break to any row. Position the cell pointer in column A on the first row for a new customer. From the menu, select Insert – Page Break, as shown in Fig. 1255.
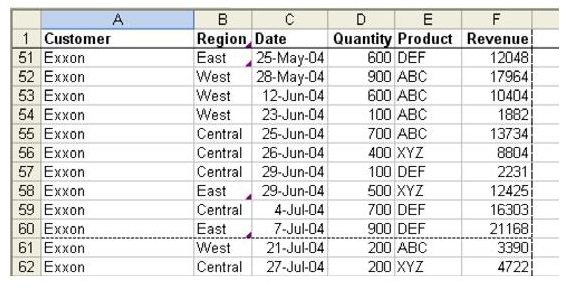
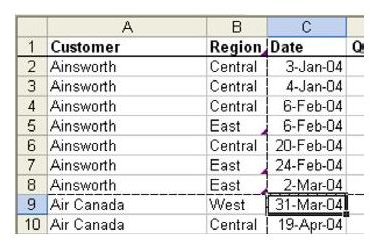
Excel draws in a dotted line above the cell pointer to indicate that there is a page break after row 8, as shown in Fig. 1256.
Since you’ve added a manual page break after row 8, Excel automatically calculates that it can fit rows 9 through 60 on page 2. As shown in Fig. 1257, the location for the next automatic page break is now shown at row 60 instead of row 52.
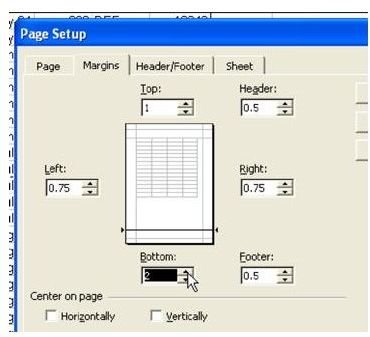
Automatic Page Breaks will move around. Say that you change the margins for the page, using File – Page Setup – Margins – Bottom, as shown in Fig. 1258.
As shown in Fig. 1259, Excel will now calculate that the end of the second page is at row 54.
Unlike Automatic Page Breaks, the Manual Page Break will never move.
To add the rest of the page breaks, move the cell pointer to the next cell in column A that has a new customer. From the menu, select Insert – Pagebreak. (Since you have 50 of these to insert, you might want to use the keyboard shortcut: Alt+IB.
Additional Details: Selecting each new customer is tedious. Microsoft has given you a shortcut for finding the next cell in the current column that is different from the active cell. However, it is difficult to use this shortcut. You will have to decide if it is worth the hassle.
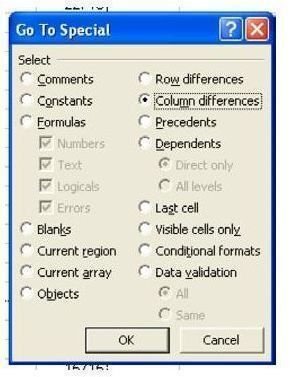
Start with the cell pointer on Texaco. Hit Ctrl+Shift+Down Arrow to select all of the cells below the current cell. Type the F5 key. Press the Special button. Select Column Differences, as shown in Fig. 1260.
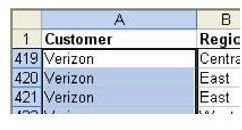
As shown in Fig. 1261, the cell pointer will move to the first row with Verizon.
You can use the Insert – PageBreak command. This whole series of events can be repeated by holding down the Alt key while you type EGSM. Release the Alt key to hit Enter. Hold down the Alt key while you type IB. If you have hundreds of page breaks to add, mastering this keystroke might be worth the time.
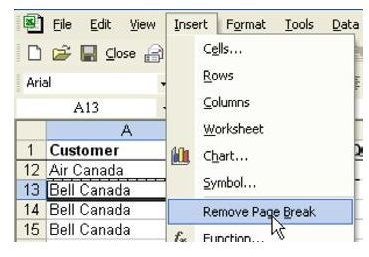
Additional Details: To remove a manual page break, you should put the cell pointer in the first cell under the manual page break. When the cell pointer is in this location, the Insert Menu offers a Remove Page Break option, as shown in Fig. 1262.
To remove all page breaks, select all cells using the box to the left of column A. The Insert menu will now offer an option to Reset All Page Breaks.
Gotcha: To insert a row page break, you must either select the entire row or have the cell pointer in column A. If you select Insert Page Break from cell C9, Excel will insert a horizontal page break above row 9 and also a vertical page break to the left of column C, as shown in Fig. 1263. This is rarely what you want.
Summary: Excel offers two kinds of page breaks. Automatic Page Breaks are calculated on the fly, based on row height and margins of the current page. Manual Page Breaks that you add are permanent and will not move.
Commands Discussed: Insert – Page Break; Edit – Go To – Special – Column Differences; Insert – Remove Page Break; Insert – Reset All Page Breaks; File – Page Setup – Margins
Images