VideoStudio Pro X3 allows you to utilize multiple overlay tracks to create some very artistic picture-in-picture effects in your videos. In this tutorial, we’ll explain how to create these effects.
Video Overlays
Whether you’re working with photos or videos (or both), you can create a lot of very interesting effects using overlay tracks in VideoStudio Pro X3 . One of the things you can do is design a Picture in Picture, or PiP, effect which displays one video playing on the “full screen” while another plays as an insert. This is the same type of effect you see when watching a news program in which the commentator is shown sitting at a desk and recorded footage is shown in a “box” on the same screen.
The technique used to create this effect isn’t just restricted to video clips. You can also use photos and other images to make a professional-looking slideshow with overlapping scenes on top of either a photo or video background.
Creating a Picture in Picture Effect
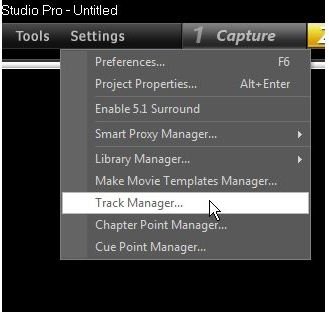
Step 1: To start off, first decide how many video clips or images you want to overlay. The most typical setup is to only have one picture or video inserted as an overlay to the base full-screen clip, but VideoStudio Pro is capable of creating multiple overlay tracks. By default, only the standard video track and one overlay track are shown on the timeline. However, you can change this by selecting Track Manager from the Settings menu and choosing to display additional overlay tracks. (Click any image for a larger view.)
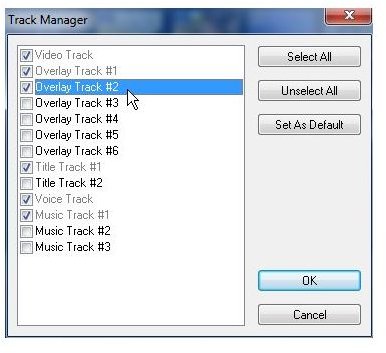
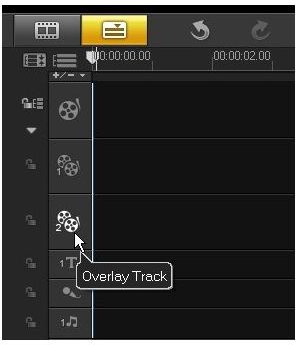
Just as an example here, we’ll go ahead and check the box next to Overlay Track #2 to add an additional track to our timeline. The image below shows where this new track will appear.
Step 2: Drag the photo or video clip that you want to use as the main track to the Video Track on the timeline.
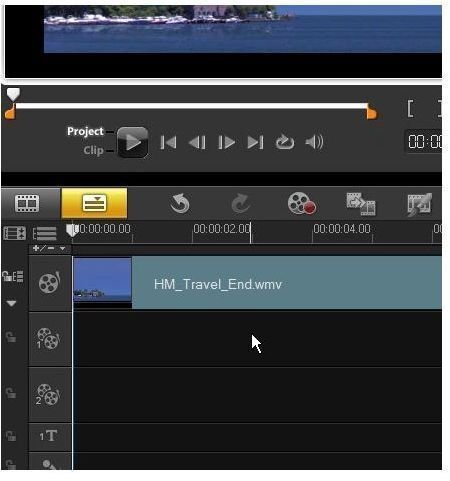
Step 3: Drag the clip or media file that you want to use for the PiP effect to Overlay Track #1. If you have other media that you want to show at the same time or overlap, drag those clips to one of the other overlay tracks.
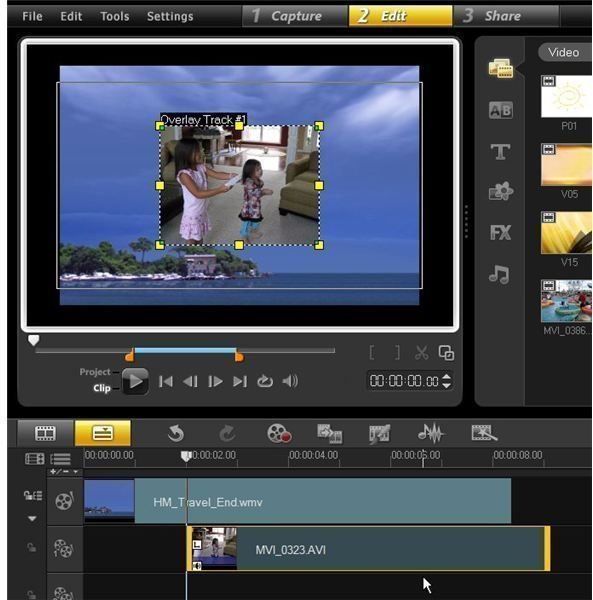
Note that you can stagger the clip on the overlay track to start at a different time than the main background clip.
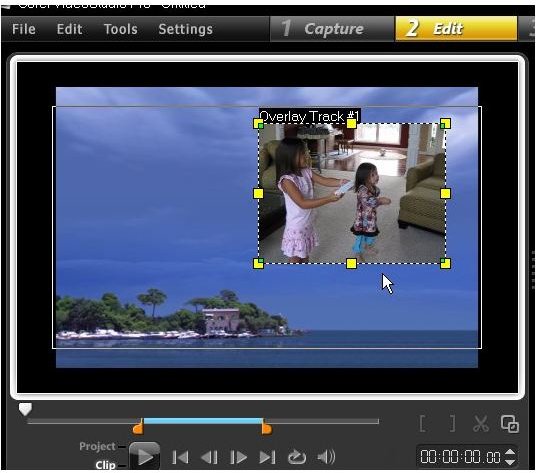
Step 4: In the preview area, resize and reposition the overlay track by dragging the clip or adjusting the borders of the selection box containing the photo or video.
Step 5: Next, you can add other effects to the clip on the overlay track. Right-click over the clip on the track and choose Open Options Panel. Click on the Attributes tab and you’ll find several items you modify if you wish. For instance, you can select an entry and an exit position for the clip so that it appears to “fly” in from one part of the screen and “fly” out another.
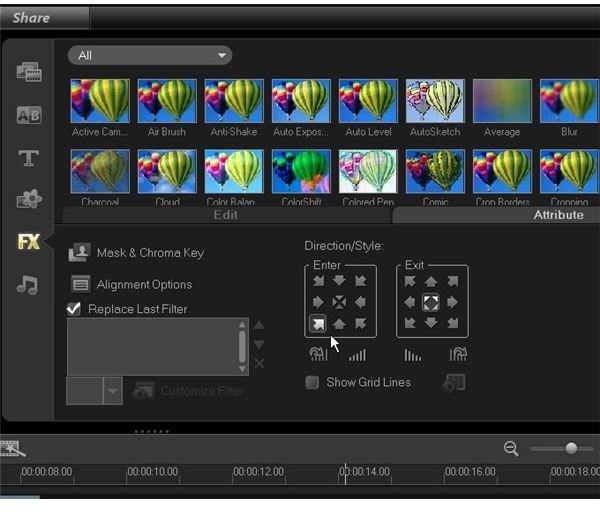
From here, you can add any other effects that you want to use to either the main background clip or the one on the overlay track. It’s a good idea to preview the project often as you’re adding overlay clips and effects to make sure that the video isn’t becoming too “busy” and confusing.


