Here is a look at how to use home items to create your own light diffusion apparatus.
Soften the Light
Professional film and video is really made so in the type of lighting is used. The creation of a moving image is truly created in front of the
camera, as light is made intentional and mood and perspective is altered by the way you direct it. Often times when you are using video lights, especially from high end portable lighting kits, you are going to find that the light is just too strong. You can go ahead and purchase different type of light diffusion tools, but learning how to might a light diffuser is almost just as easy. Here is a look at creating a “DIY” video lighting diffuser out of simple home items.
The Sheet
Much of what a professional light diffuser resembles is just a thin cloth that lowers the overall intensity of the light and gives it a more broad blanket rather than a sharp directional appearance. There are a number of different home cloth items that can work to mimic this, but the most efficient is going to be a sheet. The way you end up approaching this is dependent on how your lights work, how large they are, what your environment is like, and how mobile you want to be with your video equipment .
If you want it to have the form of a regular professional light diffuser then the question of how to make a light diffuser is more about how to harness the sheet. You can start by cutting out two square feet segments from the sheet. What you want to do is then create a metal frame that could support the sheet, finding either tight metal hooks or plastic secure ties that you can use to connect it to the frame you created. The nature of this frame depends on what you have and how much control you have to alter it, but it can range from an altered metal coat hanger to a fully manipulated thick steel piping.
Wax Paper
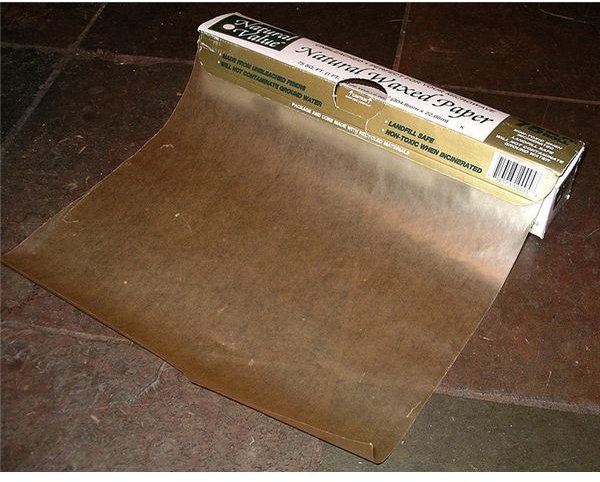
For smaller lighting set ups and light sources then you can utilize kitchen items that already come in specified squares, such as pre-cut wax paper. This may be less involved than other DIY video lighting diffuser tools you can create, but it will actually allow you to create a much lighter weight frame and you will not have to end up supporting it with a full size C-Stand. To do this you will secure the wax paper in the exact same way, yet you will have to keep the paper a reasonable distance from the light since it will become a fire hazard. Since it has a smaller surface space you will need to use this with a smaller key light, usually a 150-300 watt. A simple white paper sheet, including lined paper, will work. The problem with heat is going to be even more significant in this case, so you will often need to put it further away from the selected items from your portable lighting kit .
Location Based
Rather than considering how to make a light diffuser you may want to consider how to diffuse the light in the location you have by simply repositioning the light and playing with the site and equipment you already are finding use for. When working in a standard house you will have an advantage as the vast majority hold white ceilings and walls. This allows for a clean color reflection, though it will be heavily diffused. What this will do is take an open key light and turn it into a broad fill light, spilling light all over the room without it being on a focused area.
The general rule that you have to consider with a soft light is that you will have light falloff throughout the entire location. In general, this means that a high intensity light is going to get light onto the subject. This is going to be difficult to estimate without a light meter, without this you will not be able to match a heavily diffused light to your aperture setting. This means that you can often just begin with having the light pointed at an irrelevant point and then work toward or away from the subject based on the light readings and what you need for your depth of field .
References
Photos:
Source: author’s own experience.


