If you’re like me, trying to find great textures for Photoshop can be a little annoying. But unlike me, maybe you’re not entirely sure how to create your own Photoshop textures. Tutorials on the subject are scarce, but this article is ready to walk you through the process in no time flat.
You might be surprised to learn that you can easily make your own Photoshop textures with little more than a photograph of something and a bit of spare time on your hands. This article will walk you through the process of creating photoshop textures that can easily be used to spruce up all kinds of projects.
Pick Your Image
Pick your image. Ideally, your image should be rather large to start with. Anything in the 1500x1500 range is generally considered high-resolution, but don’t be afraid to go to the maximum and use an image that is 2500x2500. If you’re going to scan, make sure to scan at a high DPI. The reason for this is because higher resolutions can always be downsized, but something small cannot be scaled upwards without lowering the quality significantly. This also makes for higher quality printed images, so if you’re planning on printing out anything, this is an absolute necessity!
Clean Up Your Image
Clean up your image as needed. Remember that using an image as a texture means that any flaws will easily be noticeable. Make use of the cloning and healing tools to help remove unsatisfactory portions of your image. Cropping an image will also help, but make sure that you still keep it fairly large for the reasons listed above. If you’re feeling particularly ambitious, you can go ahead and make yourself a seamless texture by following the process in How to Make A Seamless Texture for Tile .
Saving as a Texture
Generally, you should save your images as PNG files. These save well, are easily downloaded and uploaded, and are fairly universal. This means that if you want to save it and use it in another program, you can! However, PSD files are also acceptable. Avoid using JPGs unless you’re willing to save it a as a very high quality image, as medium and lower quality JPGs have noticeable compression. Avoid saving textures as GIF images for the same reasons.
Confused about file formats? Check out our article on Image Formats .
Using Textures
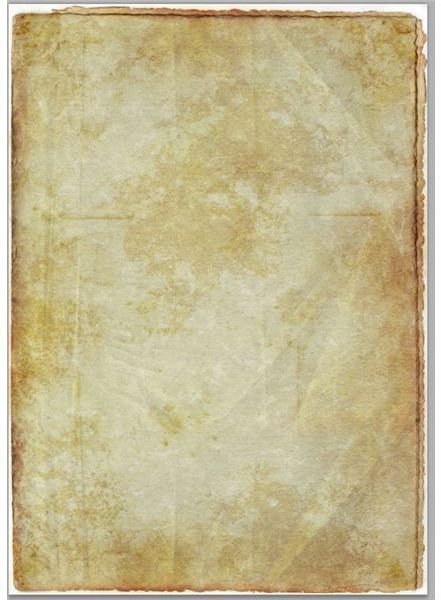
You can use your textures in several different ways, but a very common way to use one is to layer it over your background to create neat paper textures. For instance, I’ll use this paper texture that I have to make this image look a little more visually interesting.
Simply take your texture and place it on the layer above your background. Now, there are a few options. you can either choose to desaturate (Shift+Ctrl+U for PC users, Shift+CMD+U for Mac users) the image which will remove all the color, or you can choose keep it with the colors intact. Desaturating it will make sure that none of the colors alter the color of your background (if your background has a color.) I personally prefer to desaturate my textures, but once again, this is fully up to you!
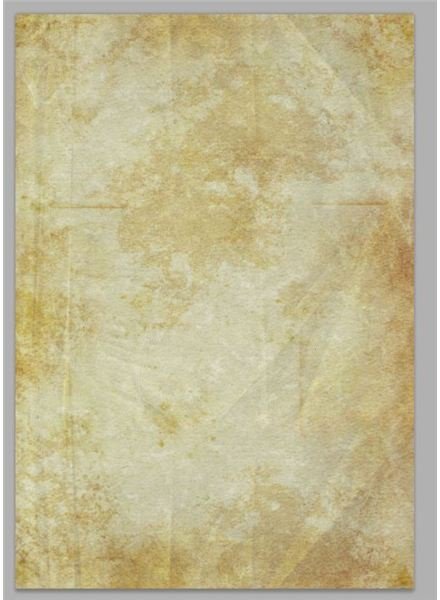
Now, you’ve got a bunch of different options you can play with! In the layer window, scroll through the blending mode of the different layers. This is where you get to use your artistic license to pick whatever one you like the best! My personal favorites are “soft light” “multiply” and “overlay.” Here’s what this image looks like with the texture layer set to multiply.
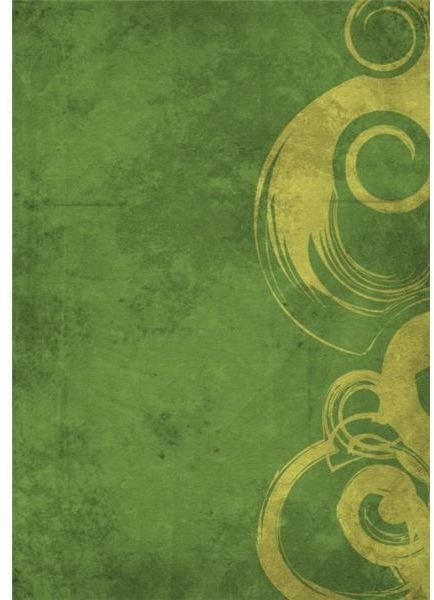
Image Credits
Many thanks to struckdumb at deviantART for their fantastic free base paper texture I used in the demonstration.


