Users of open source GIMP does not require many sacrifices when compared to pricey commercial image manipulation programs. The support GIMP has for layers pleasantly surprises many users. This tutorial shows you how to work with masks in GIMP using layers.
Make a Layer from a Background
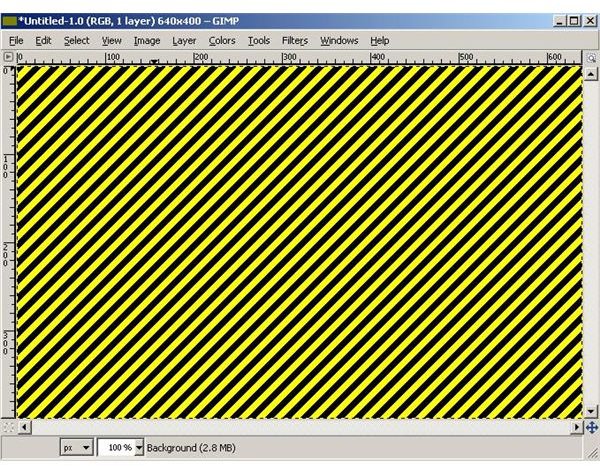
Layers act somewhat like transparencies overlapping on top of an image and can be used to mask and blend the layers, changing the overall effect of an image without modifying the image itself. To get started learning how to work with masks in GIMP , create a new document and fill it with a pattern.
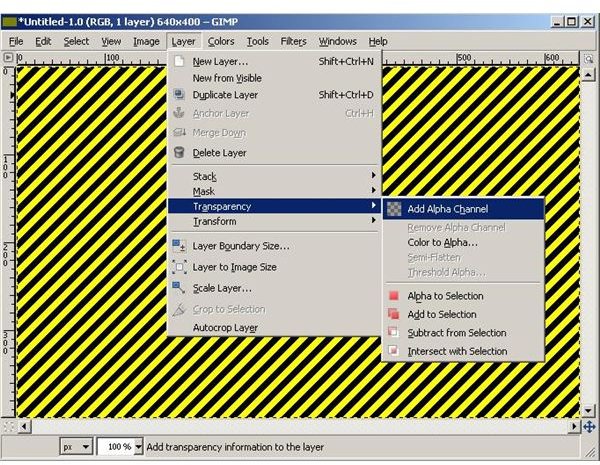
Now convert the background to a layer by clicking “Layer” and then “Transparency” and the “Add Alpha Channel.” Your background now has turned into a layer.
Create a Layer Mask
As you continue learning how to work with masks in GIMP , you should probably rename the layer you just created “Background” to “Layer 1.” Do this by clicking on the “Windows” option on the main menu bar, “Dockable Dialogs,” and then “Layers.” Now right click on the layer called “Background” and then rename it “Layer 1.”

Now, click on “Layer” on the main menu bar and then choose “New Layer.” Name this layer “Layer 2.” Notice that even though a layer lies on top of your original layer the image still looks the same. This is because the top layer (Layer 2) is transparent. With Layer 2 selected, grab the bucket tool, select a pattern and fill “Layer 2” with it. Now, right click on “Layer 2” in the “Layers” window and then choose “Add Layer Mask” from the context menu.
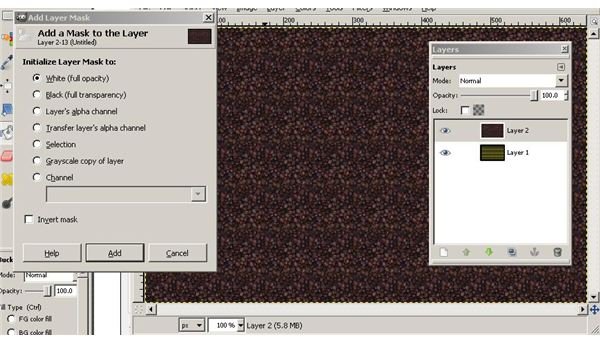
Make sure that “White (full opacity)” is selected and then click the “Add” button. You now can work with Layer 2 itself or you can click on the mask (to the right of Layer 2) to work with it.
Edit and Apply the Layer Mask
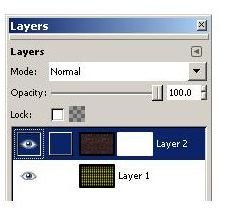
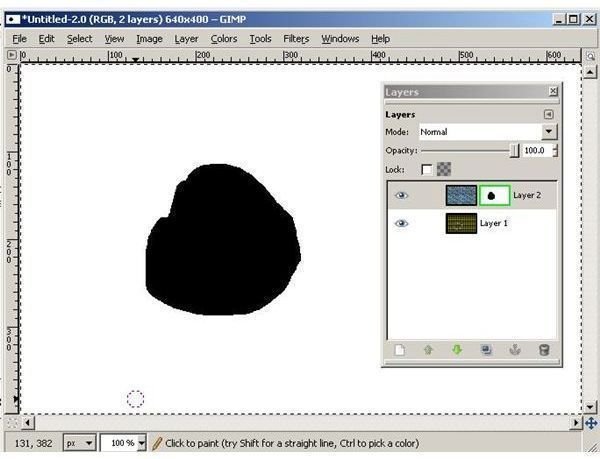
After creating the layer mask in GIMP , it is up to the user to edit it and then apply it to the image. Right click on the Layer 2 mask thumbnail and select “Show Layer Mask” from the context menu. Now grab the pencil tool, select a brush and draw on the mask. Your drawing shows up in black.
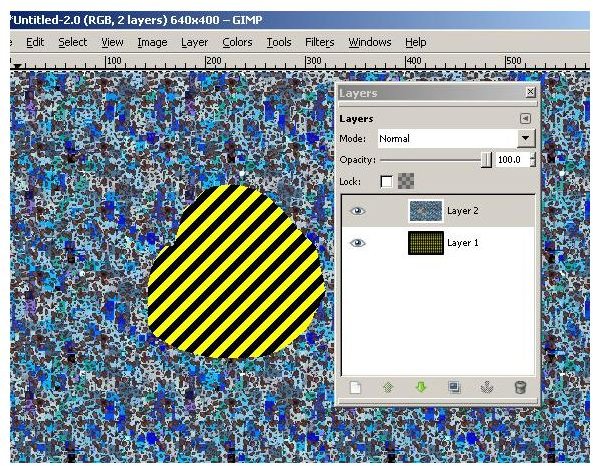
Now right click on the Layer 2 mask thumbnail again and then click “Apply Layer Mask.” You now see how to work with masks in GIMP to easily create powerful modifications without altering your original image.
GIMP Mask Effects
To complete his tutorial on how to work with masks in GIMP, you can use masks to fade or transition between layers, produce volume, and another assortment of affects now that you how to work with masks in GIMP. Here we create a gradient fill in a circle to ease the transition between our two layers.
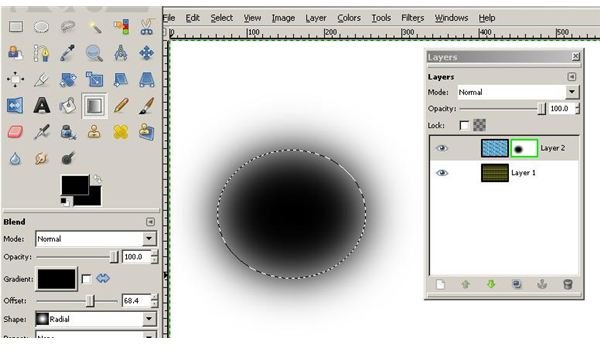
Now, apply mask by right clicking on the Layer 2 mask thumbnail and then selection the “Apply Mask” option.

There are endless ways you can use masks in GIMP to create fantastic effects. Take some time to evaluate the different blend methods and maybe even add additional layers to create more complex results.
Image Credits: Screenshots taken by Bruce Tyson


