Some people say that gradients in Adobe Illustrator are not as easy to work with as they could be, but there is no need to be afraid of them. In fact, once you learn how to apply gradient in Illustrator CS3 you will find it to be a powerful and simple tool that enhances your creative work every day.
The Adobe Illustrator Gradient Palette
You must become familiar with the Gradient palette in order to learn how to apply gradient in Illustrator CS3. The gradient panel is accessed by clicking “Window” on the menu bar and then “Gradient” or by simultaneously pressing
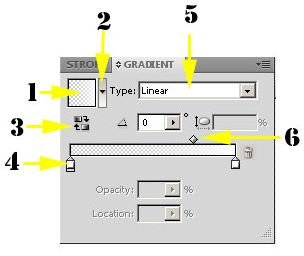
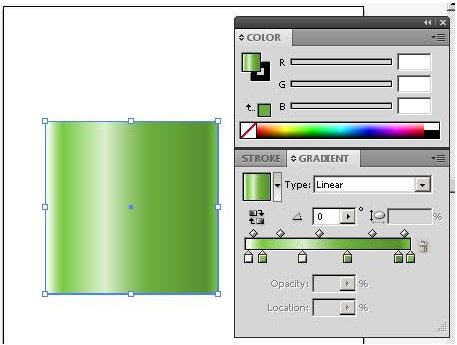
1. Gradient Fill. This window displays a thumbnail of the currently selected gradient. This is the gradient that will apply (or is applied) to the selected object.
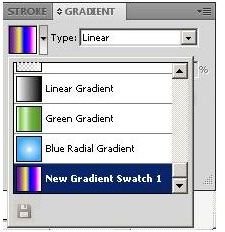
2. Gradient Menu. Select from one of several predefined gradient fills available in Adobe Illustrator. Click the disk icon at the bottom of the menu to save the current gradient as a swatch.

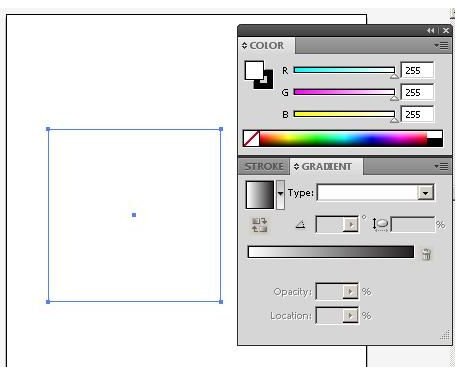
The following image shows a newly saved gradient swatch.
3. Reverse Colors. Clicking this control changes swaps the beginning of the gradient with the end of the gradient.
4. Color Stops. Click along the gradient slider to add stops. Double click to open color options for a stop.
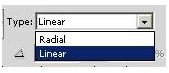
5. Gradient Type. Choose between linear and radial gradients.
6. Midpoints. When new stops are added to the slider, new midpoints are also added.
Applying a Gradient from the Illustrator Gradient Menu
With an object selected, select a predefined gradient, a gradient type. The gradient is now applied to your object. You may now change stop colors, angle, aspect ratio and other settings to make the gradient fit your purpose.
Applying a Gradient Using the Gradient Tool
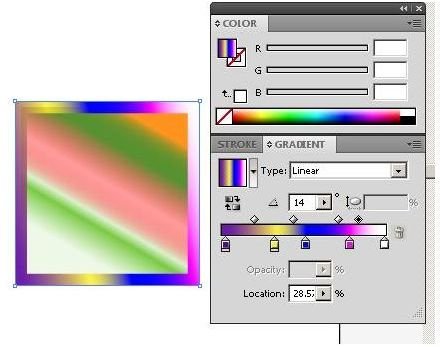
To help you understand how to apply gradient in Illustrator CS3, begin with a basic shape: we will use a square. Press
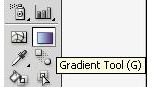
With your object selected, grab the Gradient tool from the toolbox.
Click on the object’s path to reveal the Gradient Annotator. The gradient you used last will apply to the object. The annotator allows you to change the focal point, location, origin, spread, and angle of the gradient according to your needs.
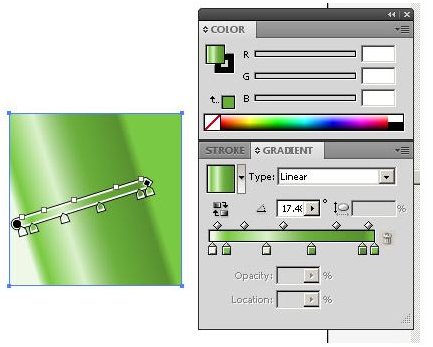
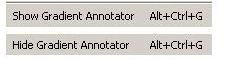
The Gradient Annotator can be switched on and off using the Adobe Illustrator “View” menu. Just click “View” on the menu bar and then click show or hide.
Gradients can be altered by selecting the object containing the gradient and then choosing the gradient tool. You can change stop colors, stop positions, opacity, angle, aspect ratio, midpoints, and more.
Gradient Stroke
In Adobe Illustrator, gradients cannot be directly allied to strokes, although there is a workaround. First, select your object. Next, on the menu bar, click “Object” and then “Path” and then “Outline Stroke”.
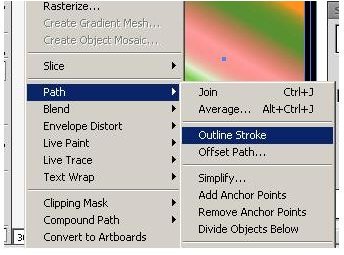
You can now grab the Direct Selection tool from the Adobe Illustrator toolbox and select your stroke. You can now apply a gradient to it.