Adobe Illustrator Tutorial: How to Draw Pipes in Illustrator
Making the Grid Visible in Adobe Illustrator
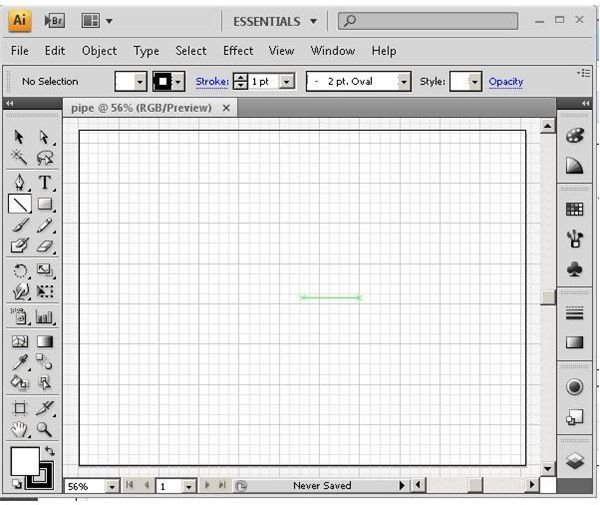
The first step in this tutorial is making the grid visible. Open a new Adobe Illustrator CS4 document and make the grid visible. To do this, click “View” on the menu bar and then click “Show Grid”. Another way to do this is to press
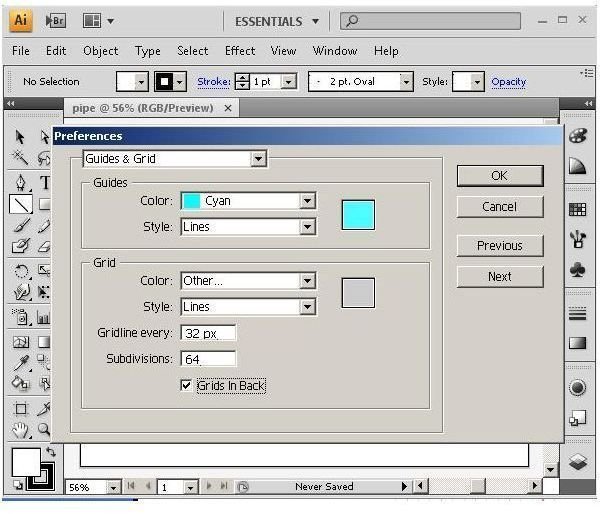
Change the grid properties by clicking “Edit” on the menu bar and then “Preferences” (or press
You might find the “Snap to Grid” function useful here. To turn it on, click “View” on the menu bar and then “Snap to Grid”. This can also be done by pressing
Draw a Pipe
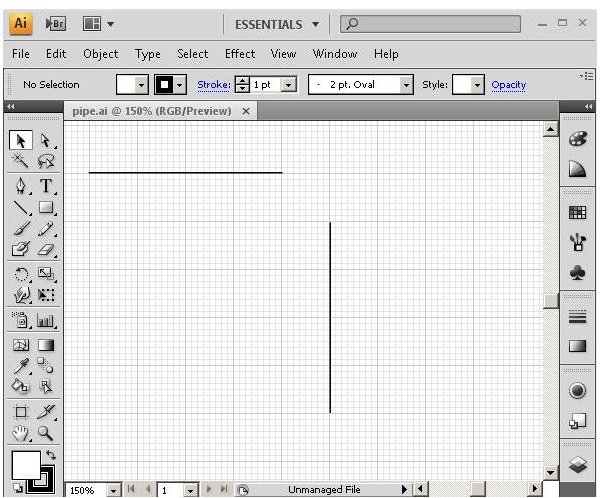
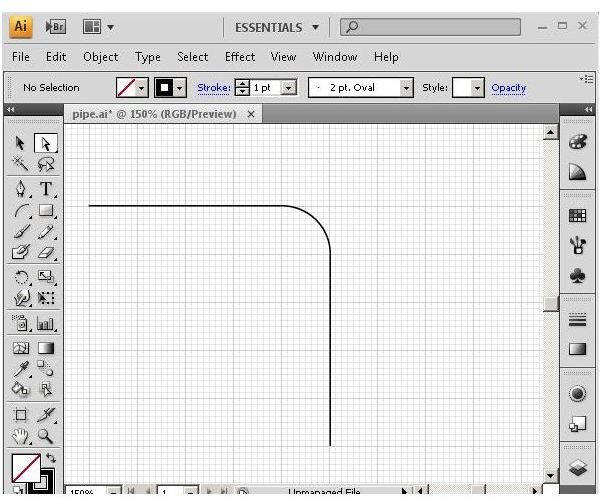
Begin drawing the pipe by creating one horizontal line and then one vertical line offset from the first by one section of the grid horizontally and one section vertically using the pen tool.
Next, grab the arc tool and connect the two lines with an arc. Use the direct select tool to select the end points of the vertical line and the arc. Right click and chose “Join” (or press
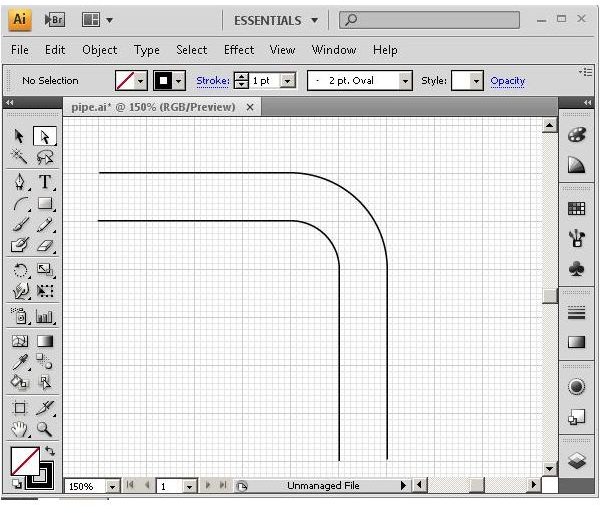
Repeat the above steps by drawing another set of lines one grid section above and to the right of the first lines. Separate them by two grid sections horizontally and vertically. Create an arc and join the lines as done with the first line.
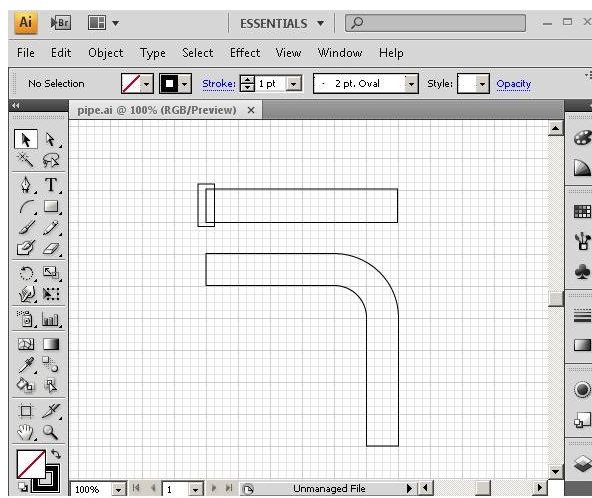
Close off both ends of the drawing using the pen tool. Be sure to connect the endpoints. You now have a pipe section with a 90 degree bend.

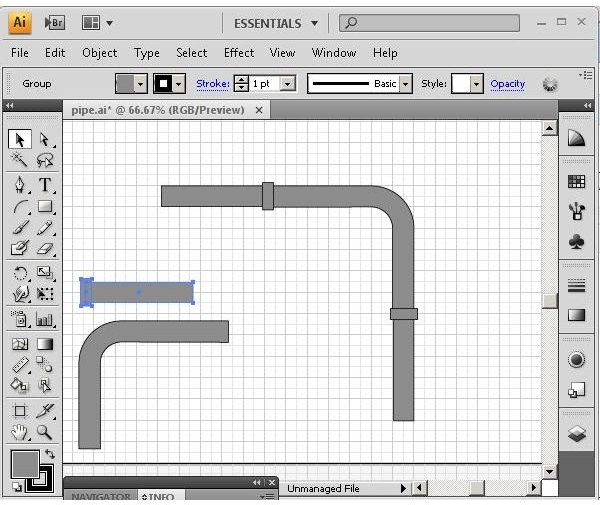
Next, draw a straight segment and a fitting. Do this by drawing a straight section of pipe using the rectangle tool. Draw a small rectangle to show the fitting. Group the straight section and the fitting.
Add Color, Assemble Pipes
Color the pipes as desired. In this example, the pipe is colored with a 45% gray fill and a black 1 pt stroke. Copy, paste and transform the pieces of pipe as needed. Depending on your illustration, you may need to create pipes that are at other angles. Right click and select “Arrange” as necessary to bring sections to the front or send them to the back as needed. You now know how to draw pipes in Illustrator.