In this tutorial we take a look on how to use Adobe Illustrator’s Live Trace feature to trace a bitmap to its vector equivalent using simple trace and presets.
Getting Started with Live Trace
Live Trace is a relatively new feature in Adobe Illustrator that can be used to convert raster graphics into similar vector graphics. With Adobe Illustrator being a vector graphics editor tool, it only makes more sense to have such a feature available in which we can convert a bitmap graphic to a vector graphic made up of points and paths. There are many ways to achieve this, like importing the bitmap image to Illustrator and then tracing over it with your hand. But unless you have a drawing tablet, this can be very difficult to do with the mouse.
So, Illustrator’s Live Trace understandably generated due interest in it when it first came along. And why not? It lets you trace those bitmaps with just a few clicks. Yes, no drawing by hand is involved. And the Live Trace options are highly customizable so you can almost always find the one setting that suits your need most. So, let’s take a look on how to use this Live Trace feature in Illustrator.
How to Use Live Trace
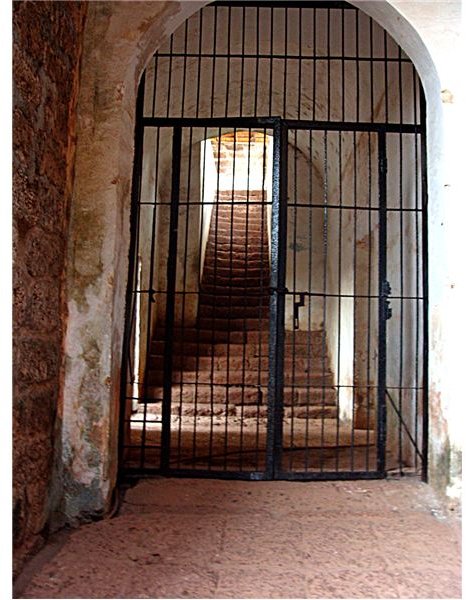
Start Illustrator and create a new document. Place the bitmap image you want to trace on the document by File->Place. For this tutorial, I am using the image shown below. (Click any image for a larger view.)
Now, there are two ways to access the tracing options in Adobe Illustrator – one from the menu bar and the other from the toolbar. When you click on the image placed on your newly created Illustrator document, the Live Trace options should appear on the toolbar.
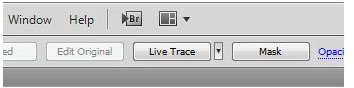
You can just click on the Live Trace button on the toolbar to trace your image with the default preset. But if you want to use any other preset, click on the small down arrow next to the Live Trace button and a menu should appear listing all the presets.
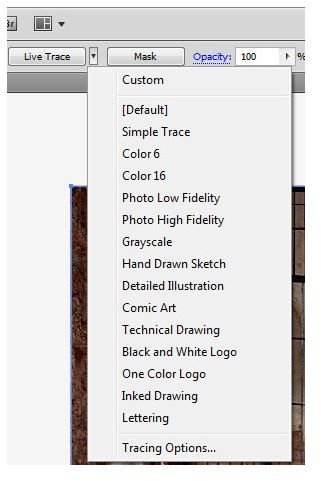
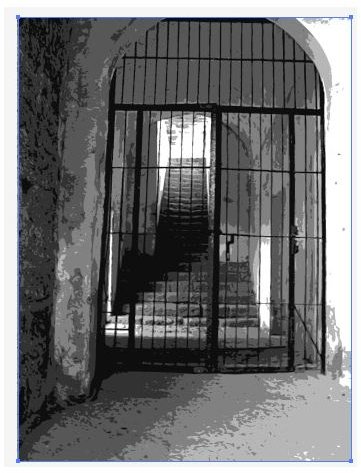
Simply click on any of these presets to live trace your image using those settings. For example, you can see the output image below when I used Live Trace on it with the Grayscale preset. It’s useful to note here that if you are going to trace a very high resolution image, it may take awhile for Adobe Illustrator to trace it.
Another way to access the Live Trace options are from the Object menu. Click on Object and expand the menu option Live Trace and you can see all Live trace related functions listed. To trace your image using the default setting just click on Object->Live Trace->Make.
Tracing Options
If you are not happy with the result of your tracing by using the default presets or if you just want more control on various aspects of Live Trace, don’t worry – it’s all very easy to do with tracing options. You can access the tracing options from the menu bar by clicking Object->Live Trace->Tracing Options or by selecting Tracing Options from the list that appears when you click on the small down arrow next to the Live Trace button on the toolbar. That will bring up the Tracing Options dialog (see below).

The Tracing options make it easy for you to set various parameters that affect how your traced output looks. You can either select an existing preset from the tracing options dialog, or make adjustments to aspects like mode and threshold and set various tracing settings like path fitting, minimum area, corner angle, etc. If you are going to use your customized setting more than once, you can also save your setting as a preset by clicking on the Save Preset button.


