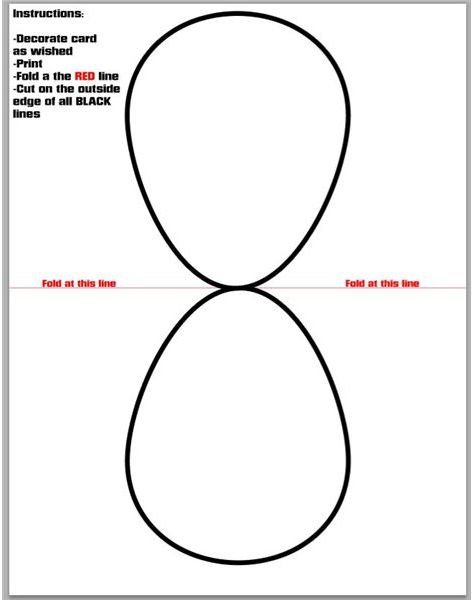
Send out a cute Easter card for free with this printable egg card template. In this tutorial you’ll find a great printable Easter egg card and learn how to customize it with a program such as Photoshop, easy for anyone.
This free printable Easter egg card template can be easily customized in Photoshop. This large Easter egg card template can easily be resized to fit your needs and can be printed on a single sheet of 8.5x11 (standard printer paper) paper. Customizing this egg template is extremely easy, and the sky is the limit! In fact, you might find it even more fun than painting eggs.
Click here to download my Free Printable Easter Egg Card Template .
Egg-specially for You
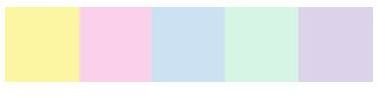
To change the color of the egg, simply grab your paint bucket tool and fill it in. The thick black line will remain around the edge as this is a separate effect. Remember, traditionally eggs are pastel colors, so think mint greens, pale lavenders, butter cream yellows, lavender, powder pinks, and baby blues. Of course, you can feel free to veer away from tradition and make them whatever color you would like.
Accenting your Egg
In the layer panel, click the button highlighted below.
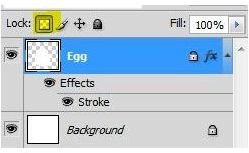
What this does is locks all transparent pixels, meaning that you can only actively decorate the colored (or white) area of the egg. This is incredibly handy but does lend itself to allowing less mistakes. It’s a good idea to save your file before you start this, and to duplicate your egg layer so you have something to work with. If you wish to learn more about layers and their properties, check out the Photoshop Beginners Tutorial: Guide to Photoshop Layers .
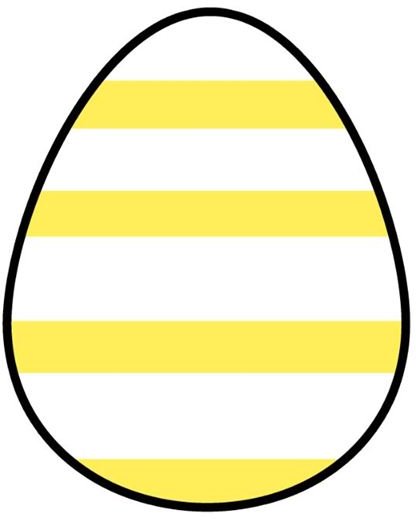
Stripes
Fancy an in-style egg? Stripes are always fashionable, and easily added with the help of a rectangular marquee tool . Simply drag a rectangle across your egg and fill it with your paint bucket!
You will get a result like the one below:
You can also use the line tool, which is very easy to use as well! Simply select your line tool, which is located here:
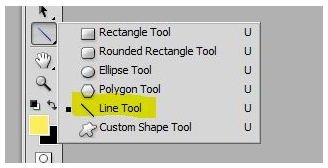
Make sure this option is selected on your top options bar:

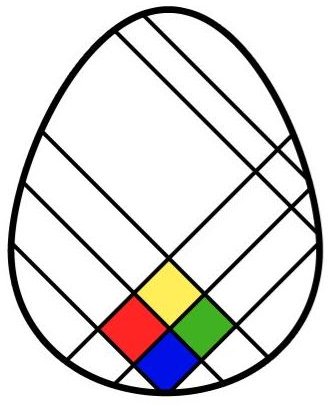
Select the color you want your stripes to be and draw your stripes across your egg!
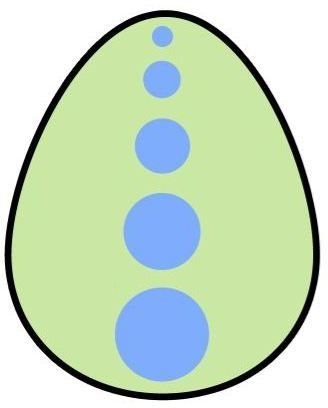
Dots
Polkadotted eggs became increasingly popular with some of the kits that you could buy in the grocery store, and were also possible by using wax on a clean egg before it was dipped. Fortunately, you’ll get no wax on your table and no stained fingertips from this method!
Simply grab your ellipse tool, which you can find here:
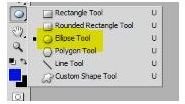
And drag dots of all size and shapes to your egg!
Tie-Dye
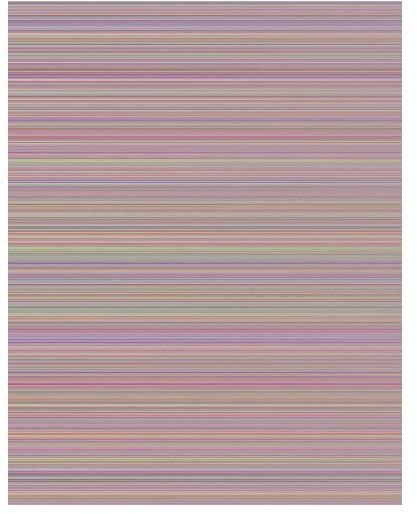
A while back, it was very popular to create a tie-dye coloring effect on your egg. If you want to recreate this in Photoshop, you should be thrilled to know that it is one of the easiest methods to reproduce! Those of you might recognize how similar this is to creating a woodgrain texture in Photoshop.
Create a new layer over your egg and fill it with the color of your choosing. Here I’ll be using a pale pink.
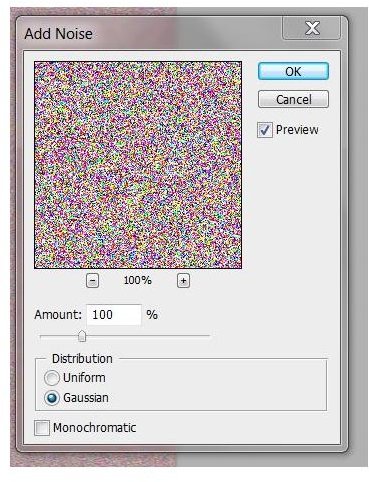
Go to filters and select “Add noise” and input the the following settings:
Amount: 100%
Distribution: Gaussian
Monochromatic: Uncheck this box
Hit OK
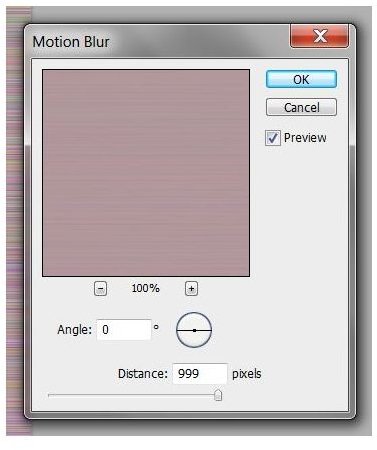
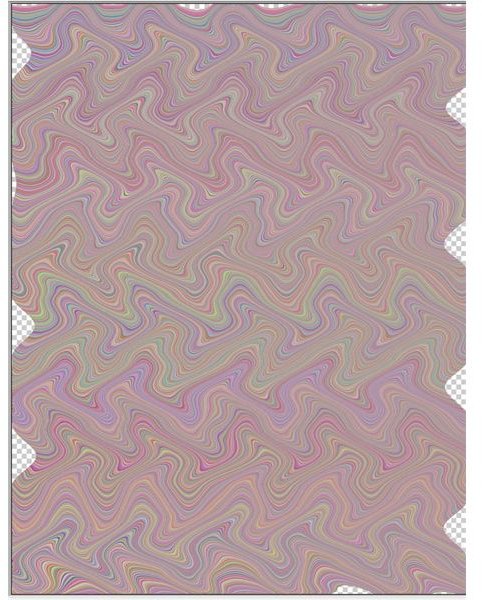
Now go to Filter and select Blur, and within the submenu select Motion Blur. Set the angle to 0 degrees and the distance to 999 pixels
Use the rectangular marquee to select the edge where the lines seem pretty defined, so toward the right or left edge. Press CTRL+T, which will bring up a free transform bounding box.
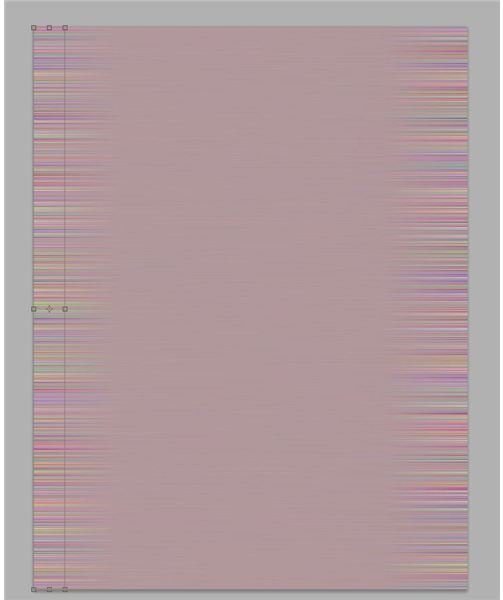
Grab the right (or left) edge of the box and drag it the whole way across the canvas like so:
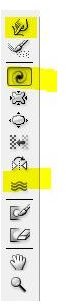
Now go to Filters and select Liquify.
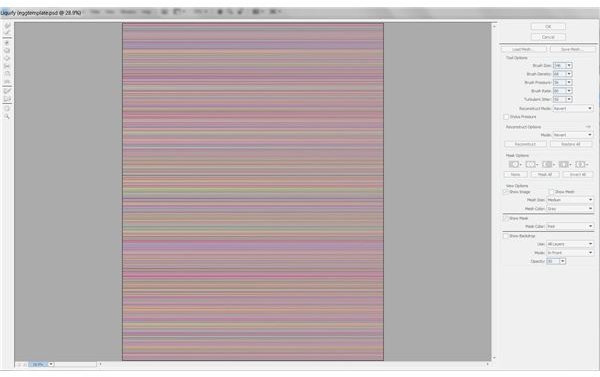
Now you get to play around with the tools to your left. The main three you will use have been highlighted in the image below.
Simply grab a large brush and begin sweeping around your canvas however you would like! There are no right or wrong methods to this! Here’s my example:
Hit OK when finished.
Now to apply it to only your egg, click on the thumbnail of your egg in the layer panel while holding CTRL. This will select your egg only.
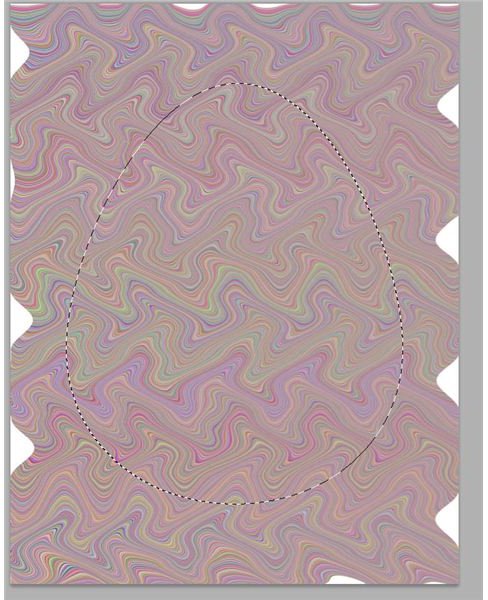
Now press SHIFT+CTRL+I and hit the delete button on your keyboard. Here is your finished result!

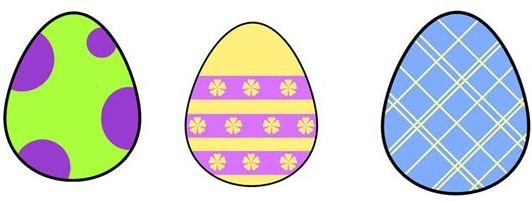
Combining Effects & Examples
After you’ve learned how to use this free printable Easter egg card template, you can easily combine effects and come up with some fantastic results! Here are a few quick examples of eggs that I have come up with: