Lightroom has some useful new features in its latest version, Lightroom 3. Learn about the new Lens Correction tools that make correcting vignetting, perspective and other lens problems a snap. The new Lens Profile option is an effective workflow tool for busy photographers.
Lens Correction
The camera lens is designed to capture an image as accurately as possible while minimizing distortion. Many times, photographers choose a lens for the versatility and this can lead to image distortions such as vignetting, curved edges and other perspective problems. In sports photography and other action photography where getting the image is more important than having correct perspective, this is the best option for the situation. Fixed focal lenses most often have the best optics, but zoom lenses offer freedom, versatility and ability to travel with a wider range of lens options.
Lens Aberration
Depending on the choice of lens, optical aberrations may be a problem in the final image. The only option is to correct this in the imaging process. Photographers had to use time consuming processes in Photoshop to correct for dark edge vignetting and perspective corrections. Adobe listened to photographers’ suggestions and added cool new tools in the latest version, Lightroom 3 . Lightroom 3 introduced a new tool in lens correction that addresses the problem of lens distortion without having to work in Photoshop.
Lightroom 3 Lens Correction Tool
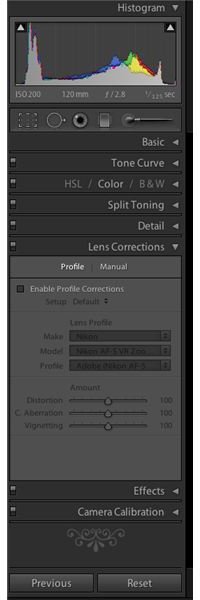
The new Lightroom tool is found in the Develop module, called Lens Correction (Figure 1). This tool has an automatic function that searches for lens profiles that match the lens used on the image selected and corrects any defects. The list of lens profiles supported by Lightroom 3 is available at Adobe.com . Since the list is limited, a manual function allows the user to make perspective corrections manually.
Automatic Lens Profiling
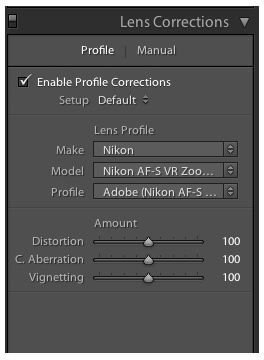
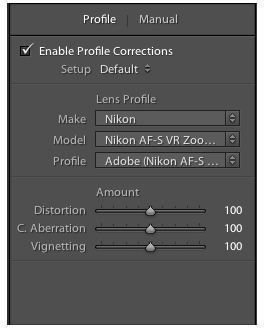
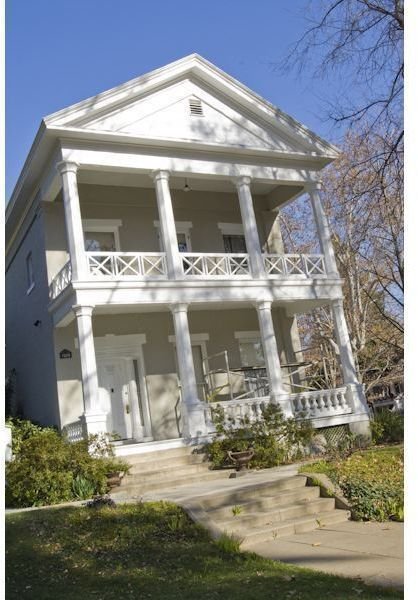
The automatic lens correction tool is also located in the Develop module. Choose an image that needs correction. Select the Develop module. On the right hand panel, choose the Lens Corrections drop down menu (Figure 2). Click on “Profile” and then check “Enable Profile Corrections” as shown in Figure 3. Figure 3 has some dark edges from vignetting that occurred because a zoom lens was used in poor lighting. After the automatic corrections were made, Figure 4 shows the edge corrections for the vignetting . Figure 5 shows the profile that Lightroom used to make the corrections.


Manual Lens Profiling
The Manual tab allows the photographer to correct for their particular lens profile. This is used when Lightroom 3 cannot find the profile of the lens used to capture the selected image, or for photographers who choose to make lens corrections without using automated functions. The manual tab allows for various transform, crop, vignetting and chromatic aberration corrections (Figure 6).
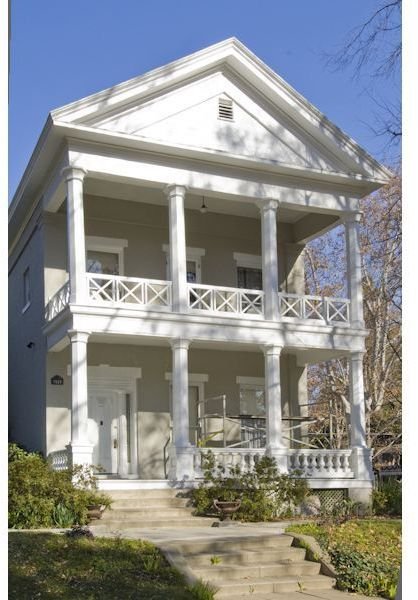
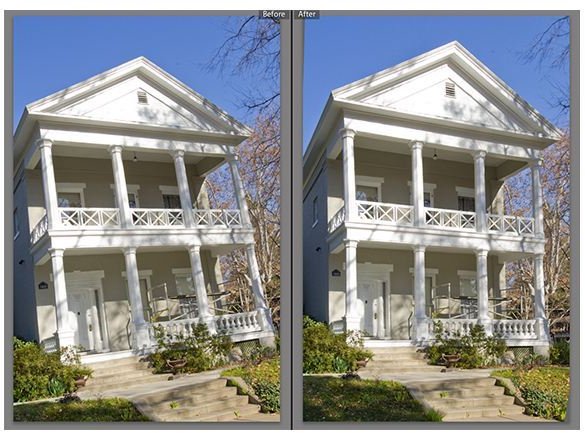
The image in Figure 7 was shot at a bad angle and with a zoom lens that also introduced perspective distortions. The automatic Profile functions did not find the particular lens used to capture this image. Therefore, a manual adjustment is needed. Select the manual tab brings up all the correction options as shown in Figure 6. The image needs vertical, horizontal, distortion and some rotation changes. When the slider bar is clicked, a grid will overlay the image allowing for adjustments that are more accurate. Running through each slider and making changes corrects for the lens and perspective distortions, as shown in figure 8. Figure 9 shows the comparison between the uncorrected and corrected images.
Summary
Lightroom 3 Lens Profiling makes lens corrections a snap. This new addition to Lightroom Tools helps to streamline the photographer’s workflow and save time in image editing.


