
Don’t pay any retailer or online merchant for custom playing cards until you read this! Make your own set of playing cards in 3 easy steps and for half the price.
These days, companies have ways of personalizing almost anything you can think of with your photos. Calendars, artwork, t-shirts, and even cars are among the list of possibilities. So creating a deck of playing cards with a set of your own photos is not much of a stretch. However it can be fairly pricey no matter if you go local or order your photo playing cards online. This is, of course, is an unnecessary cost since a set of photo playing cards is actually very easy to make!
Photo Playing Card Supplies
To make photo playing cards, you will need:
- Your photos. You can use 54, or a set of 13 recycled for all the suits and then two extras for the joker cards. One idea I have used and really like was to choose one person to represent a card value (such as the queen), and use four different pictures of that person. One to coincide with each suit (queen of hearts, queen of diamonds, etc.) The step of acquiring all the photos might take the most time. I even like to make four folders titled: Hearts, Spades, Clubs, and Diamonds to add the pictures I choose to. Remember you’ll need 13 pictures for each folder. Then you can choose the two joker cards separately.
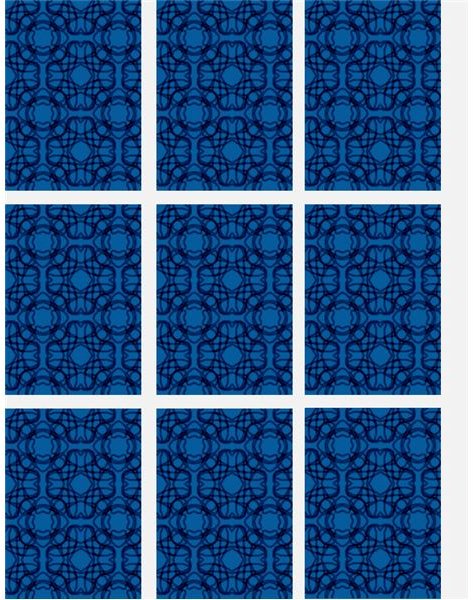
- A design for the back of your cards. I like to use generic patterns or paper textures I find online for the backs.
- Cardstock Paper (Heavy duty)
- An inkjet printer
- A computer
- Photo editing software. If you don’t already own photo editing software, here’s a list of free options .
- Spray adhesive (optional)
- Spray fixative (Matte or Semi-Gloss)
Step One
You’ll want to make the images for each card face first. Decide on a font size, style, and color and write it down. You can then use the same font on each card. For the hearts, clubs, spades, and diamonds, you can use free clipart. Now for your pictures, you can crop and edit the photo in whatever way you wish and then add the suit and value to each card. I recommend choosing one suit and doing each card in it from ace up to king. Then move on to the next suit. This helps keep the whole project organized and ensures you won’t miss a card. If you already have a folder for each suit, you can save the cards to their corresponding folders.
Tip: When preparing your photo playing card faces, I recommend using a small border around each picture. It will make your photo more centered and your cards look more “pro”. In the examples below, I did not do this. Also, there are fancy borders in most photo programs that can be fun to use.
You will also want to decide on a card back design. Anything you choose is fine, but patterns that repeat themselves are the best choice. You’ll use this design as the back of every card, so be sure you like it!
Photo Playing Card Examples


Step Two
Once you have done all of the cards (including the jokers), you are ready to print. One sheet of 8.5” x 11” cardstock will make 9 average sized (2.5”x3.5”)
, so you will need to print your back design on 6 sheets first. Once you have that done, you can flip over the paper and print the fronts, or print the front side on separate sheets of paper and then glue the two together for extra thickness. In your photo editor, you can place 9 card faces side by side onto one document (make sure it is the same size as your paper in image size options) and then print. This will save time printing and avoid some chaos later on.
If you have chosen to glue your playing cards, once you have printed the backs and fronts, you can cut the cards out and begin gluing them together using the spray adhesive.
Step Three
Once you have all of your 54 photo playing cards, the last step is to spray the fixative on them. This will take a little while, and it is great to have someone help you with this step. I recommend this be done outside or in the garage because them fumes can get quite strong, and don’t gift the cards for about a week after you’ve done this to be sure all of the smell has gone away.
You can do this step one of two ways. Either place your playing cards down on a flat and clean surface and spray one side first, let it dry, then flip them over and spray the other side. Or you can hold the card by a corner and spray evenly all the way around it and then hold it until the fixative dries before setting it down. Whatever way you choose, it is best to do two even and light coats on each card. This step will lock in the ink and help avoid damage to the photo playing cards from play and other elements.
Step Four: Bonus!
Once you’ve done this final step, pat yourself on the back, and place your personalized photo playing cards in their own box, (which you could personalize as well, if you want). Then wrap them up and send them on their way, or host poker night at home with them and be ready to share your secret methods with everyone!


