Light is one of the keys to great photography. Mastering the use of light calls for understanding several important principles. One of those is using the direction the light to your advantage.
Improving your use of light
Light is one of the keys to great photography. Mastering the use of light calls for understanding several important principles. One of those is using the direction the light is traveling in to your advantage. Novice photographers worry about whether or not they have enough light to make a photograph. Experienced photographers know that is the least of their concerns. Used properly, light direction can make your images more dramatic, more striking and more interesting. Let’s take a look at what directional lighting can do for you.
Showing detail
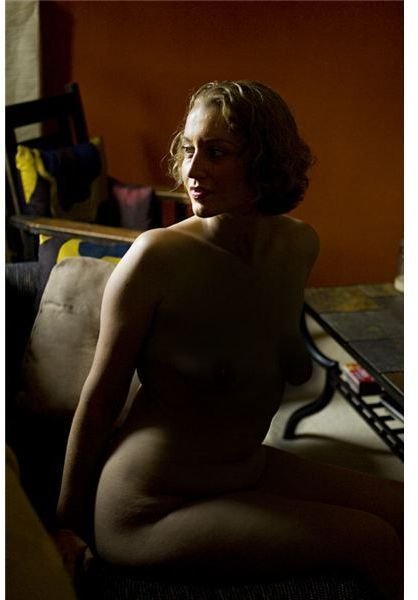
Directional lighting can reveal detail that “normal” (overhead) lighting can’t. Lighting a subject from the side fills in some areas and creates shadows in others creating depth and showing contours. Often a pair of lights are set up at 45 degree angles to the subject for close up and macro photography to show detail as completely as possible.
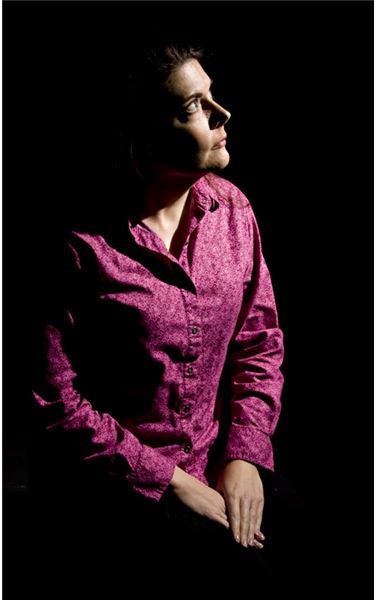
Dramatic lighting
Directional lighting can add drama and mystery to an image. Narrow side lighting (using a barn doors , snoot or gobos) can give a sense of the subject being hidden in the shadows. This careful control of lighting can hide and reveal exactly what the photographer wants the viewer to see.
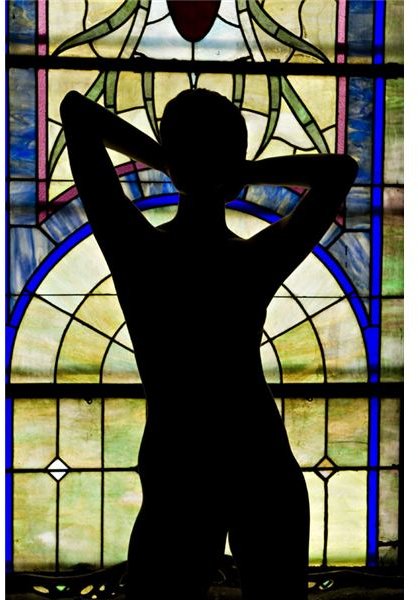
Backlighting the subject can cause a silhouette, which simply reveals the shape of the subject without showing the detail, creating even more mystery. Another version of this is known as “rim” lighting. In this case a light is directed towards the subject from behind, while another light illuminates the front of the subject. With careful control of the output from each flash it’s possible to create a glow around the subject from the backlight.
“Ghoul” lighting is another version of dramatic lighting. If you’ve ever watched an old black and white horror movie, the unearthly lighting on the vampire or monster was made using this technique. For Ghoul lighting simply position the light down low pointing up towards the subject. The light direction and shadows will be shown in the opposite direction we’re used to seeing them travel in and create the otherworldly unnatural effect.
Using directional light
While using off-camera flash or studio lighting is the easiest way to achieve these effects, there are other ways for photographers on a budget to use these techniques too. Remember, what’s important is your light source and the direction it’s traveling in and not what is actually creating the light.
A lamp, flashlight/spotlight, video light or work light can be used to create these effects too. In fact, photographers on a budget often turn to inexpensive halogen work lights offered at many hardware stores for their home or garage studios. Since it’s easy to white balance a digital camera for these light sources they work very well for photography.
Window light at certain times of day can also do a good job for this kind of thing. The thing to remember is that whatever light you’re using as your main light needs to significantly overpower any ambient light falling on the subject. Turning off most or all of the room lights and closing blinds and shades will help you in this regard.
If you’re shooting outdoors, wait until the sun is either low in the sky (where it works nicely for side or backlighting) or until after the sun has set and all you have is moon light or street lights. This will make your artificial light source more effective.


